
- Measure your locket’s image space so you know what photo size to print.
- Print the smallest sized photo possible and trim it to your locket’s size with scissors. Crop and resize the photo to the locket’s size with photo editing software if you need to.
- Print the picture at home using an inkjet printer with photo paper.
- Order the photo to locket size on an online print shop, or pick up wallet prints from Walgreens, CVS, or another convenience store.
Measuring
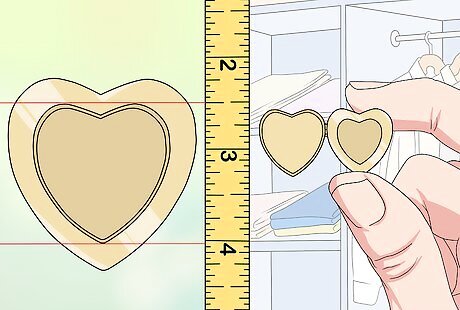
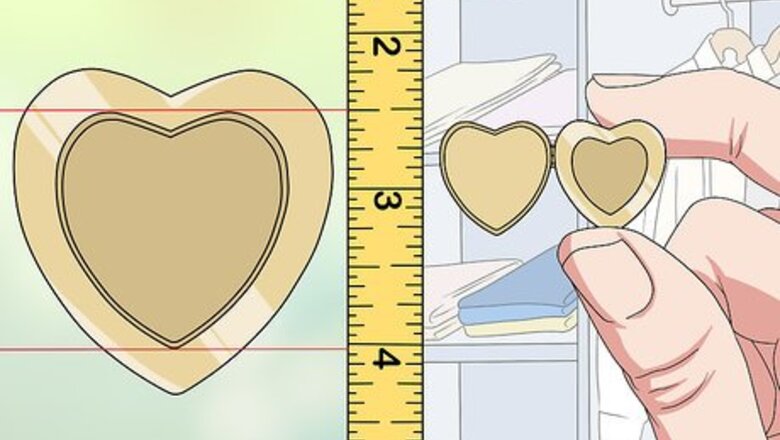
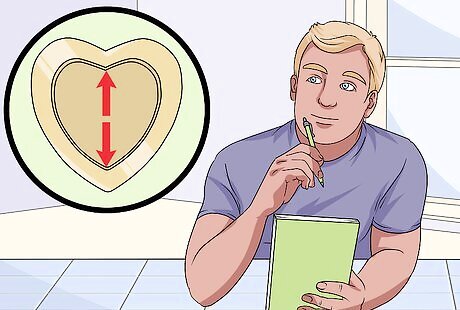
Measure the size of your locket’s image space. Use a ruler or a small tape measure to find the lengths of the locket’s frame around the opening for the photo. Measure the length and the width to the closest millimeter or fraction of an inch. Check the packaging that came with your locket or the manufacturer’s website to see if they have templates you can trace onto your photo to ensure it’s the proper size.
Estimate the image space’s size if it’s difficult to measure. If your locket is oddly shaped and you can’t accurately measure the inside, just measure the outer dimensions. Generally, the image space is about 1 millimetre (0.039 in) or so smaller than the actual size of your locket. It is better to estimate a higher measurement than a lower one since you can always trim away parts of your image later.
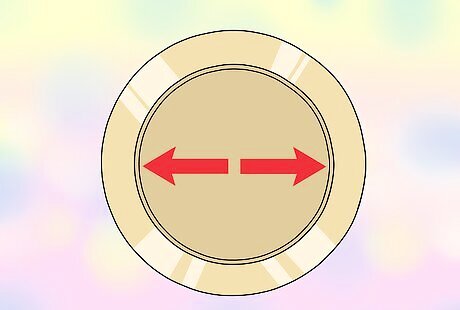
Measure the diameter instead of the width if your locket is round. Measure across the center of the circle horizontally to find the diameter. Use the measurement as the minimum width for the photo that you want to use to ensure it fills the entire image space on your locket. It's okay if your measurements aren't exact. Get as close to an even measurement as you can, and round up to a larger number if you need to. That way, you’re able to trim the image later.
Resizing
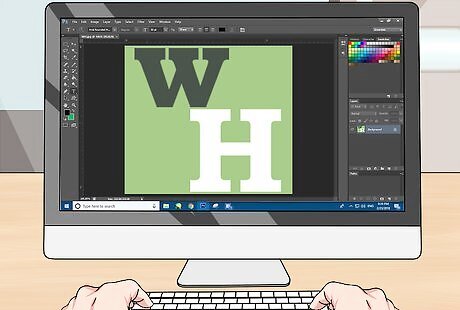
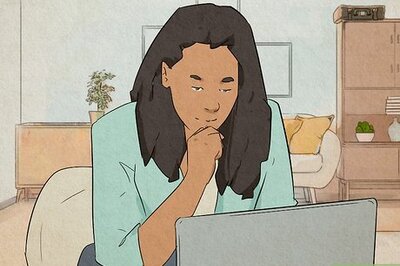
Load your image into a photo-editing website, computer program, or phone app. Choose a free photo editing website, like Adobe Image Resizer or Pixlr X, to edit your photos. If you don’t have an Internet connection, use programs like Microsoft Office or Photoshop to edit your photos. On your phone, just go into the built-in editor in your Photos app. Choose the image you want for your locket to start editing. Some websites like Locket Studio do all the work of resizing your image for you. All you have to do is upload your image, select your locket size and shape, and then download your cropped image. If you don’t want to resize the image, just print out the smallest size of the picture that you can and trim it down to size with a pair of scissors.
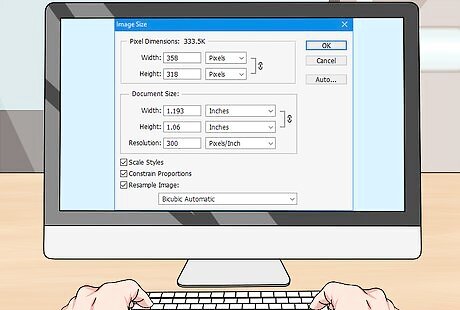
Resize the image to your locket’s dimensions. The image settings depend on the photo editor you’re using. First, crop your picture to cut out parts that you don’t want. Then, look for the photo size options in the image settings to change the height and width to the approximate size of your locket. Choose a picture with a clean background so it doesn’t look busy or distract your eye. Keep in mind the shape of your locket when you’re sizing your image. For example, if you have a heart-shaped locket, make sure there isn’t an important part of the photo where the center dips down in the middle. Avoid using an image where the subject is near the edge of the photo since it will be hard to trim around to make it fit in your locket.
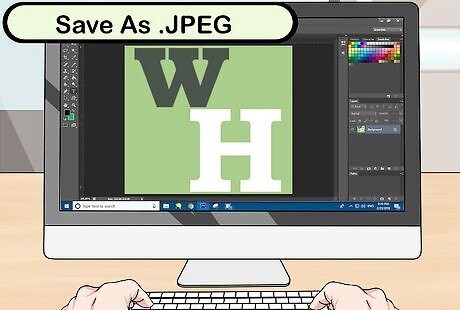
Save a copy of your resized picture. After you have your picture size perfect, go into the menu and click save so you don’t lose your changes. Save the picture as a file, such as a PNG or JPEG, on your computer or phone.
Printing
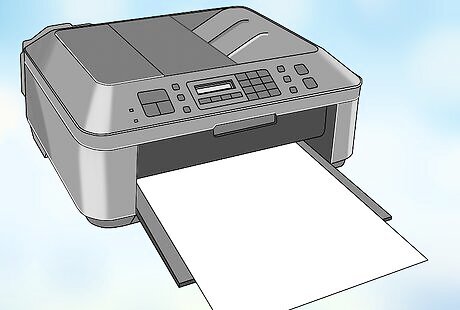
Print your picture out with an inkjet printer. After you resize your image, put it into a word document. Fill your printer with photo paper that’s about 180–400 gsm so it’s the most durable. Select “Print” from the menu on your computer and print your image in either color or black and white. Cut your picture out with a craft knife or a pair of scissors to put it in your locket. Print out multiple copies at a few different size variations so you have extras in case you make mistakes.
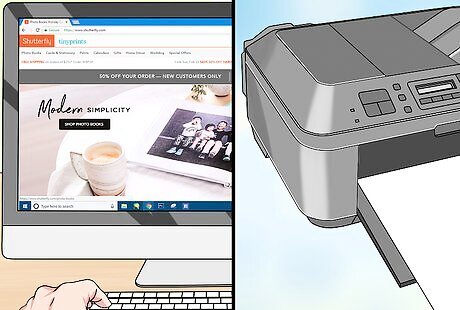
Order locket-sized prints from online photo printers. Upload your image to a site like Shutterfly or Snapfish and select how many prints you want to order. Make sure your image is properly sized for your locket, and readjust the dimensions if you need to. After you have your picture perfectly sized, place your print order and wait for your pictures to be delivered.

Visit a store with a photo department to get instant prints. Order your prints online to pick up at a CVS, Walgreens, and FedEx. Alternatively, put the photo on your phone or a USB drive and bring it to the store to have it printed out. Once you get the photo, trim it down to the shape of your locket. Photo departments are a little more limited in the sizes they can print. Try printing the photo in a wallet or passport size so it’s easier to cut down.


Comments
0 comment