
Preparing to Fuse
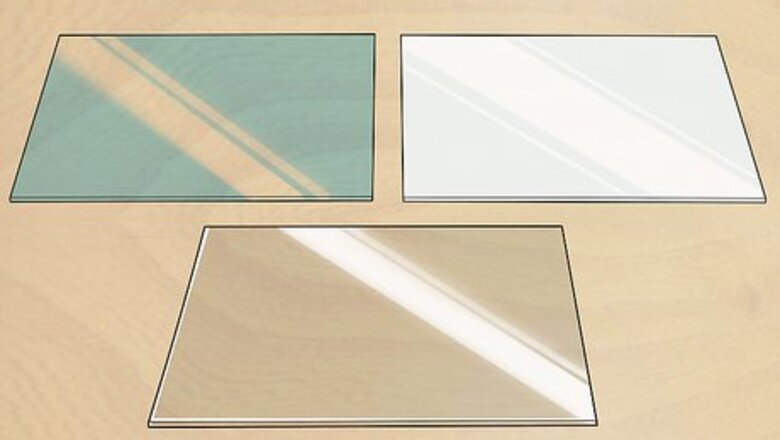
Gather the glass you want to use. If you’re using different types of glass, make sure they have the same coefficient of expansion (COE). Glasses with different COE’s will crack during the cooling process. To test the compatibility of two separate glasses, fuse two small pieces of them together and then let them cool. If you notice any cracks or evidence of stress in the glass, you know the two glasses have different COE’s.
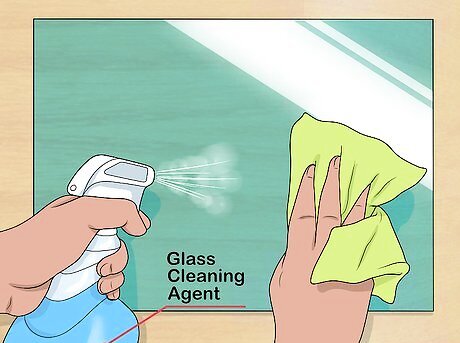
Clean your glass using a cleaning agent. Make sure the cleaning agent you use is designed specifically for glass. Spray your glass with the cleaner and wipe off any dirt, oil, dust, or residue on the glass with a clean towel. This will prevent your final product from looking spotted or foggy when it comes out of the kiln.

Find a kiln to do your fusing in. Use a small kiln if you’re only planning on doing a few minor fusing projects. If you’re going to be using it a lot and you want to work on several projects at once, consider investing in a larger kiln. Whatever size you choose, make sure it has an accurate temperature monitor on the outside. Opt for a kiln that’s designed specifically for firing glass. If you can’t find a kiln designed for glass, you can use a kiln meant for ceramics, but the results might not be as good.

Get a kiln shelf. Make sure it can withstand temperatures of up to 1700 degrees Fahrenheit (927 degrees Celsius). The kiln shelf is what you’ll set your glass on when you’re ready to fuse it in the kiln. You can find a kiln shelf online or at your local ceramics store.
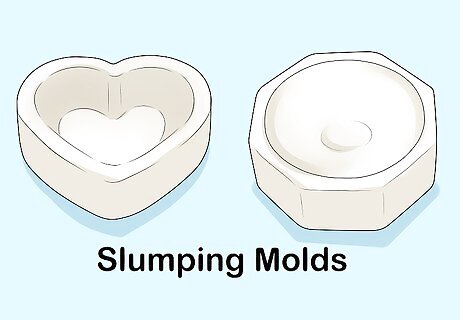
Choose a few slumping molds to shape your glass. Your molds should also be able to withstand high temperatures of up to 1700 degrees Fahrenheit (927 degrees Celsius) because you’ll be putting your glass on them and setting them in the kiln. The slumping molds you use will determine the shape of your glass after you fuse it in the kiln. Shop online or in-store to find molds that you like. EXPERT TIP Bicycle Glass Bicycle Glass Glassblowing Experts Bicycle Glass Co. was founded in 2016 by David Royce and Michael Boyd, two professional glass experts. Bicycle Glass is primarily a lighting company, committed to quality, sustainability, and affordability. All Bicycle Glass products are made of high-quality, recycled glass and are hand-blown by a dedicated team of artisans. The studio is committed to reducing its carbon footprint by conserving energy in all of its production. Using renewable wind energy to offset all electricity usage, the studio is actively working toward the goal of carbon neutrality. Bicycle Glass believes that high-quality, handmade glass products should be within reach for everyone. Bicycle Glass Bicycle Glass Glassblowing Experts Using differently shaped molds is a fantastic way to create a wide range of objects. When you use a mold, the molten glass takes on the shape of the mold, which is an effective technique for lots of glass art designs.
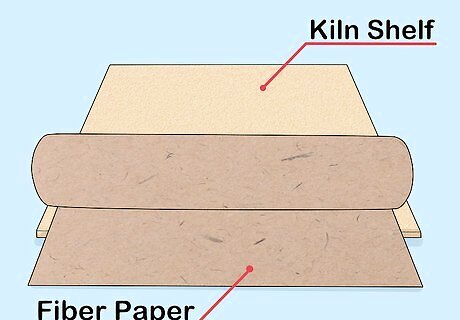
Apply a glass separator to keep your glass from sticking when you fuse it. Use a fiber paper that can withstand high temperatures, or use a kiln primer and wash it off after it sets. Apply your glass separator of choice to your kiln shelf and any molds you plan on using so your glass comes off easily.
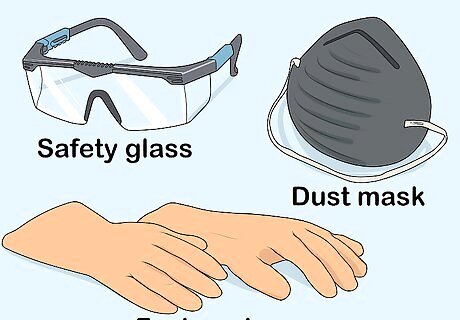
Purchase the basic safety equipment. Get a pair of safety glasses and fusing gloves so you don’t injure yourself during the fusing process. Invest in some cheap dust masks to protect your lungs from dangerous dust and glass particles in the air. Shop for these items at your local hardware store or order them online.

Get the necessary glass cutting tools. Use a quality glass cutter that has a comfortable grip. You’ll also need cutting pliers. There are three main types of cutting pliers: Running pliers. Running pliers are used to apply pressure on the glass so score lines break evenly. Grozing pliers. Grozing pliers are used to chip away pieces of glass that you don’t want before you begin fusing. Breaking pliers. Breaking pliers are used to break glass apart along the lines you’ve scored.
Cutting Your Glass

Put on your safety gear. Make sure you’re wearing your gloves, goggles, and mask before you start cutting your glass. This will prevent avoidable injuries like cuts and stop pieces of glass from getting into your eyes.
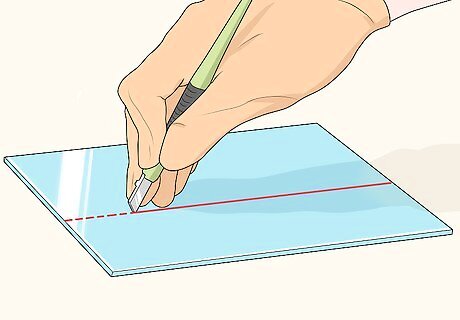
Use your glass cutter to create a score line. Once you know where you want to cut on your piece of glass, roll your glass cutter across the surface of the glass, creating a score line where you want the glass to break apart. Finding the right amount of pressure to use with your glass cutter might take a few tries. Too little pressure will cause the glass to break unevenly, while too much pressure will create chipped edges. Do a couple practice cuts on a spare piece of glass until you get a feel for the tool.
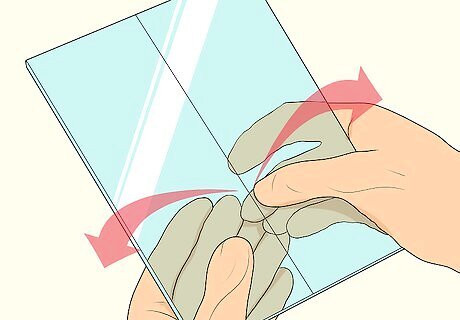
Apply pressure to the glass to break, or “run”, the score. You can use pliers or your hands to apply the pressure to both sides of the score line. The glass should break in a clean line along the line you scored. Use the same method whether it's a curved or straight line you're running.
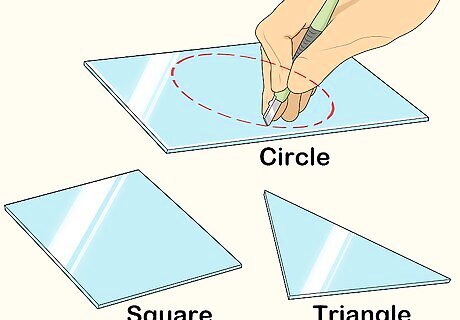
Cut your glass into whatever shapes you want to fuse. Cut circles, squares, triangles, or whatever shapes you want to use in your design. Remember that you can stack your glass pieces and fuse them directly on the kiln shelf, or you can lay them over a slumping mold to create a three-dimensional piece. EXPERT TIP Bicycle Glass Bicycle Glass Glassblowing Experts Bicycle Glass Co. was founded in 2016 by David Royce and Michael Boyd, two professional glass experts. Bicycle Glass is primarily a lighting company, committed to quality, sustainability, and affordability. All Bicycle Glass products are made of high-quality, recycled glass and are hand-blown by a dedicated team of artisans. The studio is committed to reducing its carbon footprint by conserving energy in all of its production. Using renewable wind energy to offset all electricity usage, the studio is actively working toward the goal of carbon neutrality. Bicycle Glass believes that high-quality, handmade glass products should be within reach for everyone. Bicycle Glass Bicycle Glass Glassblowing Experts There are various ways to cut glass, but the easiest way is to use a glass cutter. You can find commercial glass cutters suitable for DIY crafts that work well with flat plate glass. Use a circular glass cutter to cut circular shapes out of glass plates. It scores lines in the shape of a circle, making it easier to break the glass along the score line and tap away the unwanted edges. The method you choose to cut glass depends on the available tools and what you intend to do with it.
Fusing Your Glass

Place the glass pieces you’ve cut on the kiln shelf. Arrange and stack them however you want them to look once they’re fused. Place the largest piece of glass on the bottom and stack the smaller pieces on top. Use a thin glue to keep your pieces in place if you’re having a hard time.
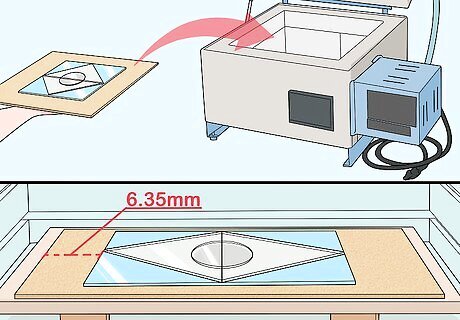
Place the kiln shelf in the kiln. Place the shelf in one of the central slots in the kiln so it’s not too close to the top and not too close to the bottom. Try to leave a ¼ inch (6.35mm) between your glass design on the kiln shelf and the side of the kiln itself so your glass has room to expand.

Turn on the kiln. The temperature you use to fire your glass in the kiln depends on the look you’re going for. Decide which kind of fuse -- tack or full -- you want to do. Consult your kiln manual for specific instructions on how to set a firing schedule.
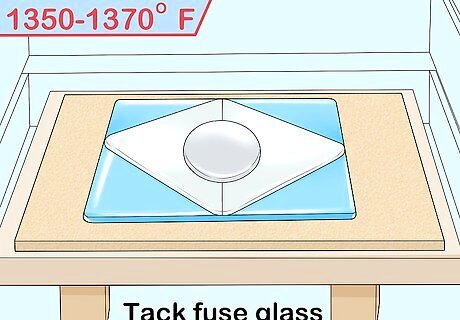
Do a tack fuse if you want the glass to retain its features. With a tack fuse, the edges of the glass will melt and round slightly, but any pieces stacked on top of one another will remain stacked. Fire your kiln to between 1350-1370 degrees Fahrenheit (around 738 degrees Celsius) for this fuse to form.
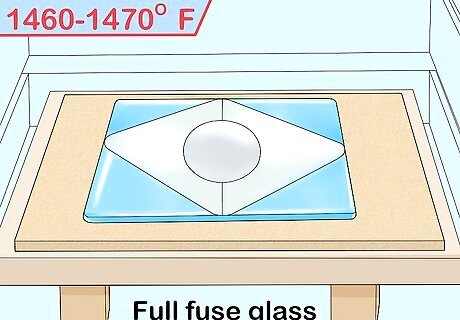
Do a full fuse if you want the glass to melt into a single layer. Full-fused pieces have a smooth, flat surface. Program your kiln to reach around 1460-1470 degrees Fahrenheit (around 796 degrees Celsius) to achieve a full fuse.
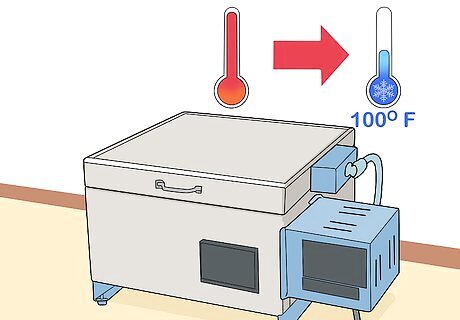
Wait for the kiln program to finish and let your glass cool. Don’t open the kiln until it’s cooled off below 100 degrees Fahrenheit (38 degrees Celsius). Opening the kiln prematurely can cause your glass to break, and you might burn yourself.
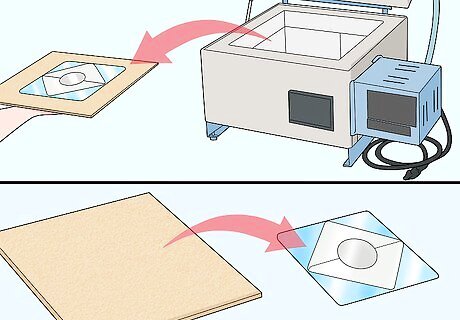
Remove the kiln shelf and your glass from the kiln. Examine your piece and check for any cracks. If you find cracks, the types of glasses you fused might not have been compatible.
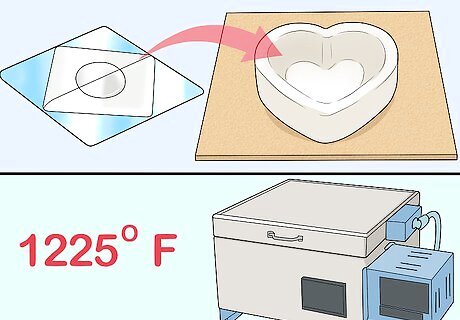
Slump your fused glass over a mold to create a three-dimensional piece. If you want to fire your fused glass for a second time to make a piece with dimension, place it over one of your molds. Set your glass and the mold on the kiln shelf and place it back in the kiln. Consult your kiln manual and program the kiln to reach around 1225 degrees Fahrenheit (663 degrees Celsius). Let the kiln cool completely before you remove your glass.


Comments
0 comment