views
Starting Off
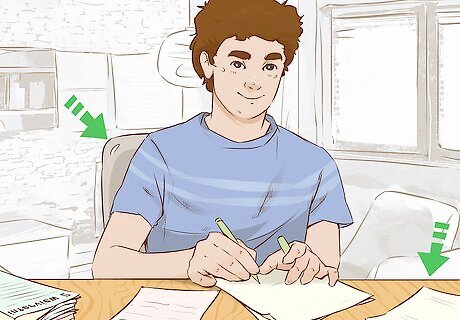
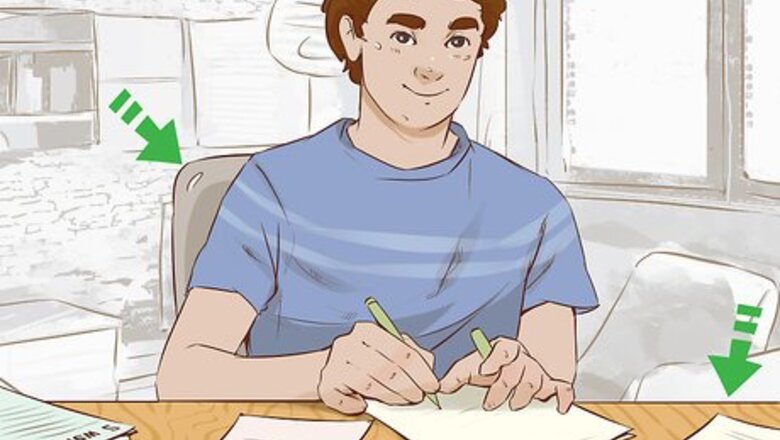
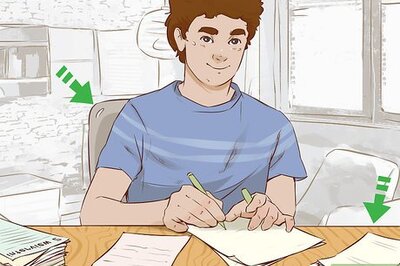
Sit on a chair at a desk. Make sure you sit on a comfortable chair at a desk that is a few inches above your thighs. Your feet should be flat on the floor when you sit straight on the chair. Keep your back straight and your shoulders relaxed. You should not write at a desk that is too low or too high for you. Make sure you do not have to crouch or strain yourself to sit comfortably at the desk.
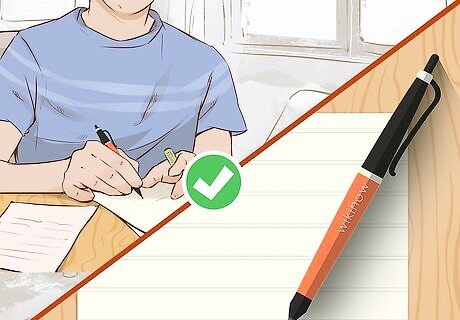
Use an ink pen that has a felt tip. You can also use a gel pen that releases a nice, fluid line of ink. Dark ink, such as blue or black, will make it easier for you to see the ink on the page. You can also use pencil to write in cursive, especially if you want the option of erasing your letters and starting again. Get a B pencil with a triangular barrel, as it will be softer on the paper and easier to write with.
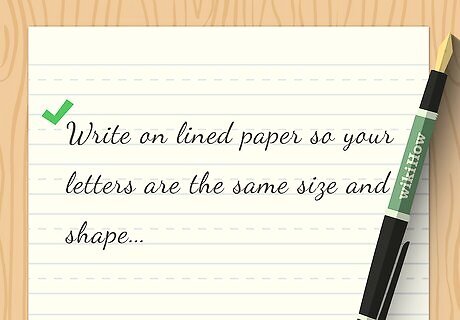
Write on lined paper so your letters are the same size and shape. Look for lined paper that a dotted line in the middle of each line. You can find lined paper made for cursive writing at your local school supply store or online. If you’d prefer plain paper so you have more room to try the flowing, loose movements of cursive, you can use it. However, it may be more difficult for you to make your letters uniform without lines on the paper.
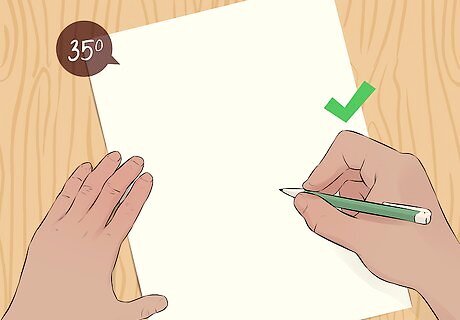
Place the paper at an angle. If you are right-handed, make sure the top right and bottom left corners of your paper line up straight with your nose. Use your left arm to hold the paper still. If you are left-handed, the top left and bottom right corners should line up with your nose, with your right arm keeping the paper secure. Angling the paper will make it easier for you to slant your letters as you write. In cursive, your letters should slant up and to the right by 35 degrees.
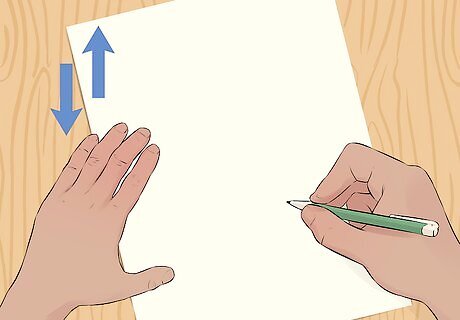
Use your non-writing hand to move the paper up as you write. This will ensure your writing is even and controlled. Guide the paper with your hand so you are always writing at an angle.
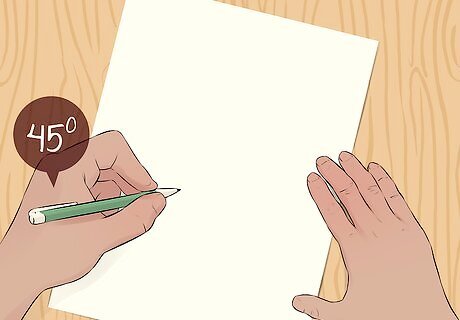
Grip the pen or pencil lightly at a 45 degree angle. The pen or pencil should rest on your middle finger and be held in place by your thumb and index finger. Maintain a loose, relaxed grip. Do not grip so tightly on the pen or pencil that your fingernails turn white or your fingers become stiff.
Creating Lowercase Cursive Letters
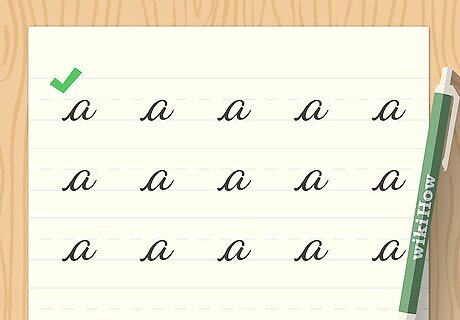
Practice “a." Make a curved stroke upward from the bottom line to the dotted line. Then, do a rock backward to form the slanted “o” shape of the “a.” Touch the top of the dotted line at the end of the “o,” and swoop back down, ending the swoop below the dotted line.
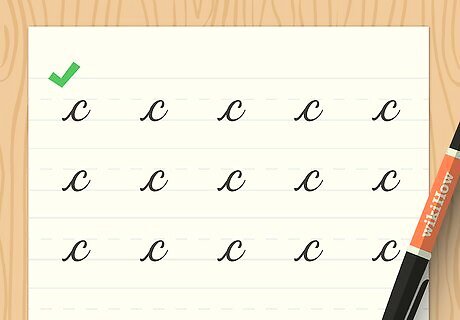
Write “c.” Do an upward stroke from the bottom to the dotted line that is curved to the right. Rock backward to form a slanted “o” shape, but rather than close the “o,” end the stroke just below the dotted line. Once you master "a" and "c," try doing letters that follow similar strokes like “d,” “q,” and “g.”
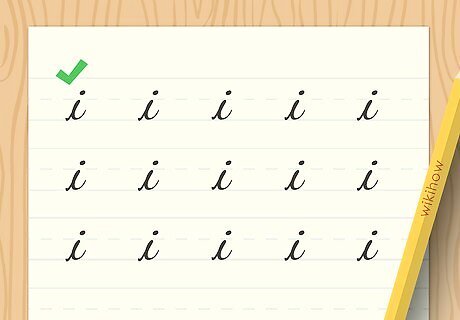
Try “i." To write “i” in cursive, make a stroke upward to the dotted line. Then, slide back down to the bottom line. End by putting the dot above the center of the “i,” just above the dotted line.
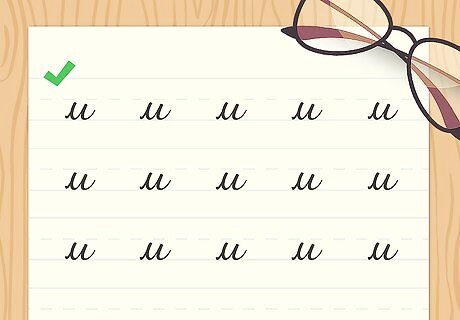
Practice “u." Do a stroke upward to the dotted line. Then, slide back down to the bottom line and curve upward to meet the dotted line again. End by swooping blow the dotted line. You can also try other letters that follow similar strokes, such as “w” and “t.”
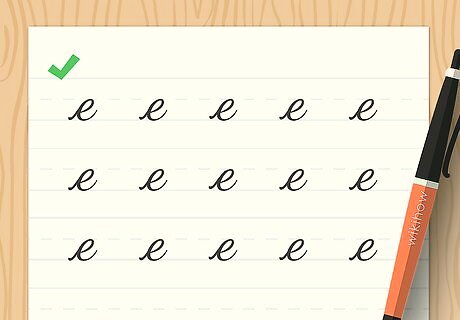
Do “e." To write an “e,” start with a stroke upward from the bottom line. Then, curve downward, behind the upward stroke. End by extending the downward stroke just above the bottom line.
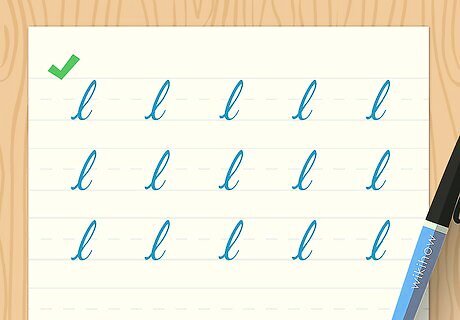
Try “l.” Make a stroke upward to the top line. Then, curve downward behind the upward stroke, all the way to the bottom line. End by sweeping the stroke to just above the bottom line. You can try other letters that follow similar strokes, such as “h,” “k,” “b,” “f,” and “j.”
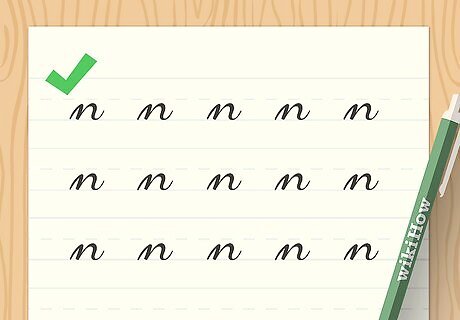
Practice “n." Begin with an upward stroke to the dotted line, followed by a straight downward stroke to the bottom line. Then, make an upward stroke to the dotted line and curve it downward. End with a short swoop just above the bottom line.
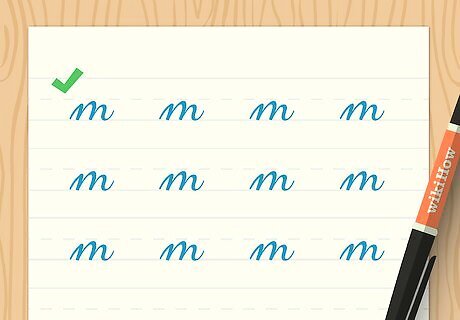
Do "m." To write “m” in cursive, follow the steps for “n,” but on the downward curve, draw another upward and downward curve. Then, add a short swoop just above the bottom line. Once you master these letters, try letters that follow similar strokes like “v” and “x.”
Doing Uppercase Cursive Letters
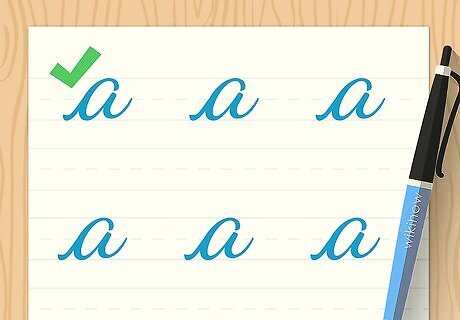
Try "A." Begin with a downward stroke from the top line to the bottom line. Curve the stroke and loop it back to the top line to create an oval. Then, make a stroke downward form the top of the oval and extend the stroke upward, just above the bottom line. An uppercase "A" in cursive is similar to a lowercase "a" in cursive. It should touch the top and bottom lines.
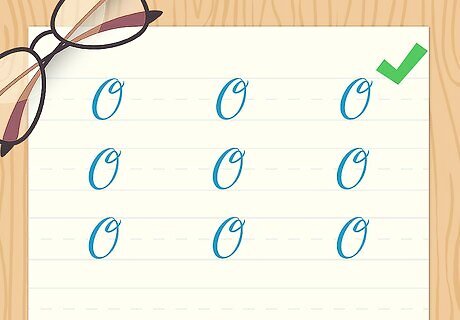
Try “O.” Start by making a small loop at the top line, extending from the right to the left. At the end of the loop, make a large curve to the right, forming an oval that touches the top line. The end of the stroke will overlap with the middle of the small loop at the top of the “o.” The letters “O,” “M,” and “N” in uppercase follow the same strokes as lowercase. The only difference is that the uppercase letters cover more space on the line.
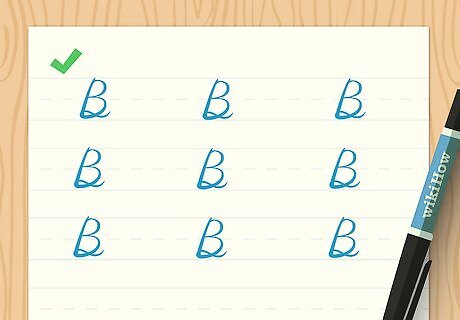
Practice “B.” Begin with a straight downward stroke from the top to the bottom line. Then, make a rounded curve to the side from the top of the stroke to just above the dotted line on the paper. Make another rounded curve from the middle of the stroke to the bottom of the stroke. Curve the stroke to make a small loop and end by sweeping the stroke to the right, just above the bottom line. An uppercase “B” is written very differently in cursive than a lowercase “b.” You may need to practice it a few times to get it right.
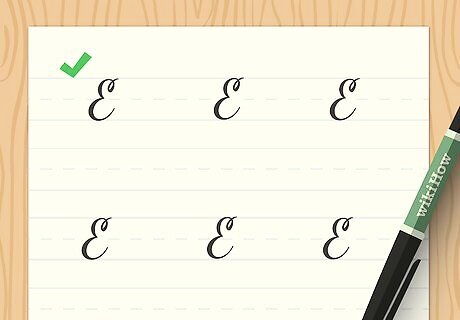
Do “E.” Start by making a small vertical loop that extends down from the top line. Then, curve to the left to form a larger vertical loop that extends to just above the dotted line. Make a small loop over the dotted line and curve downward to form a larger loop that touches the bottom line. End by extending the bottom loop upward so it sits just above the bottom line. An “E” in cursive looks a lot like a backwards “3.”
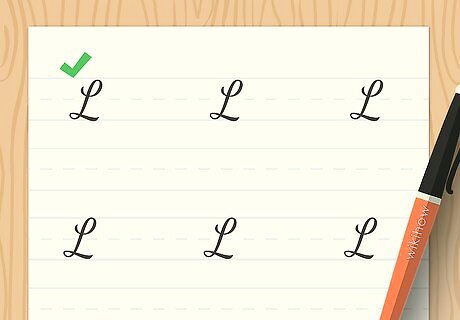
Practice "L." Begin with a loop towards the right, just below the dotted line. Curve the loop upward until it touches the top line. Then, extend the stroke downward to the left until it hits the bottom line. Draw a small loop upward towards the right and then extend the stroke so it slopes just below the bottom line.
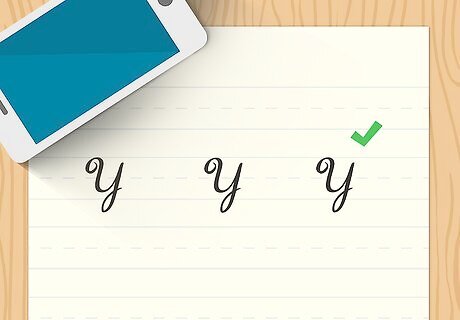
Practice "Y." Start with a small loop that extends downward to the right. Curve the stroke to the bottom line and then pull it back up so it sits just above the dotted line. Draw a slanted line downward so it extends past the bottom line and then curve it upward towards the right.
Perfecting Your Technique
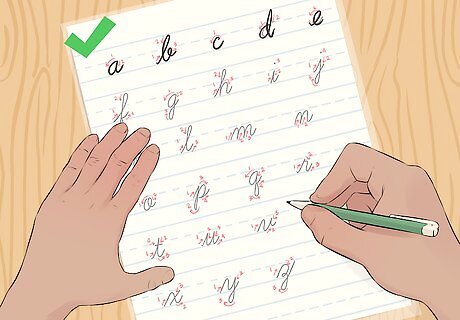
Use letter guides. Letter guides will have step by step instruction on how to write every letter of the alphabet in lowercase and uppercase cursive. For each letter, there will be arrows and dotted lines that you can follow. Write directly on the letter guides by tracing the examples. Look for letter guides online. You can also ask your instructors or teachers for letter guides.
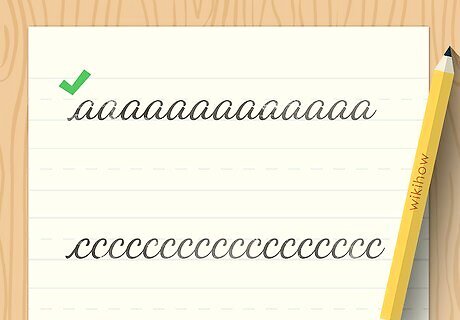
Practice one letter by making a linked pattern. Pick a letter that you find easy to do, such as “a” or “c.” Then, try writing one line of the same letter. Link each letter together so it forms a fluid pattern across the page. You can also try doing a pattern of a different letter on each line of the page. If you find certain letters difficult, challenge yourself to do a pattern of the letter.
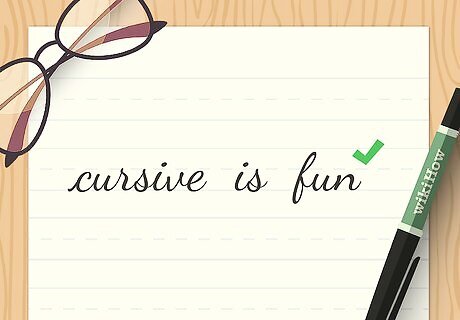
Join up your letters to form words. Start with short, two letter words like “ad,” “be,” “in,” or “no.” Then, challenge yourself to write three letter words, and so on. Join up the end of each letter to the beginning of the next letter so they appear fluid on the page. You can also try writing your name in cursive, especially if it is short.
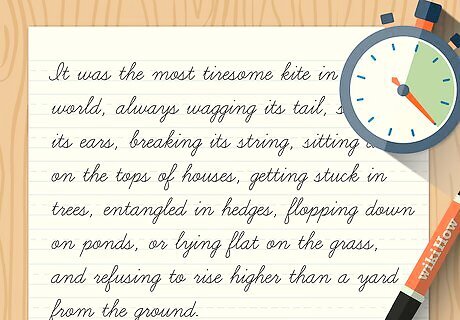
Practice writing cursive 20 minutes a day. Set aside 20 minutes in the morning before work or school to practice your cursive. Or, spend 20 minutes at night before bed doing cursive. Make a point of practicing different letters and words in cursive during each practice session. As a fun challenge, you can try writing out sentences or phrases that you like from books, songs, or movies in cursive as part of your practice.





Comments
0 comment