
Staying Safe
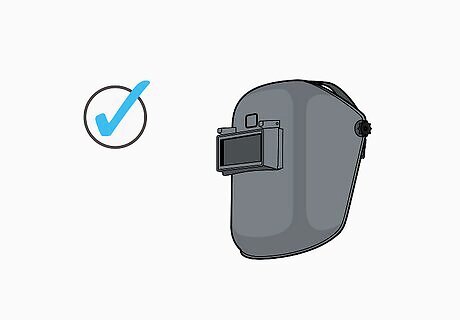
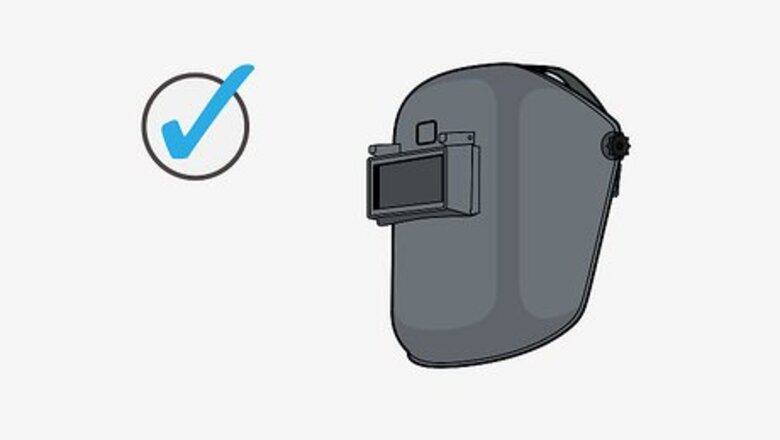
Purchase a welding helmet. The sparks and light that welding gives off is extremely bright and can harm your eyes. There’s also the possibility of metal debris or sparks flying into your face. Purchase an auto-darkening welding helmet online or at a hardware store to protect your eyes and face from the sparks and heat generated from the welding machine.
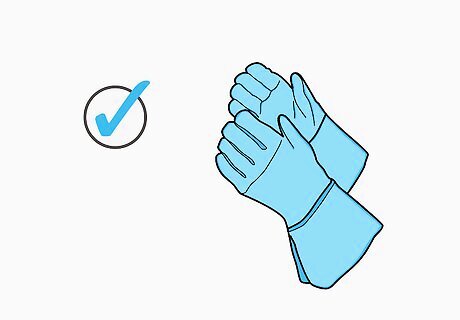
Get heavy duty welding gloves. Purchase welding gloves online or at a hardware store. Welding gloves are typically made of cow or pig hide and will protect your hands from electrical shock, heat, and radiation. Always wear gloves when welding something.
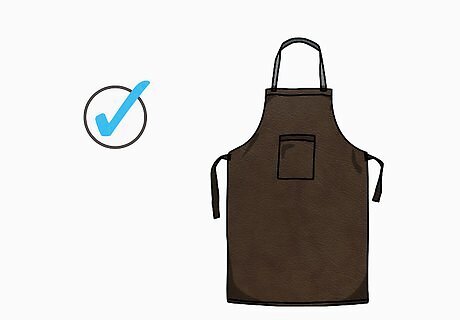
Wear a leather apron. An apron will prevent sparks from the welding machine from making contact with your clothes or potentially burning you. Get a durable, non-flammable apron online or at a hardware store.
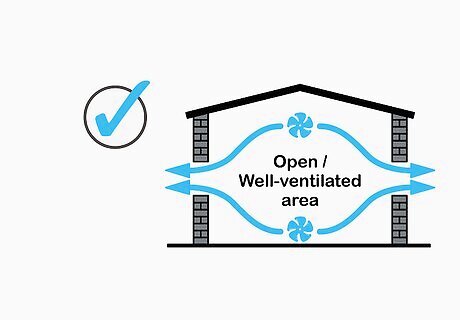
Work in a well-ventilated area. The process of welding contaminates the air with vapors and gases that are hazardous to inhale. You’ll want to work in an open space with open windows or doors while you weld. Never weld galvanized steel as it produces dangerous gas.
Inspect your welder before beginning. Look at all the wires, hoses, and connections on your welder. Replace any damaged or worn components before using the welder. Some welders require calibration at regular intervals. Always be sure that the calibration is up to date; there is no grace period.
Preparing the Metal for Welding
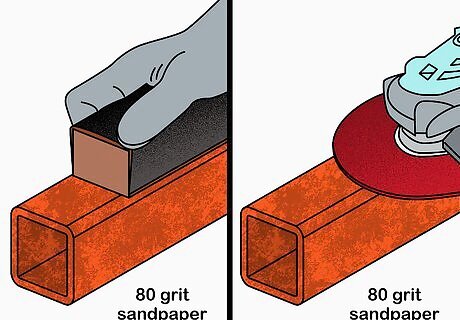
Scrape any paint and rust off the metal before welding. Use 80-grit sandpaper, a wire brush, or an angle grinder with a flap disc and go over the surface of the painted metal. You can purchase the sandpaper or wire brush or rent an angle grinder at a hardware store or online. Continue to grind off the paint and rust until your metal is metallic and shiny looking. If you’re using an angle grinder, be careful not to distort thin metal. If you’re working with thick metal, bevel the edges with an angle grinder to ensure the weld can fully penetrate. Paint and rust will inhibit the electrical connection created by the welder, and can also cause the weld to have porosity in it, which is unwanted
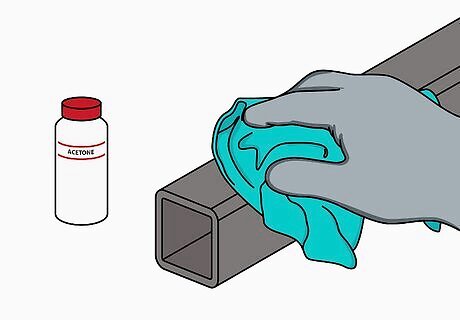
Wipe down the metal with acetone. Your metal must also be free of any dust, dirt, or debris because they can inhibit your ability to make good welds. Saturate a cloth in acetone and wipe it over the entire surface of the metal. The acetone should remove any contaminants that could mess with your ability to weld.
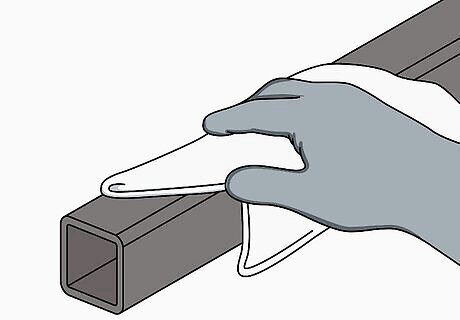
Dry the metal with a clean rag. Rub over the surface of the metal, making sure to remove any of the acetone that was left over from washing it. Let the metal fully dry before you start to weld.
Using an MIG Welder
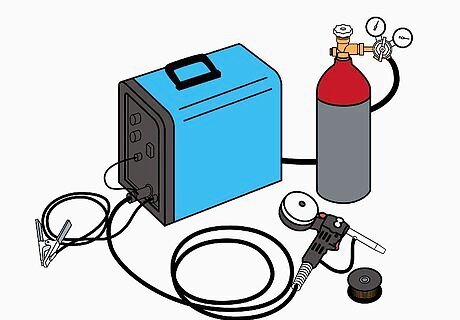
Make sure that your MIG welder is set up properly. Make sure that your MIG welder has a wire on the spool. Look at the tip of the welding gun to make sure that it’s being properly fed up into the gun. Ensure that your shielding gas canisters are properly set up and that your welding machine is in proper working order.

Clamp your ground clamp to the table you're working on. Your MIG welder should have a grounding clamp that you need to clamp onto your table. This will prevent you from getting electrocuted if you end up touching your table.
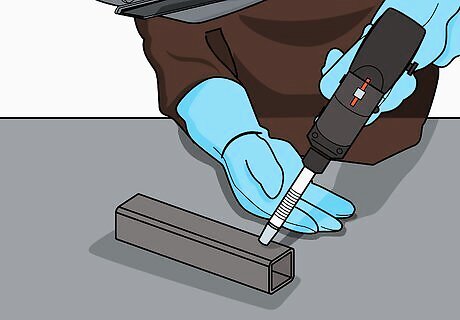
Hold the welding gun with both hands. Rest one hand on the table that you’re welding on and use it to control the direction of the gun while you weld. Your other hand should be gripping the gun, with your index finger ready to press the trigger. Remember to wear gloves when handling the welding machine.
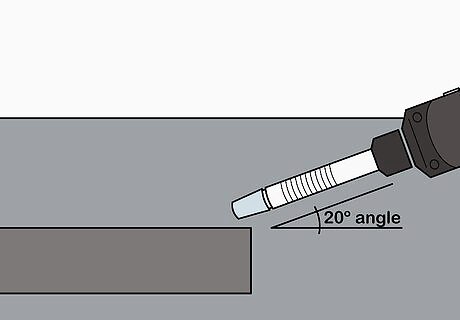
Position the tip of the welding gun on a 20-degree angle. Positioning the gun on a 20-degree angle against the piece of metal will help you penetrate into the metal as you weld. This is also commonly referred to as a push position.

Turn the welding machine on and press the trigger. Put your welding helmet down over your face and press the trigger on the gun. This should create a bright spark the end of your welding gun. Keep your face away from the weld so you don’t injure yourself or inhale any toxic fumes.
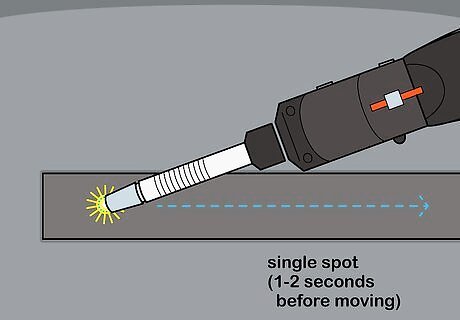
Move the gun over the metal slowly to create the weld. Press the tip of the welding gun against the piece of metal. Sparks should start to be created by the welding gun. Leave the gun in a single spot for one or two seconds before you start moving it down your piece of metal. Take safety measures before welding. "I used to think basic eye protection would be fine for my garage welding projects. After getting sparks in my eyes one too many times, I finally got serious about the safety gear. Following the article's advice on helmets, gloves, and ventilation made all the difference." - Akpobari Kiasira D. Practice to make perfect welds. "As a beginner welder, I struggled with technique and getting nice, smooth welds. Practicing on scrap metal, like the article suggests, built my skills. Now, my beads look professional." - McKenna K. Get the metal prep right. "I could never understand why my amateur welds kept turning out porous or not adhering fully. This article explained the importance of completely removing paint, oil, and rust from the surface first. Proper metal prep makes all the difference for penetration and strength." - Edward H. Master moving the gun at a steady pace. "When I first started MIG welding, I swept the gun too fast over the joint and ended up with thin, weak welds. It took patience and practice moving the gun tip slowly and steadily, as described, to lay down nice, even beads." - Ken C. Did you know that wikiHow has collected over 365,000 reader stories since it started in 2005? We’d love to hear from you! Share your story here.
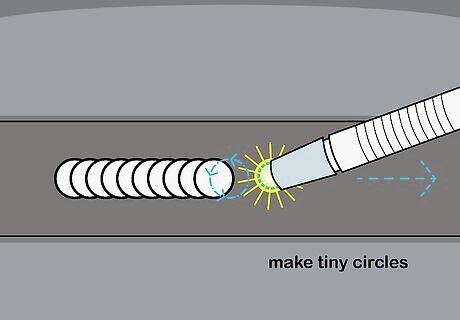
Make tiny circles with your gun as you weld. Work your way down the metal, making tiny circles as you move the welding gun. As you move down your piece of metal, you'll start to see hot metal start to pool behind the tip of your welding gun. Once you’ve reached the end of your weld, let go of the trigger and turn off your welding machine. If you move the weld gun too slowly, you may create holes in your sheet of metal. If you move your weld gun too fast, you may not heat the metal hot enough to melt it and your weld will be very thin.
Using a Stick Welder
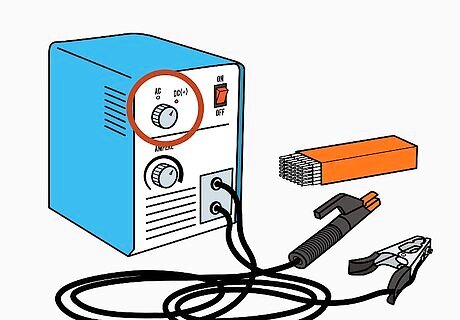
Set the welding machine to DC positive. The polarity on your machine will determine if you’re welding with an alternating current (AC) or direct current (DC). The DC setting on your machine will have DC negative and DC positive. DC positive provides a large amount of penetration and is the setting that you should use if you're just starting out. The AC setting is used when your power supply only has an AC output. DC negative results in less penetration and should be used on thin sheets of metal.
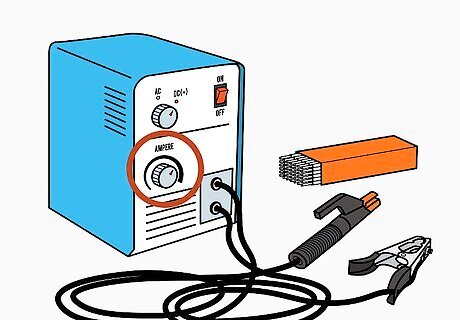
Set the amperage on your stick welder. Take a look at the instructions or packaging of the “rod” or electrode that you plan on using for welding. They will have a recommended amperage on them depending on what material they are made of. Use the knob on your welding machine to set the machine to the amperage that it recommends on the electrode’s packaging. If the rods provide an amperage range, split the difference. For instance, if the range is 100 to 150, use 125. The most common electrodes for steel include the 6010, 6011 and 6013.
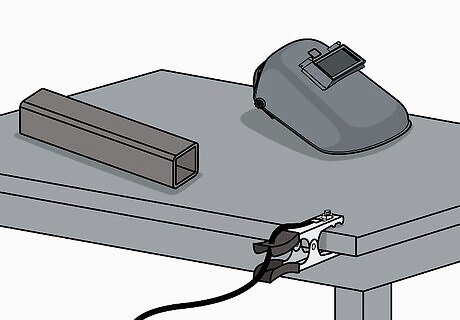
Ground your welding machine to the surface you're working on. Clean the surface first to ensure there will be a strong connection. Then, take your grounding clamp and apply it to the table that you're working on. This will prevent you from getting electrocuted while you weld.
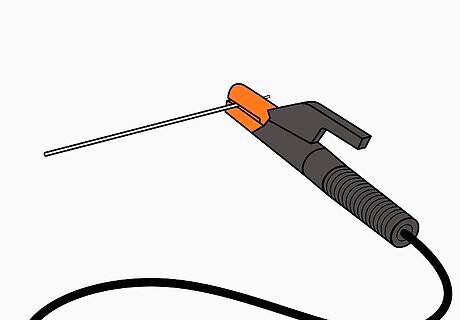
Place your rod inside of the welding gun. Some stick welders will have a clamp for their welding gun while others will have a more traditional looking welding gun. Place your rod into the tip of the welding gun and tighten the tip so that the rod stays in the gun. If you have clamps, put the welding rod in between the clamps and close them.
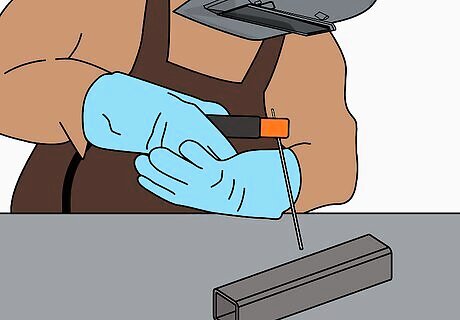
Hold your welding gun with two hands. Holding the gun with two hands will improve your precision and will help you weld straighter lines. Wrap your dominant hand over the top of the welding gun and use your other hand to support the welding gun from below.
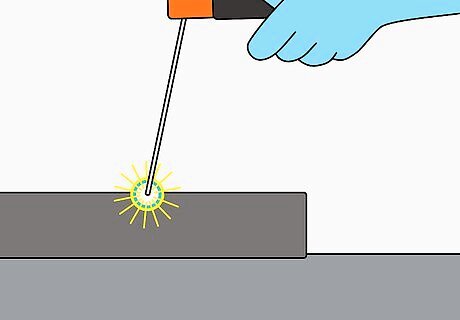
Strike your rod against the metal. Tap the tip of the rod lightly onto the metal and sparks should start to form. The rod will act a lot like a match, and friction must be present before you can strike an arc. Once you see and hear sparks, you’ve successfully started your weld.

Make a straight line with the rod. Slowly move down the sheet of metal with your rod. As you go along in a line, the melting metal should form a pool behind your rod. This will be the same size as the weld. A proper weld or "bead" will be about ⁄2 inch (1.3 cm) thick.
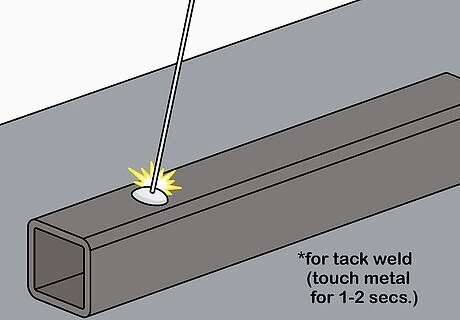
Touch the metal with the rod for 1-2 seconds to tack weld. If you lift the rod off of the metal, it will stop creating sparks. You can hold the rod onto a piece of metal for 1-2 seconds to quickly create a rounded tack weld. This is useful if you need to create quick welds on certain pieces of metal.
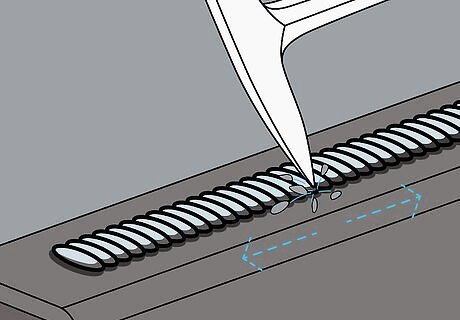
Break the slag off with a hammer. After you create your weld, metal will form over the weld like a shell. This material is called slag and is incredibly hot. Lightly tap the slag with a hammer until it comes off in sheets. Don’t slam the slag with a hammer, or hot pieces of metal can come flying off of your weld.
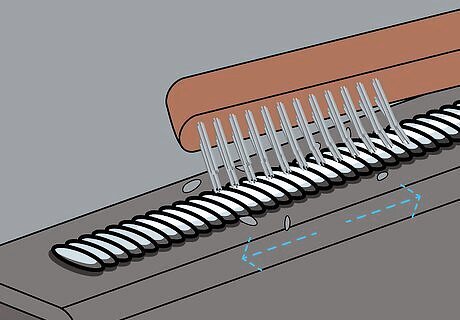
Clean off the slag with a wire brush. Use a wire brush and rub back and forth over the weld. Clean off the remaining slag and make sure there is no metal debris left on the weld.


Comments
0 comment