views
Creating a Green Screen Video
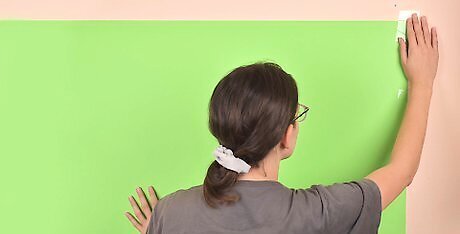
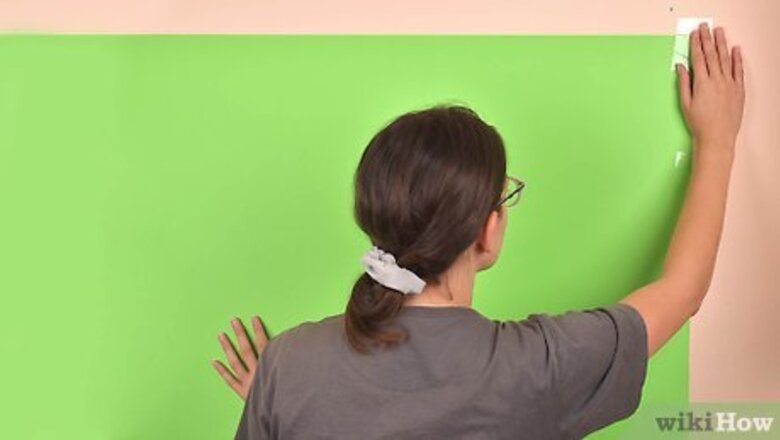
Set up your green screen. You can buy an industry standard green screen online, or you can use a lime-green sheet or poster paper in a pinch. Your green screen should have as few wrinkles as possible, and should be one uniform color throughout.

Place the subject 3 to 15 feet in front of the green screen. You'll need at least 3 feet between the green screen and the subject to minimize shadows, which is important when phasing out the green screen later. For best results, aim for at least 10 to 15 feet between the subject and screen—this will help mimic the lighting in the background clip to make subject look natural.
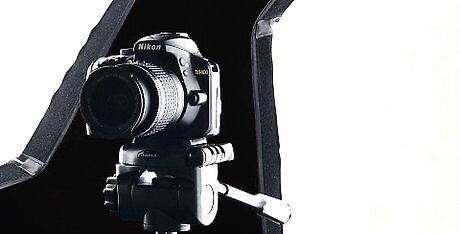
Position your camera. You'll want your camera far enough away to capture all of your body (if applicable) in the frame, without being so far away that the green screen isn't centered in the frame.
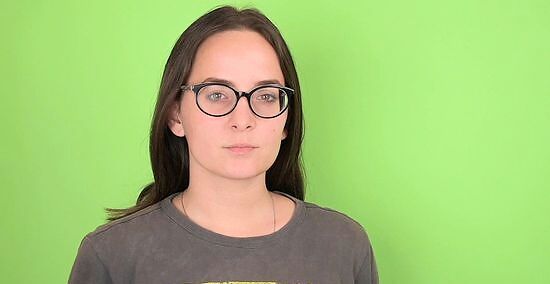
Shoot your video. Record yourself or your subject in front of the green screen. Make sure that any movements or objects in the frame stay in front of the green screen, as anything shot outside of the green screen frame will end up being cut from the final video.
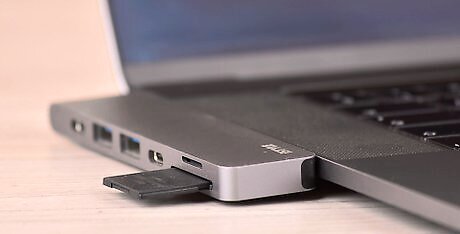
Move the video onto your computer. Once you've finished recording the video, you'll need to put it on your computer so that you can edit it. If the video is on a phone, consider uploading it to a cloud service like Google Drive and then downloading it onto your computer from there. If the video is on an SD card, you can usually insert it directly into your computer (or a USB/SD card adapter that's plugged into your computer) to move the video.
Editing with LightWorks

Open the LightWorks download page. Go to https://www.lwks.com in your browser and click the blue Download Now button at the top-right corner of the page.
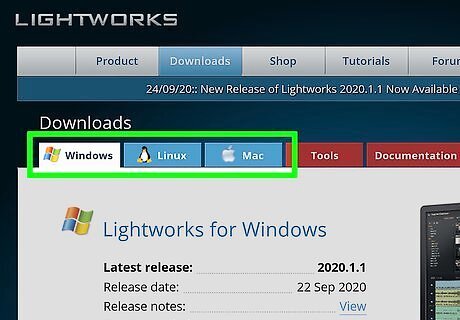
Select your operating system. Click the Windows tab or the Mac tab depending on which type of computer you use.
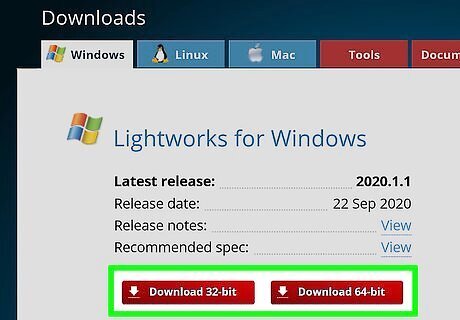
Click the Download link for your operating system. For a Windows computer, click Download 32-bit for a 32-bit operating system, or click Download 64-bit for a 64-bit operating system. On a Mac, click Download DMG here instead. Check your computer's bit number if you don't know whether your version of Windows is 64 bits or 32 bits.
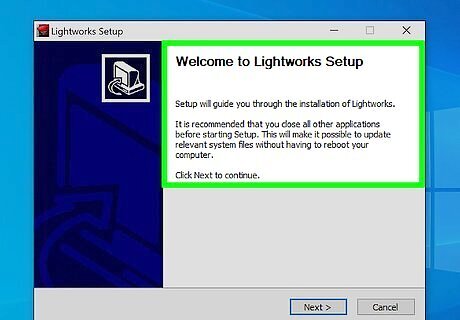
Install LightWorks. Once the LightWorks setup file finishes downloading, do the following: Windows - Double-click the setup file, click Yes when prompted, select a language and click OK, click Next, check "I accept" and click Next, click Next three more times, enter a random number, and click Install. Click Next and then Finish when the installation completes. Mac - Open the LightWorks DMG file, click and drag the LightWorks icon onto the Applications folder shortcut, and verify the software if prompted. Follow any other on-screen instructions as they appear.
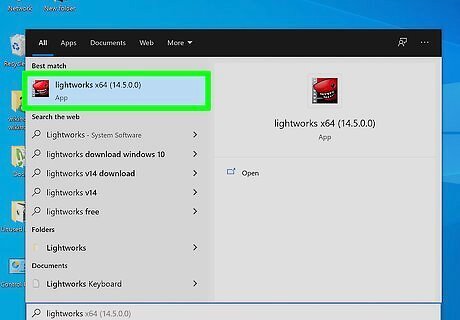
Open LightWorks. To do so: Windows - Double-click the red LightWorks icon on your desktop. Mac - Click the LightWorks app icon in your Mac's Dock, or click Spotlight Mac Spotlight, type in lightworks, and double-click the lightworks result.
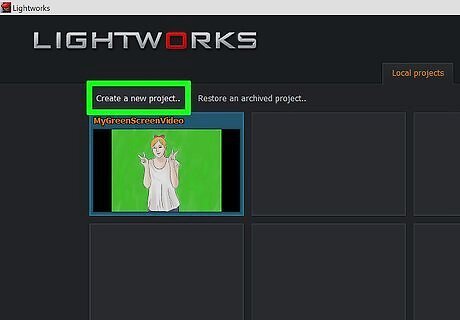
Click Create a new project…. It's a link in the upper-left corner of the window.
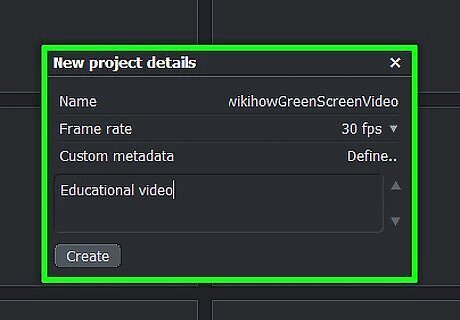
Set up your project. In the pop-up window that appears, do the following: Enter a name in the "Name" text field. Select Mixed rates from the "Frame rate" drop-down menu. Click Create.
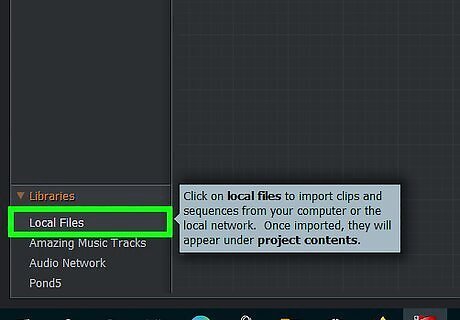
Click the Local Files tab. It's near the bottom-left corner of the window.
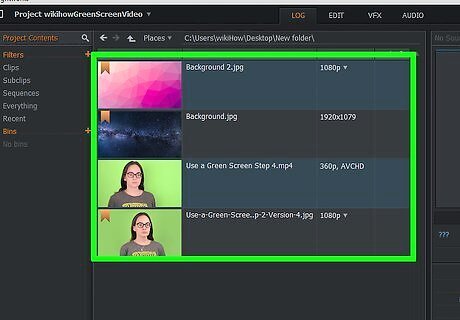
Select your green screen and video files. Click the green screen video that you want to use, then hold down Ctrl (PC) or Command (Mac) while clicking the image or video that you want to use as the background. If you don't see the files that you want to use, click the Places button at the top, and then select the folder in which your files are stored.
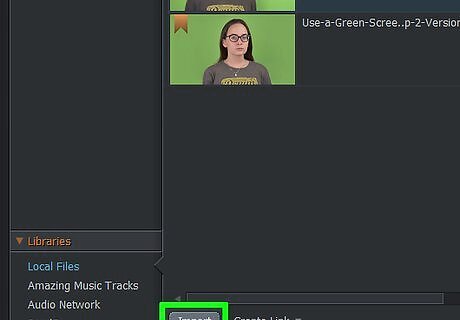
Click Import. It's in the lower-left corner of the window. This will import your files into LightWorks.
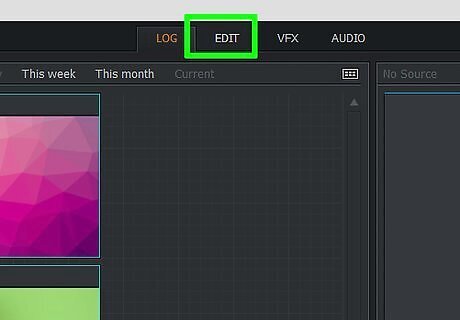
Click the EDIT menu. This option is at the top of the LightWorks window, just right of the LOG tab.
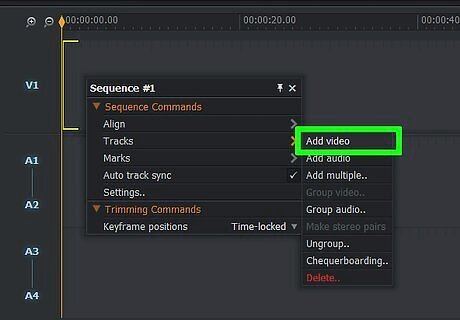
Create a second video track. Right-click the horizontal track section at the bottom of the window, click Tracks in the drop-down menu, and then click Add video in the pop-out menu. You will see a "V2" track category appear on the left side of the window.
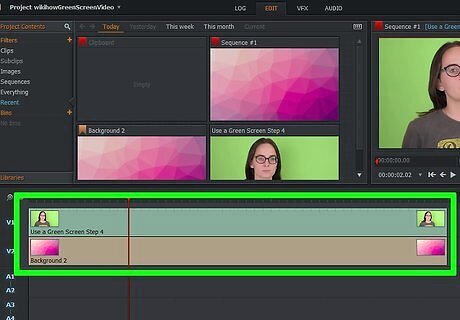
Add your files to the track area. Drag your green screen video into the "V1" section of the track area and drop it there, and then drag the background image or video file into the "V2" section. If you're using a background video, the video should be the same length as your green screen video. If you're using a background image, you'll need to click and drag the image's left or right edge to extend it to be the length of the video.
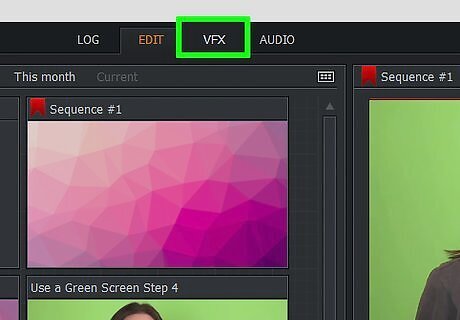
Click the VFX tab. It's at the top of the LightWorks window.
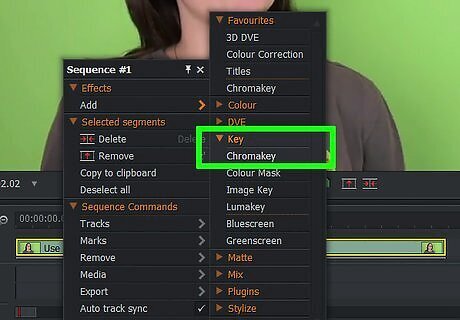
Add the green screen Chromakey effect. Right-click the "V1" track at the bottom of the window, click Add, click the Key category, and then click Chromakey in the menu.
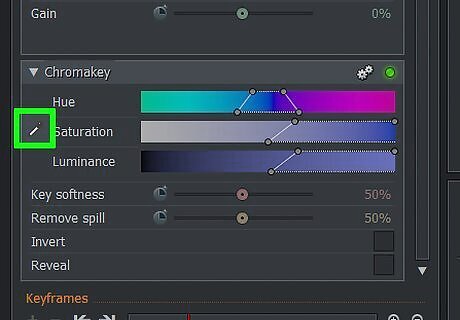
Click the eyedropper tool. It's in the Chromakey panel next to the word "Saturation."
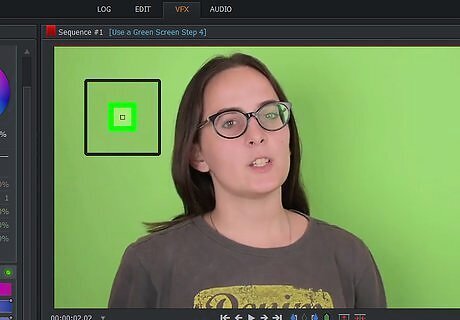
Click the green part of the green screen. This will select any matching color as the item to replace with your background image or video.
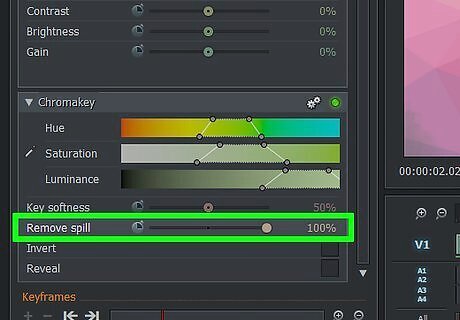
Adjust the green screen. Click and drag the "Remove spill" slider that's on the left side of the page to the right. Doing so minimizes the amount of green that you'll see due to inconsistent color in your green screen.
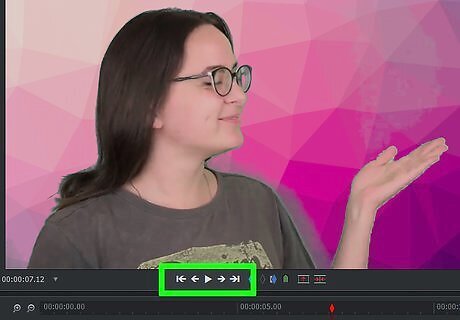
Click the Play button to preview the video. It's the triangle button below the video. If you need to adjust the green screen some more, do so on the left side of the window.
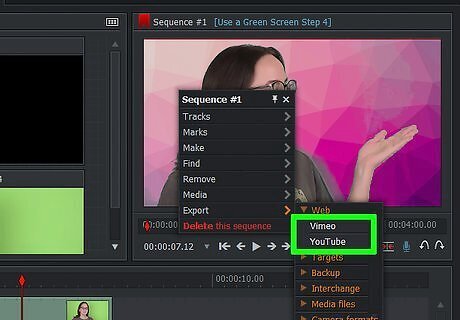
Export your video. To do this, click the EDIT tab again, right-click the track section, and then select Export. Click YouTube, uncheck the "Upload to YouTube.com" box if it's checked, and then click Start in the bottom-left corner. This will convert the project into a playable video file. Exporting may take several minutes to several hours based on the video's size and resolution.
Editing with Shotcut
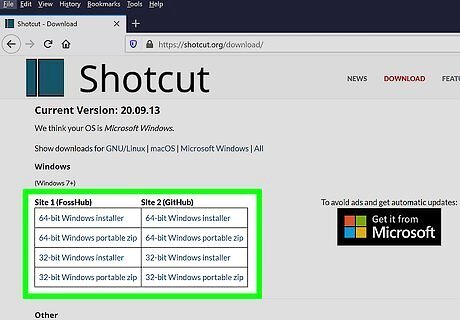
Download Shotcut. Go to https://www.shotcut.org in your browser, click the Click to Download link at the top, and then click your operating system's download link to begin the download. Windows - Click either 64-bit Windows installer or 32-bit Windows installer depending on your computer's bit number. Check your computer's bit number if you don't know whether your version of Windows is 64 bits or 32 bits. Mac - Click macOS below the "macOS" heading.
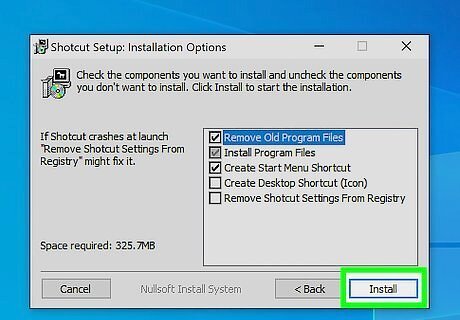
Install Shotcut. Once the setup file finishes downloading, do the following: Windows - Double-click the Shotcut setup file, click Yes if prompted, click I agree, click Next, click Install, and click Close when the installation finishes. Mac - Double-click the Shotcut DMG file, click and drag the Shotcut icon onto the Applications folder shortcut, and verify the software if prompted. Follow any other on-screen instructions as they appear.
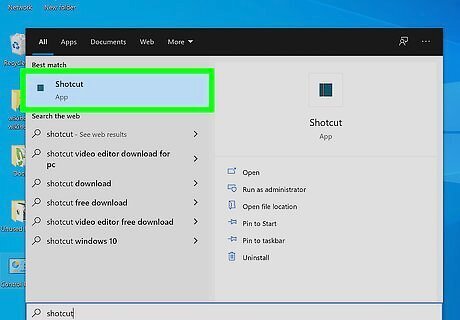
Open Shotcut. You'll find it in the Windows Start menu, or your Mac's Applications folder.
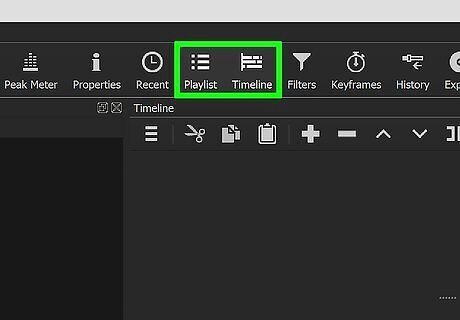
Enable the "Playlist" and "Timeline" sections. Click the Playlist tab at the top of the window, then click the Timeline tab at the top of the window. You'll see a "Playlist" section appear on the left side of the Shotcut window, while the "Timeline" section will appear at the bottom of the window.
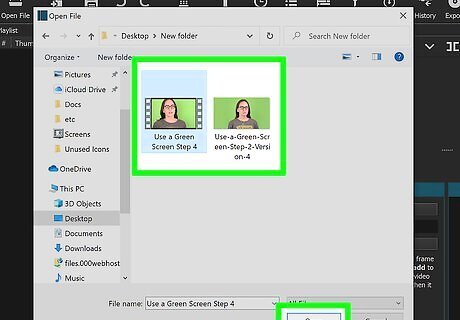
Import your green screen video and background. Click Open File in the upper-left side of the Shotcut window, select the green screen video and its background by clicking one file and then holding down Ctrl (PC) or Command (Mac) while clicking the second file, and then click Open in the bottom-right corner. The file names will appear in the Playlist section. You can use a video or an image as your green screen video's background.
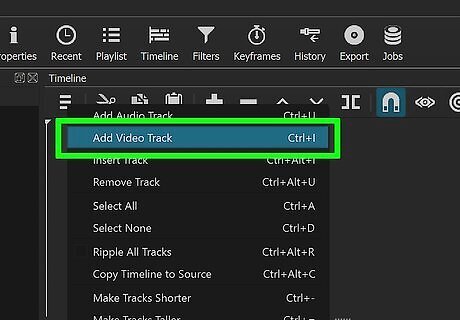
Create two video channels. In the Timeline section at the bottom of the window, click the three-line menu at its top-left corner, and then click Add Video Track. Then, repeat this process to add a second video channel.
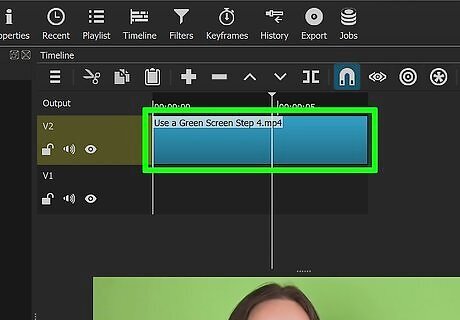
Insert your video in the first channel. Click and drag your green screen video from the Playlist window onto the top channel in the Timeline section, then drop it.
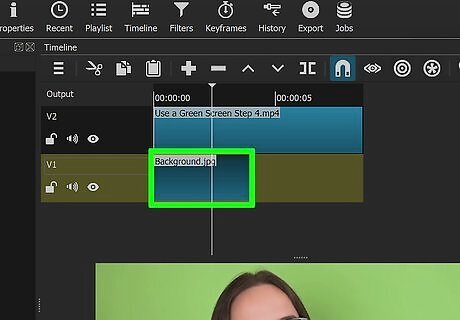
Add your background to the second channel. Click and drag the background photo or video onto the second channel at the bottom of the Timeline section, then drop it. If you're using a background video, the video should be the same length as your green screen video. If you're using a background image, you'll need to click and drag the image's left or right edge in the timeline to extend to the length of the video.
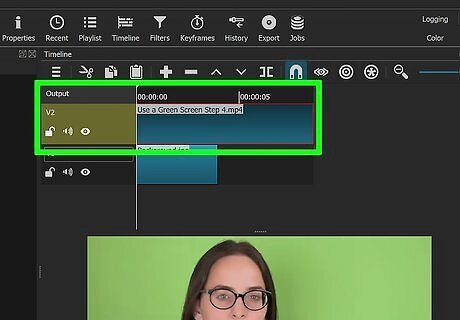
Select the green screen video channel. It should be at the top of the Timeline section.
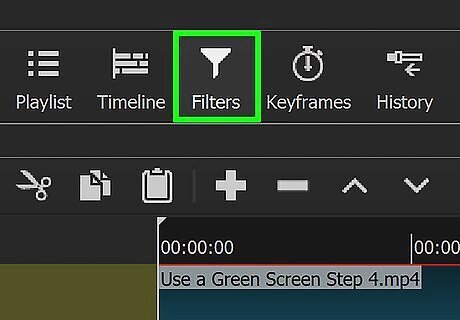
Click the Filters menu. This option is at the top of the window. A "Filters" menu will appear in the Playlist section.
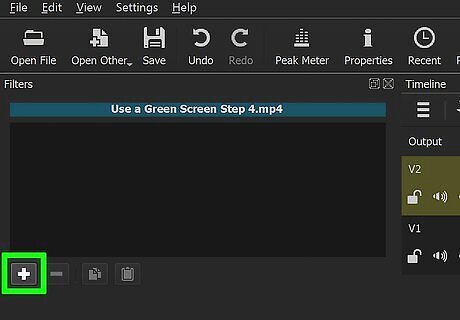
Click +. You'll find this below the "Filters" menu. Doing so will open a list of available filters in the Playlist section.
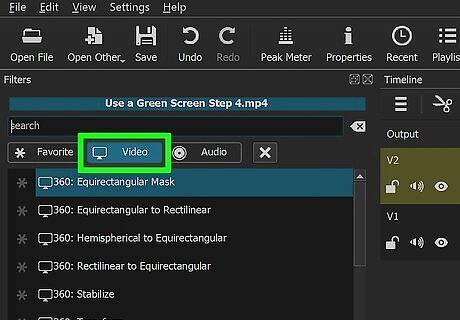
Click the "Video" icon. It's a computer monitor-shaped icon below the Playlist section. This will show all available video filters.
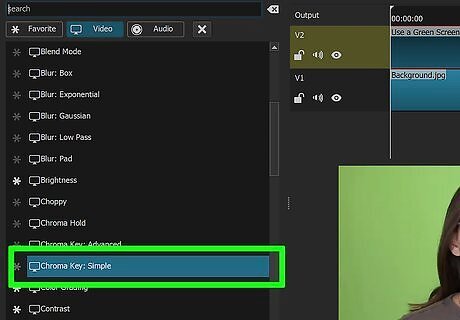
Click Chromakey (Simple). You'll find this in the middle of the Playlist window. Doing so opens the green screen settings.
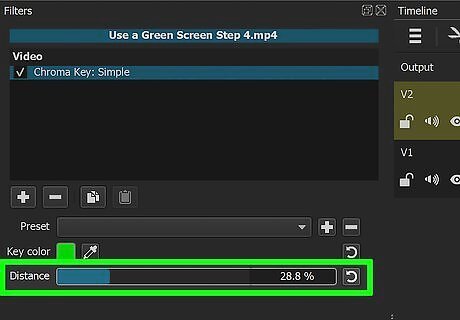
Adjust the green screen distance. Click and drag the "Distance" slider to the right until your green screen replacement image or video appears in place of the green screen on the right side of the window. As a general rule, you want to avoid moving this slider over to the "100%" mark.
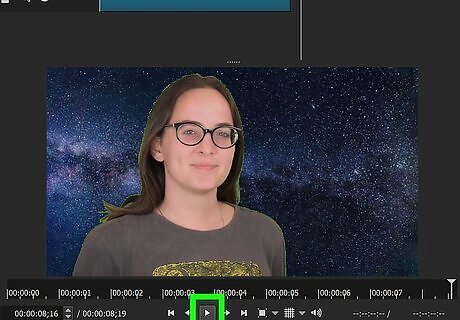
Preview your movie. Click the "Play" triangle below the movie window on the right side of the window, then adjust your green screen as needed. If you can see a large amount of the green screen, drag the "Distance" slider to the right; if you can't see enough of the background, drag the slider left.
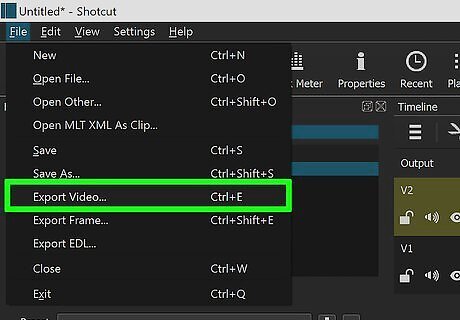
Export your movie. Click the File menu, select Export Video..., and then click Export File at the bottom of the menu. Enter your desired file name into the "File name" (PC) or "Name" (Mac) field, and then click Save. Exporting may take several minutes to several hours based on the video's size and resolution.







Comments
0 comment