views
Introducing Sketching

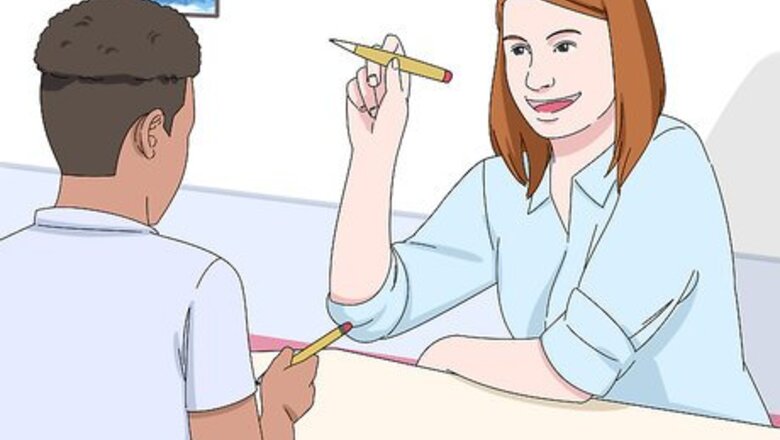
Start by having your students practice holding a pencil. Have them draw simple marks on a piece of paper with a pencil. Then, ask them to change their grip on the pencil and try drawing again. Repeat this a few times. Tell them there's no right or wrong way to hold a pencil when drawing, and that they should use whatever grip is the most comfortable for them.

Show your students how to sketch. Sketch a simple shape in front of them, like a circle or square. As you’re sketching your shape, emphasize how sketching is about making lots of short strokes with your pencil, and that the lines don’t have to be perfect. You want your students to start sketching, as opposed to drawing shapes with one long continuous line without lifting their pencils.

Have your students sketch a simple object. Set an apple, a coffee mug, a bottle, or some other simple object in front of your students, and ask them to sketch it using the technique you just showed them. Pay attention to how your students are drawing. If you notice they’re drawing with long continuous lines instead of sketching, kindly remind them to use short strokes. Let your students know that their sketch doesn’t have to look exactly like the object in front of them. It’s just a sketch! EXPERT TIP Kelly Medford Kelly Medford Professional Artist Kelly Medford is an American painter based in Rome, Italy. She studied classical painting, drawing and printmaking both in the U.S. and in Italy. She works primarily en plein air on the streets of Rome, and also travels for private international collectors on commission. She founded Sketching Rome Tours in 2012 where she teaches sketchbook journaling to visitors of Rome. Kelly is a graduate of the Florence Academy of Art. Kelly Medford Kelly Medford Professional Artist Draw how it looks, not how you think it looks. Kelly Medford, a plein air painter, says: “With drawing, it’s a challenge to learn to see things as they are and not how you think they are. Children substitute symbols for objects, but instead of drawing symbols, have your students try observing objects as they really are. Learning to draw from observation is the foundation of drawing.”

Ask your students to harden and define the lines of their sketch. Now that they have a basic sketch of the object, they can go back and be more precise with their pencil. Have your students look at their sketch and tell them to pick out which lines best represent the contour of the object. Demonstrate on your sketch how they can go back in and harden those lines with long, precise strokes.
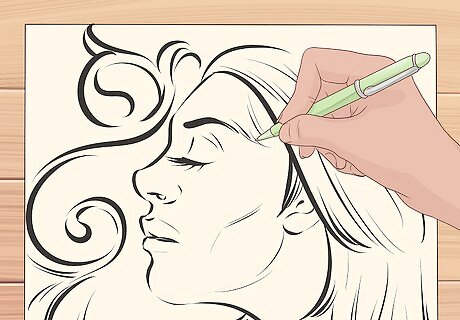
Finish the exercise by having your students add detail to their drawing. Don't have them worry about shading just yet. They should add any text or small details that are on the object they sketched. You can also have them draw the surface the object is sitting on. For example, if they were referencing a bottle that has a label on it, have them go in and add the label and any text on it.
Teaching Contouring
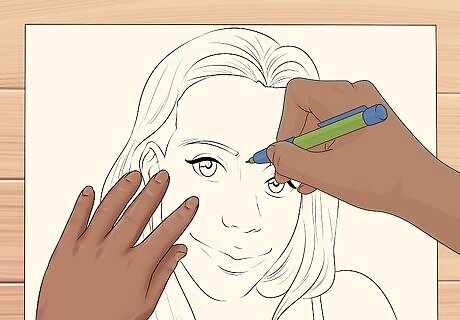
Have your students place their sketchbook on their lap under a table or desk. They shouldn't be able to see the paper. Explain to them that you're going to be doing a blind contouring exercise, which will help them learn to keep their eyes on the subject in front of them, instead of on their paper.

Ask your students to draw the contours of a simple object. Tell them that contour drawing and sketching are different. Sketching is about making lots of short, light strokes, whereas contouring is drawing the outline of an object with long strokes. Tell them to work slowly, and make sure no one is peeking at their paper as they're drawing.

Have your students observe their contour drawings. Their drawings will probably look very different than the actual object, and that's OK. The goal is to get them comfortable with observation. Tell your students to make note of any lines or details that are way off so they can correct similar mistakes in the future.
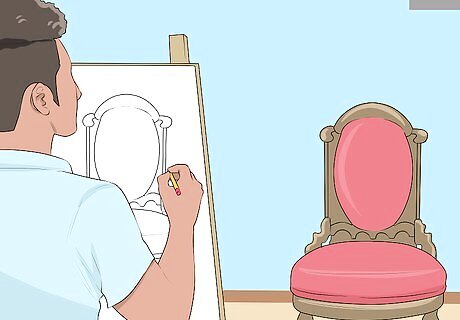
Repeat the exercise with more complex objects. Use a piece of furniture or have one of the students model for the class. Remind students to draw slowly and to really focus on the object in front of them. Set a goal for your students that with each round of the exercise, their contour drawings will look slightly more like the object.
Teaching Shading
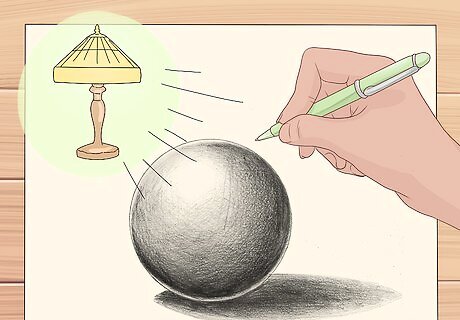
Place an object under a light source and have your students sketch it. Start with a simple object like a ball or a box. Use a lamp as a light source, or set the object next to a bright window. The highlights and shadows on the object should be obvious. Have your students start by just sketching the lines of the object, not the shading.

Have your students mark where the light source is in their drawing. Explain to them that when you want to shade an object and make it look three-dimensional, you need to know where the light is coming from. Have them draw a tiny circle or an arrow next to their drawing to represent the light source so they can keep track of it. For example, if the light source is a lamp shining directly down on the object, your students would draw a circle or arrow at the top of their paper to indicate that’s where the light source is.

Demonstrate how to shade in a drawing based on the light source. Sketch the object yourself and shade it in while your students watch. As you’re shading, explain how if the light source is on the left side of an object, the left side would be light and the right side would be dark, and vice versa. Also, explain that if the light source is hitting an object from behind, the whole front of the object would be dark, and vice versa.
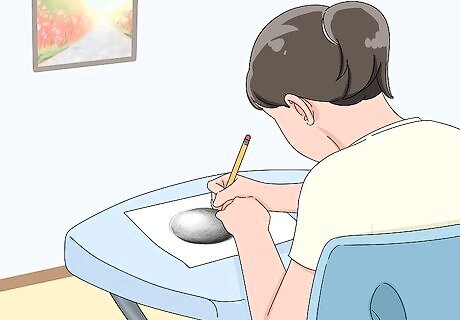
Let your students shade in their drawings. Watch them as they’re shading and offer helpful pointers if someone seems like they’re struggling. Remind everyone not to press down too hard while they’re shading, and to use the side of the graphite as opposed to the tip.

Ask your students to add a shadow to their drawing. Once they've finished with their shading, tell them to look at the object and note where the shadow is being cast from the light source. Then, have them lightly sketch the shadow in their drawing. Mention that adding shadows to drawings can make them seem more realistic.
Being an Effective Teacher
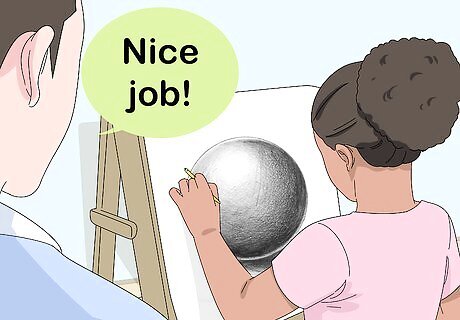
Focus on the things your students do right. Sometimes pointing out mistakes to new drawers can discourage them, and it may even make them lose interest in drawing altogether. When a student shows you their drawing, point out the things you like. Let them be the ones to notice mistakes and fix them. For example, you could say to a student “Nice job, I really like how you shaded this drawing. Is there anything you would change or do differently next time?”
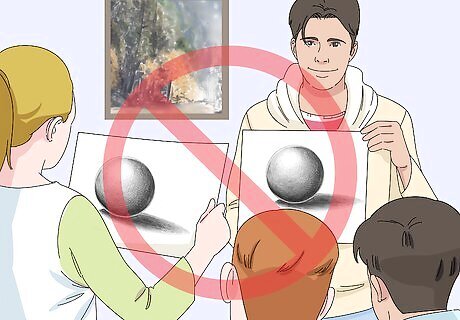
Avoid having students copy directly from your drawings. It’s OK to demonstrate a technique for your students, but having them copy your own drawings can interfere with their creativity. Encourage students to draw from their own observation. They’ll become better observers, and they won’t think there’s a right and wrong way to draw.

Encourage your students to look at whatever they’re drawing. Sometimes new drawers have a tendency to look down at their paper, and not the object they’re drawing. Remind students to look up at what they’re drawing if you notice them sketching with their head down a lot. This will teach them to draw from observation as opposed to memory.

Remind your students that anyone can learn how to draw. Let them know that drawing is a learned skill, not an innate talent. If you’re teaching someone to draw and they get discouraged, tell them they will get better with practice. It's important that students don't feel like they're naturally bad drawers, or they could give up on the learning process.


Comments
0 comment