views
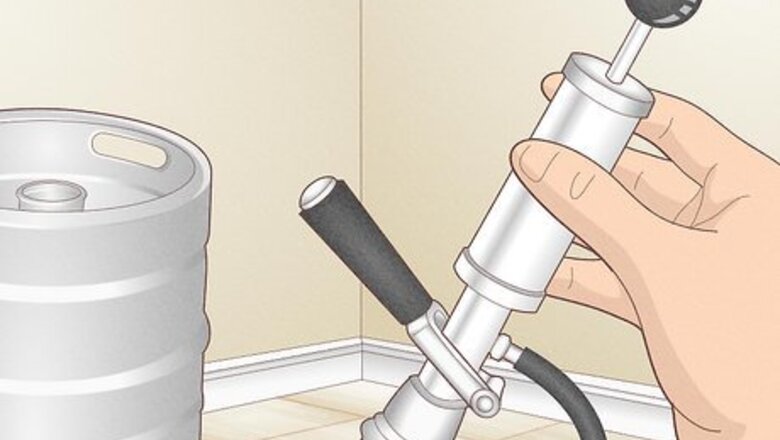
Get a “D” tap for a domestic beer keg.
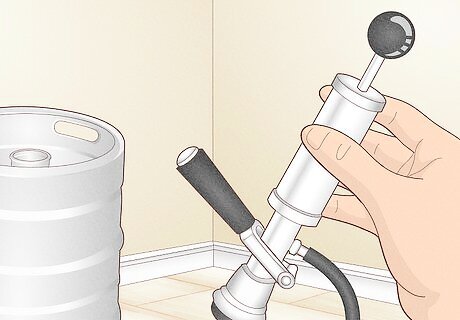
In America, most kegs require a “D” tap. Quickly check that the grooves in the tap line up with the grooves in the top of the keg. You can also double check with the person you bought it from, because some imports will need a different tap. Other possible systems include: European "S" system Grundy "G" system
Chill the keg for 1 hour before tapping it.
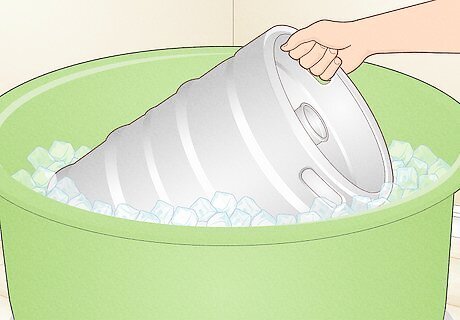
Use an ice bucket to keep your keg cold. Grab a large, plastic bucket and fill up the bottom half with ice. Place your keg into the bucket, then pour ice all around it to keep the entire thing cool. As beer warms up, it tends to get foamy, so chilling it will help stop it from going to waste as it foams up and out of your cups. When it comes to kegs, the colder they are, the better. Start chilling it as soon as you bring it home, no matter when your party is. Some beer experts swear by chilling your tap, too. This is optional, but if you want to make extra sure that your beer is cold, put the tap on ice for about 1 hour as well.
Lift the handle of the tap.
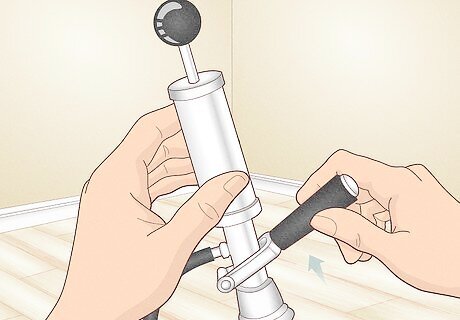
Avoid spraying beer in your face by disengaging the tap. It’s a small step, but many people forget it—and it can lead to a huge mess! Before you start tapping your keg, grab your tap and make sure the handle is lifted up. Otherwise, beer will start spraying out right away.
Line up the tap with the mouth of the keg.
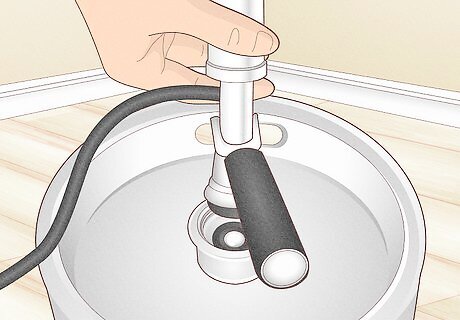
Situate the tap over the keg to get started. If your keg has a plastic or cardboard cover on the mouth, take that off first. Then, insert the bottom of the tap into the keg.
Turn the tap clockwise.
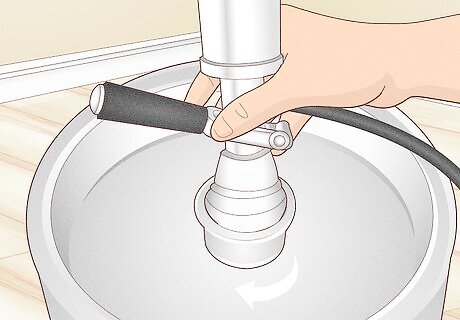
Lock the tap onto the keg by twisting it into place. Push down on the tap lightly to keep the grooves centered. As you push, turn the tap clockwise about 90 degrees. You don’t have to twist very hard—once you feel the tap lock into place, you can stop.
Pull the handle out and down.
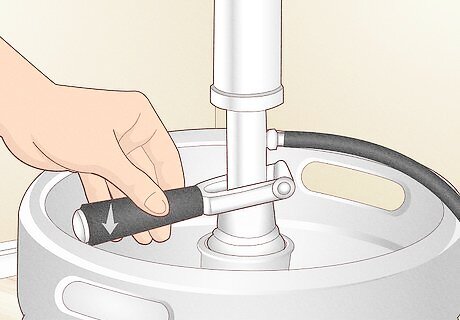
Engage the tap by putting the handle in the “on” position. Grab the handle and pull it out toward yourself, then gently push it down. Now your keg is officially tapped! Do a quick check near the base of the tap to make sure it’s seated properly. If you see foamy bubbles escaping, take the tap off and try again.
Pour your first beer.
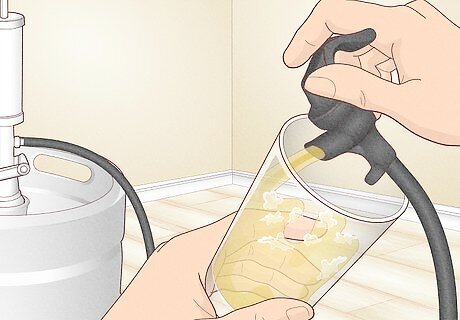
Push the nozzle down on the tap to pour a beer. As you pour, keep the nozzle pushed down all the way to avoid adding any more foam. Your first beer will probably be a little foamy, so be prepared to pour some foam off the top. Contrary to popular belief, you actually don’t need to pump the tap before you pour your first beer. In fact, pumping too much too early can lead to extra foam, which just means more wasted beer.
Pump the tap when the flow is slow.
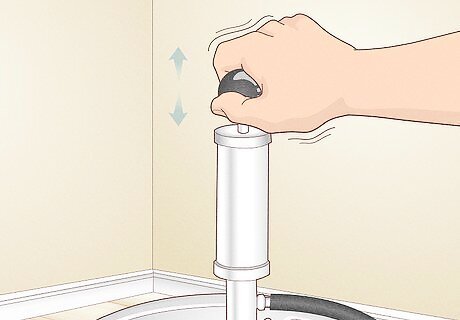
Pumping the tap creates more pressure and a stronger flow. As you pour beers throughout the night, keep an eye on how strong the stream is from the nozzle. If it turns into a trickle, grab the top of the tap and pump it 5 to 6 times. Pumping the keg too much can lead to—you guessed it—too much foam. Stick to 5 or 6 pumps at a time to avoid wasting any of your beer.
Lift the handle and turn the tap to untap the keg.
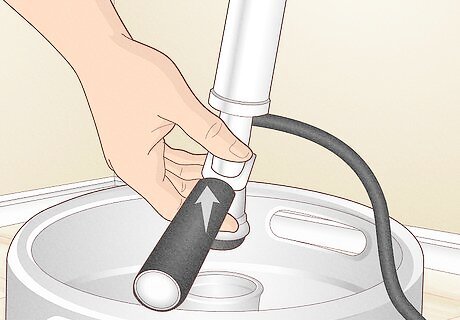
Untap the keg when it’s empty to tap a new keg. Pull the handle upwards on the tap to the “off” position. Then, twist the tap counterclockwise to unscrew it. You’ve now successfully untapped your keg! If you have a new keg, simply repeat the process on the full one to get the beer flowing again.


Comments
0 comment