
Taking a Screenshot

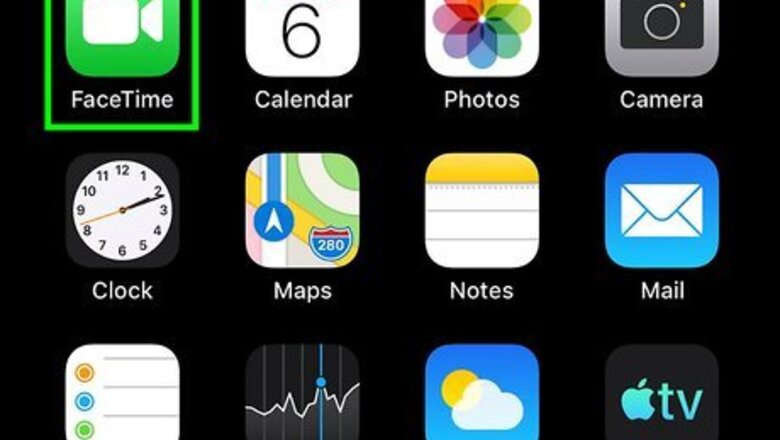
Open the FaceTime app on your iPhone or iPad. Look for a green icon with a white camcorder on your home screen.

Search for a contact to FaceTime. Tap the search bar and type their name, or search from a list of recent and favorite contacts.

Tap the camcorder icon next to their name. This will start a FaceTime call.
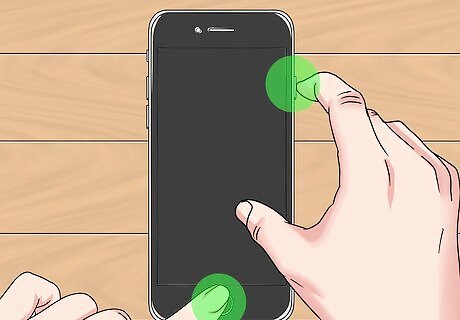
Hold down the Power button and the Home button at the same time to take a photo. This will take a screenshot of the FaceTime session. The Power button is the button on top of your phone that turns the screen on and off. The Home button is the circle at the bottom of the screen that takes you to the home page.
Taking a Live Photo on iOS

Open the Settings iPhone Settings App Icon app on your iPhone or iPad. This is a gray settings cog icon on your home screen. Tap on the app to open it.
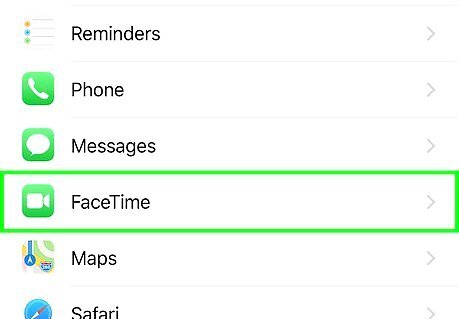
Tap on FaceTime. This is indicated with a green camcorder icon.
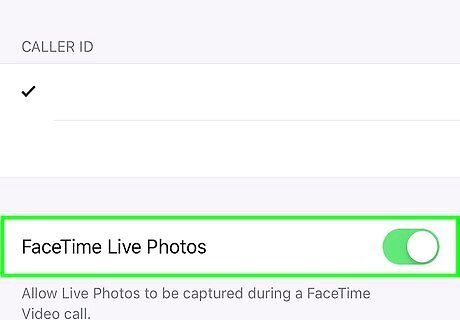
Make sure the FaceTime Live Photos toggle is on iPhone Switch On Icon. If it is off, tap to turn on. It will be green when it is on. This allows you to take Live Photos during FaceTime calls, but also allows others to take Live Photos of you.

Open the FaceTime app on your iPhone or iPad. Look for a green icon with a white camcorder on your home screen. Tap the app to open.
Search for a contact to FaceTime. Tap the search bar and search for their name, or pick from a list of recent and favorite contacts.

Tap their name, then tap FaceTime. This will start a FaceTime call.

Tap the white circle in the bottom left corner of the screen when you want a Live Photo. This will capture the Live Photo, which will save automatically to your Photos. Your contact will be alerted when you have taken a Live Photo of them. If you are on a group chat, first tap the tile of the contact you want a Live Photo of, then tap the white capture button. If the Live Photo button is not available, then either you or the contact may not be on the latest iOS, iPadOS, or macOS versions. Make sure you are upgraded to the latest software version. If it's still not available, you or your contact may be using an older device that cannot support Live Photos in FaceTime.
Taking a Live Photo on a Mac

Open the FaceTime app on your Mac. Look for a green icon with a white camcorder on your home screen. Click the app to open.

Click FaceTime. This is in the menu bar at the top left.

Select Preferences, then Settings. This will take you to the FaceTime settings
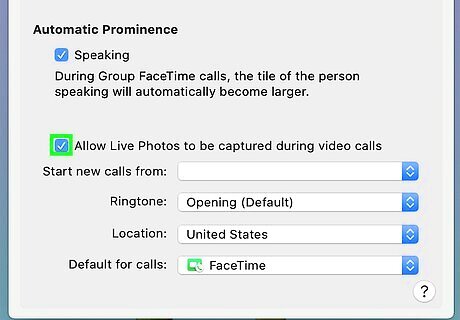
Tick the box that says "Allow Live Photos to be captured during Video calls". This allows you to take Live Photos during FaceTime calls, but also allows others to take Live Photos of you.
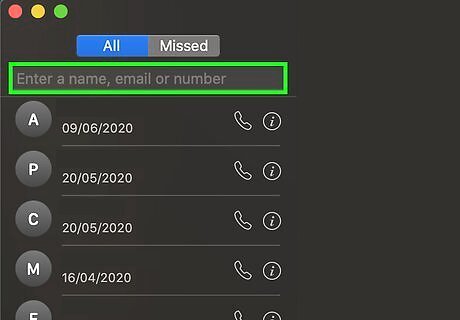
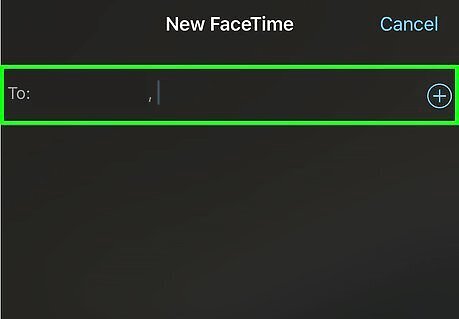
Search for a contact to FaceTime. Click into the field at the top to enter a name. Hit ↵ Enter when done.
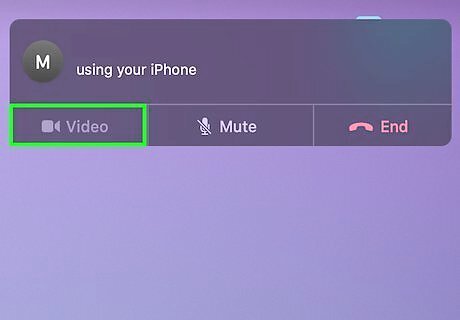
Click Video at the bottom. This will start a FaceTime call.

Select the FaceTime window, then click the white circle to take a Live Photo. This will save automatically to your Photos. If you are on a group chat, first click on the tile of the contact you want a Live Photo of, then click the white capture button. If the Live Photo button is not available, then either you or the contact may not be on the latest iOS, iPadOS, or macOS versions. Make sure you are upgraded to the latest software version. If it's still not available, you or your contact may be using an older device that cannot support Live Photos in FaceTime.


Comments
0 comment