
Using Fun Organizers
Save space by storing your shadows on flat, stackable trays. Single eyeshadows don’t take up a lot of space, so you can easily stack and sort them on a plastic tray. Visit your local home goods store a variety of trays that stack and fit on top of one another. With this storage technique, you can store your eyeshadows just about anywhere. Clear trays are especially useful, as it makes it really easy to sort your makeup. Try organizing your shadows so it's easy to find exactly what you're looking for. For instance, you might group neutral shades together on one tray and bright shades on another.
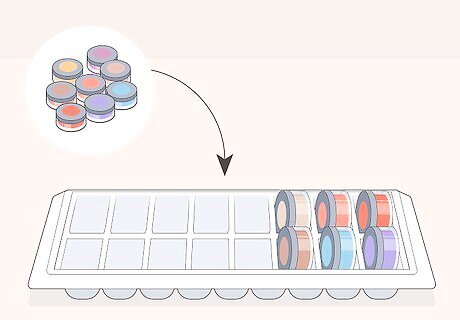
Place your shadows in an ice cube tray for an easy solution. Clean out an empty ice cube container and set it near your eyeshadow collection. Arrange each shadow sideways into the container. Depending on the size of your ice cube tray, each slot should fit a normal-sized, single eyeshadow. You don’t need to depot your eyeshadows to do this. You can also use flat, slotted, acrylic trays. These are available online, or you can reuse an empty container of razor cartridges for this.
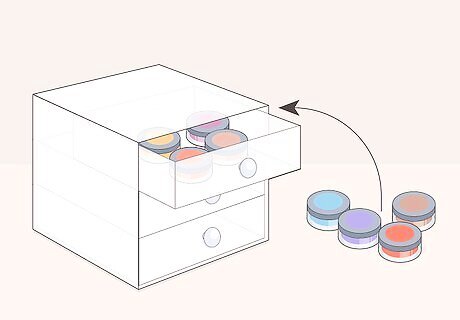
Sort your shadows into a small organizer for a sleek look. Visit your local home goods store to find a handy organizer, such as a mini plastic dresser with sliding drawers. Arrange your shadows in each tray or drawer so they’re side-by-side. Feel to sort your makeup by color, brand, or whatever category you’d prefer. It may help to sort your eyeshadows by brand or color when you store them in drawers.
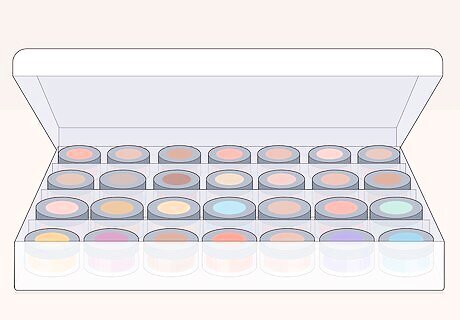
Arrange the pans in the slots of a bead organizer as a quick solution. Shop online or in your local craft store for a bead organizer, or a large plastic case with individual slots. Lie each eyeshadow container in each individual slot until you run of out shadows, dedicating 1 space to 1 eyeshadow. This may be a handy solution if you don’t have a lot of single eyeshadows on hand. If you have a large makeup collection, you may need more than 1 bead organizer for this.
Depotting Your Eyeshadow
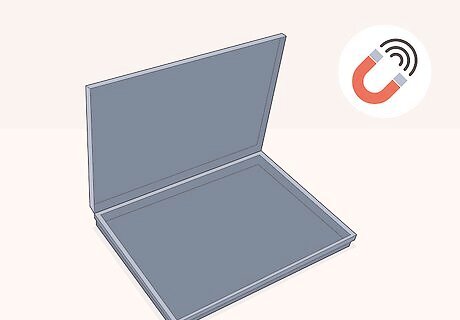
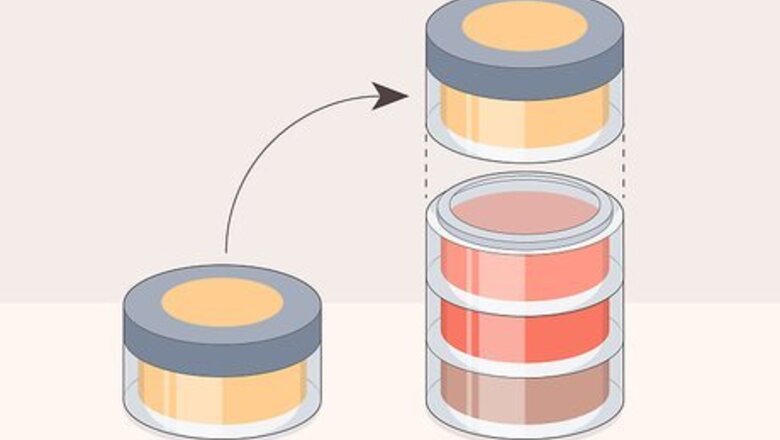
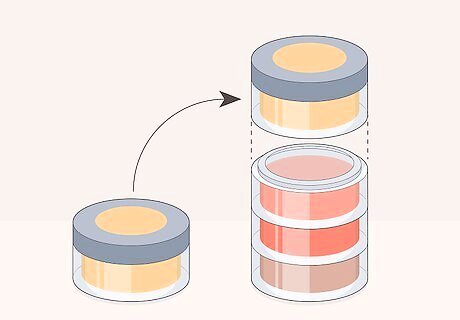
Set out a clean, magnetic palette to hold your eyeshadow. Check online or in a cosmetics store for a large, empty magnetic palette, which can hold stray eyeshadow pans. Keep this palette nearby, so it’s easy to transfer your eyeshadows. Magnetic palettes are a great way to make and customize your own palettes.
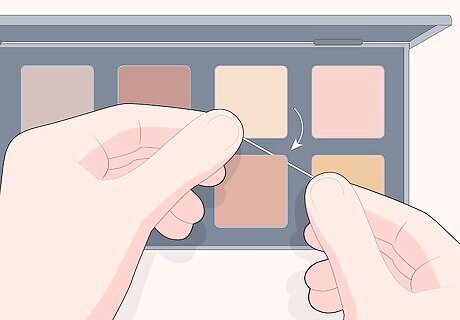
Secure a 1 ft (30 cm) section of floss around the edges of the shadow. Fit the floss around the corner of the eyeshadow pan, sticking it in the gap between the pan and the packaging. If you’re having trouble fitting the floss around the edge, use a sewing pin to stick it into place. Try to get the floss completely beneath the pan, so you can pull the eyeshadow out easily. This works especially well with square or rectangular eyeshadow pans. Don’t be discouraged if you’re having trouble securing the floss around the pan! It may take a few tries before everything’s in place.
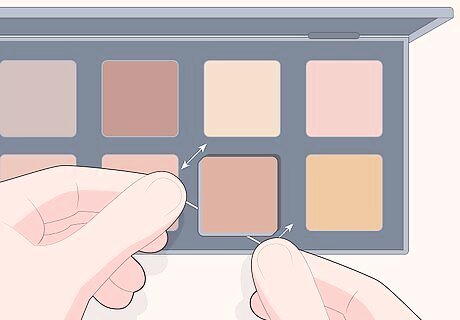
Pull and slide the floss to remove the palette. Hold onto both sections of the floss, pulling them back and forth beneath the pan to loosen the eyeshadow. Continue rocking and sliding the section of floss until the pan pops out of its packaging. There will probably be an ugly spot of glue on the bottom of the eyeshadow pan. Don’t worry—this is completely normal, and won’t be visible to anyone.
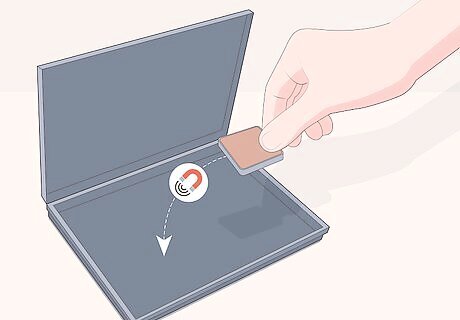
Transfer your eyeshadow to a magnetic palette. Place the single pan along the corner or edge of the palette. Many single eyeshadows are built into a magnetic pan, which helps it firmly stay in the magnetic palette. Continue with the depotting and transferring process until you’re happy with your new, customized palette! You can also try displaying your depotted eyeshadows on a magnetic board! Alternative Way to Depot Use a thin eye dropper to squeeze 2-4 drops of rubbing alcohol around the corners of your eyeshadow palettes. Stick a butter knife around the sides of the shadow and slowly pry the single pan away from the rest of the palette. Move this separated eyeshadow to a separate magnetic palette to finish the transfer!


Comments
0 comment