

Measuring and Cutting the Pieces
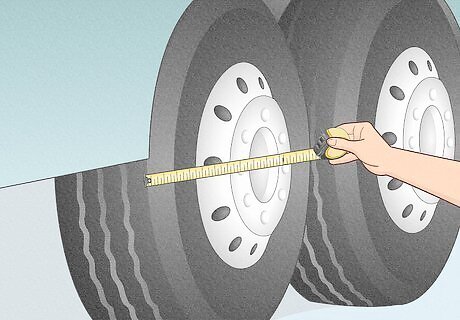
Measure the diameter of the tire and the tire's hub. Pull a measuring tape horizontally across the front of your RV tire and write down the measurement. Then, measure across the center hub of the tire and write this down too. For example, the diameter might be 28 inches (71 cm) while the hub diameter is around 4 inches (10 cm).
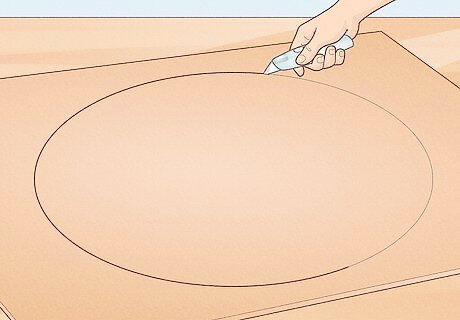
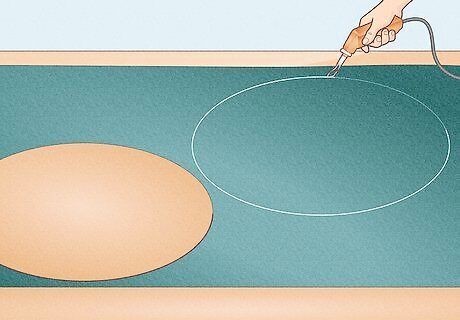
Cut a circle template out of cardboard to cover the front of the tire. Place a large piece of cardboard on your work surface and tie a long piece of string to a pencil. Cut a piece of string so it's half your tire's diameter plus ⁄2 inch (1.3 cm) and tape the end to the center of the cardboard. Tie a pencil to the other end of the string and pull it taut so you can draw a large circle. Then, carefully cut out the cardboard with box cutters or scissors. If your tire's diameter is 28 inches (71 cm), cut the string so it's 14 ⁄2 inches (37 cm), for instance. The extra 1 inch (2.5 cm) gives you seam allowance for sewing the covers. If you're using box cutters, place a cutting mat under your work surface.
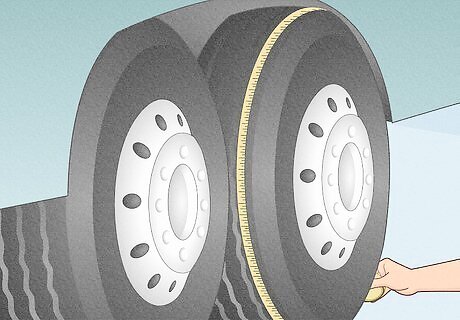
Take the tire circumference and width measurements. Place 1 end of your measuring tape in the middle of the tire's treads about 2 inches (5.1 cm) above the ground. Wrap the measuring tape across the tread until it's 2 inches (5.1 cm) from the ground and take the measurement. Once you've measured the circumference, stretch your measuring tape across the tread horizontally to find the tire width measurement and write this down. Put the ends of the measuring about 2 inches (5.1 cm) above the ground since you won't want the cover to drag.
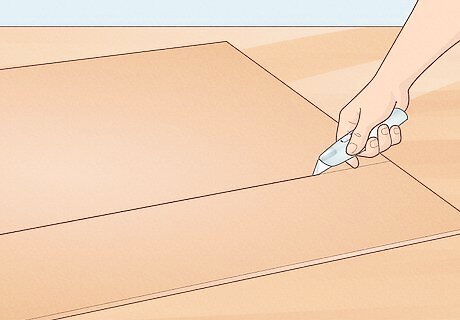
Cut a cardboard rectangle template for the piece that covers the tread. Get out another piece of cardboard and draw a rectangle that's as long as your tire circumference plus 1 inch (2.5 cm) and as wide as the tire width measurement plus 1 inch (2.5 cm). Then, cut out the rectangle with scissors or box cutters. The rectangle piece forms the top of the tire cover that connects the 2 circular pieces. Always use caution when you use box cutters.
Place the templates on vinyl or sailcloth fabric and cut 2 circles and 1 rectangle piece. Spread out marine-grade vinyl or sailcloth fabric and set the circle and rectangle templates on it. Cut out 2 fabric circles and 1 rectangle piece to make 1 tire cover. Sailcloth is made of several durable layers so it lasts longer than vinyl, but it is more expensive and harder for your sewing machine to stitch through. Marine-grade vinyl offers the same protection to your tires, but it's less expensive and thinner for sewing through. If you have an edge hot-knife, carefully use that to cut through the fabric since it prevents the fabric from fraying. You can cut the fabric with sharp scissors, but the edges may fray a little over time.
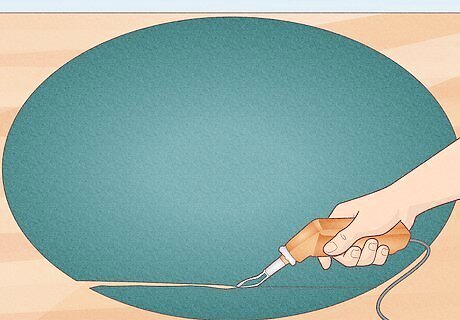
Trim a horizontal line across the bottom of the circles. Lay a ruler horizontally on the bottom of one of the tire pieces. Move it up toward the center of the circle by 1 inch (2.5 cm) and draw a straight line across the circle so it passes through it completely. Then, cut across this line to remove the small piece of fabric from the bottom of the circle. Repeat this for the other circle. Cutting the very bottom of the tire pieces prevents the cover from dragging on the ground.
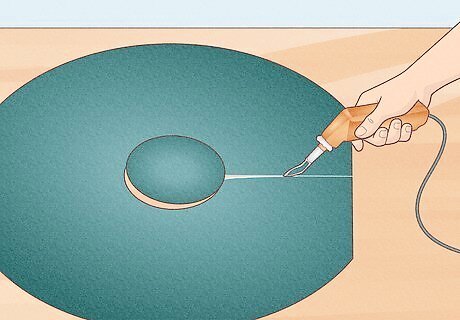
Cut the hub diameter from the center of 1 of the circles. Draw a circle in the center of the tire piece that's as wide as your hub measurement. Then, cut a straight line from the flat edge of the circle up to the center to make a slit. Cut around the hub diameter and remove the small circle of fabric. Do this for just 1 of your tire pieces since it will be at the back. The hole lets you get the tire cover around the axle. You don't need to cut the hub from the other tire piece since it will completely cover the front of the tire.
Assembling the Cover
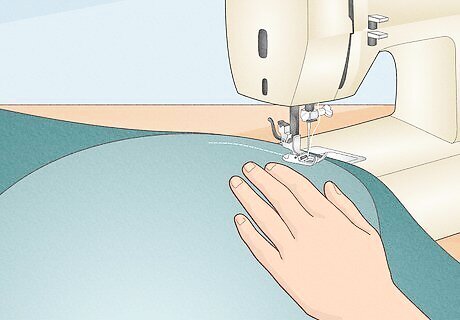
Fold the circle's straight edge by ⁄2 in (1.3 cm) and straight stitch across it. Tuck ⁄2 inch (1.3 cm) of straight fabric edge in towards the wrong side of the fabric circle. Make straight stitches across this edge and leave a ⁄2 inch (1.3 cm) seam allowance. Repeat this for the other circle. Use a heavy-duty sewing needle in your sewing machine and thread it with polyester nylon thread that matches the color of your fabric.
Make a hook-and-loop fastener closure for the slit on the circle piece. Cut a small rectangular piece of fabric that's about 3 inches (7.6 cm) wide and as long as the slit you cut in the circle. Sew a 2 in (5.1 cm) wide piece of hook-and-loop fastener onto the rectangle and sew the piece to 1 edge of the slit so you can fold it over. Then, sew the opposite hook-and-loop fastener piece to the other side of the slit. It doesn't matter which piece of the hook-and-loop fastener you attach to the folding piece of fabric as long as you sew 1 hook and 1 loop piece on either side of the slit.
Attach binding to the slit and center hub if you have an industrial machine. If you'd like to finish the edges of your tire cover and make them more durable, attach a binding foot to your industrial machine and feed it binding as you sew along the slit, around the small hub in the center, and down the opposite slit. It's really hard to sew through the binding, the hook-and-loop fastener, and the fabric using a standard sewing machine.
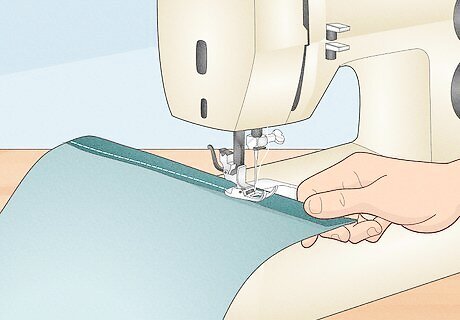
Hem the 2 short ends of the rectangle piece. Fold each end of the rectangular piece under by ⁄2 inch (1.3 cm). Make straight stitches across the ends and leave a ⁄2 inch (1.3 cm) seam allowance to finish the ends. Remember to sew with the wrong side of the sailcloth facing up.
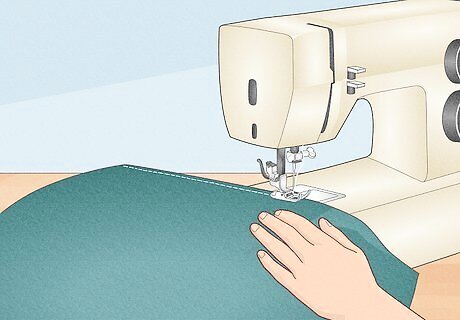
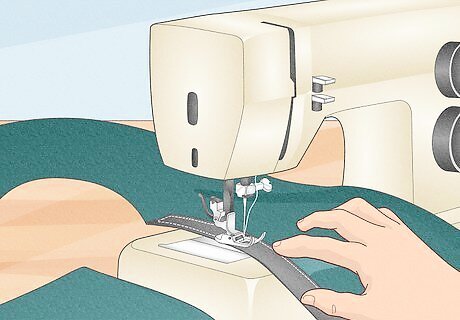
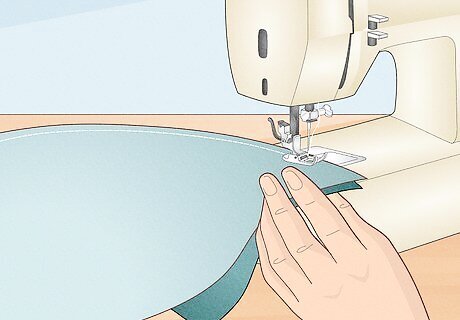
Center the rectangle and sew it to the top half of a circle piece. Find the middle of the rectangle on one of the long sides and pin it to the top point of 1 of your circle pieces. The rectangle will cover the tread of the tire while the circle will cover the face. Sew straight stitches across the length of the rectangle to attach it to the circle. Leave a ⁄2 inch (1.3 cm) seam allowance as you turn and sew.
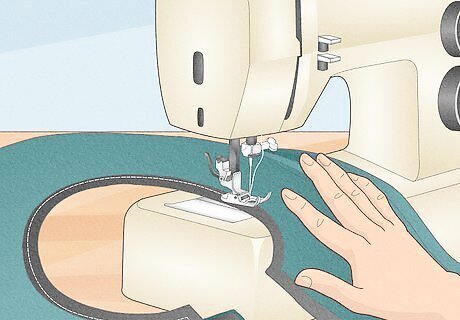
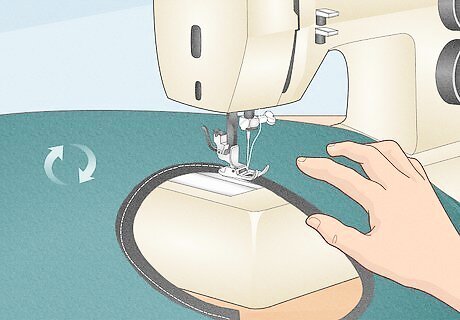
Sew the opposite side of the rectangle to the other circle. Pin the other edge of the rectangle piece to the opposite circle and sew along the length of the rectangle. Turn the cover right side out to complete the tire cover. For a professional look, you can go back and topstitch around the edge of the circle.
Repeat the entire process to make as many tire covers as you need. One of the nice things about making your own RV covers is that you can sew as many tires as you need for your RV. Consider making a spare cover or two in case the ones on your RV get damaged.


Comments
0 comment