views
Designing and Tracing Scallops onto the Fabric
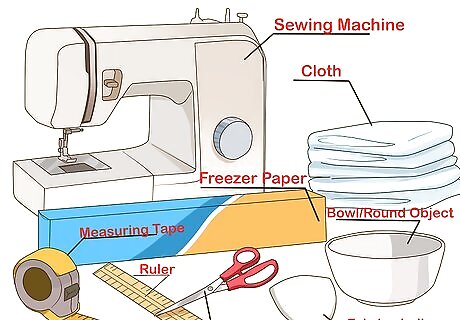
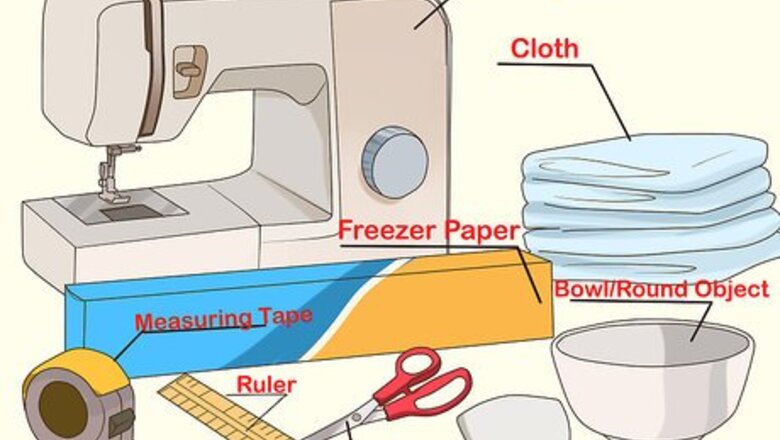
Gather your materials. Creating a scalloped edge for a garment is quite easy, but you will need to have some special materials handy before you get started. You will need: Fabric. Make sure that you use something that will hold its shape, such as cotton, wool, and linen. Round item to use as a guide for creating scallops, such as a bowl, cup, or coin. You can make the scallops as small or as large as you like. Freezer paper (optional). You can use freezer paper to create a template for you scallops and then sew around this template instead of drawing the scallops directly on the fabric. Pencil or fabric chalk. Scissors. Measuring tape and ruler. Sewing machine.
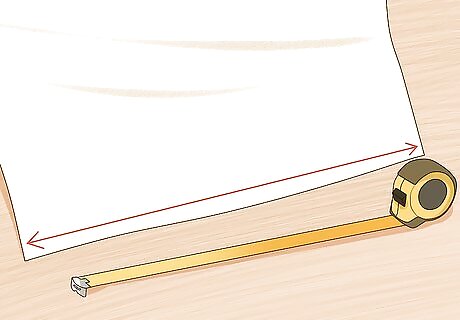
Determine how long your edging will need to be. If you are adding a scalloped edge to a finished garment, such as for the hem of a skirt, then you will need to know how long to make the edge. Measure the edge of garment or fabric piece that you want to add a scalloped edge onto and write down this measurement.
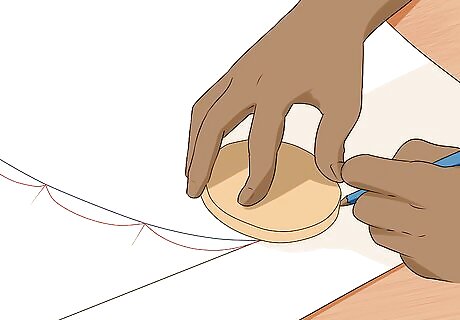
Experiment on paper first. Before you trace your scallops into your actual garment, it is helpful to practice the design on a piece of paper first. This can help you to find the ideal size for your piece. Start by drawing a straight line on the paper, and then place of the round objects on the line so that only about half or less than half of it is on one side of the line. Trace around the rounded edge to create your first scallop. After you make the first scallop, slide the round object over so that the edge is lined up with the edge of the first scallop you traced onto the paper. Then, draw another scallop in the same way. Continue to create scallops in this way until you are happy with the design. If you are planning to make a template using freezer paper to guide your work, then trace your scalloped design onto the freezer paper. Then, cut along the curved edges and cut the paper so that there is about a two inch strip between the deepest curve of the scallops and the other edge of the paper.
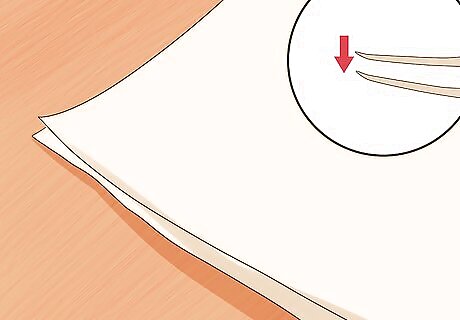
Place two pieces of fabric together. Make sure that the right sides (printed sides) of the fabric are facing inwards and that the edges are even. If you are using a fabric that does not fray easily, then you may be able to simply sew along the edge of one piece of fabric and then trim the fabric up to the seam.
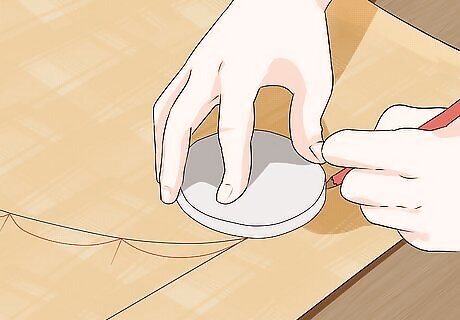
Trace scallops onto your fabric. If you plan to draw directly on your fabric, then start by creating a line that is far enough away from the edge of your fabric to accommodate the size of your scallops. Then, trace the scallops the same way that you did while experimenting on paper. If you are using a template made from freezer paper, then you can simply pin the template onto your fabric.
Sewing and Trimming the Fabric
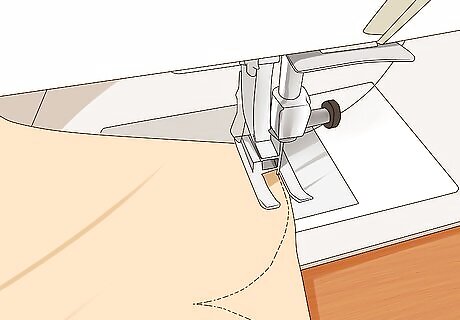
Sew along the curved edges. Whether you traced your scallops directly onto the fabric or you are using a template, you will need to sew along the curved edges. Use your sewing machine to sew a straight stitch or a zigzag stitch along the curved edges. If you are using a template, be careful not to sew over the paper. Try to sew as close to the paper as possible without letting the needle pierce the paper.
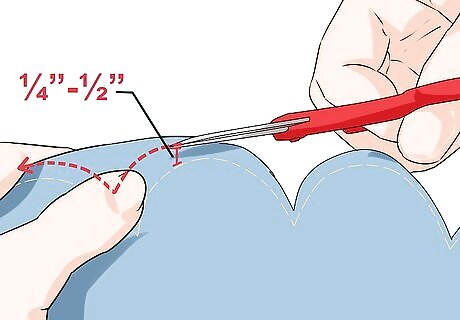
Trim the fabric along the curved edges. After you have created the scalloped seam, you can trim off the excess fabric to reveal the scalloped shapes in your fabric. Trim the fabric along the curved edges, but allow about ¼” to ½” seam allowance. If you only used one piece of fabric, then you can trim right up to the edge of the seam and your scalloped edge is finished.
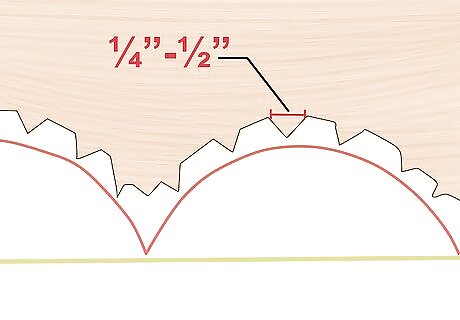
Cut triangles into edges to remove bulk. To ensure that the scallops lay nicely after you turn the fabric inside out, cut out some small triangles in the seam allowance fabric along the edges of the scallops. Cut out a triangle of fabric about every ¼” to ½” and be careful not to cut into the seam stitch.

Turn the fabric inside out. To finish the scalloped edge, turn the fabric inside out so that the seam and triangle notches you cut into the fabric will be hidden. Push your fingers into the inside of each scallop to ensure that they all have a nice curved shape. If the scallops look lumpy, then you may need to iron out the edges to make them lay flat.







Comments
0 comment