views
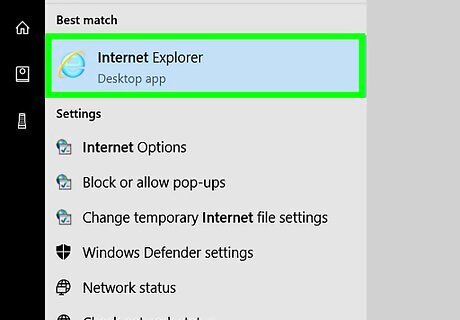
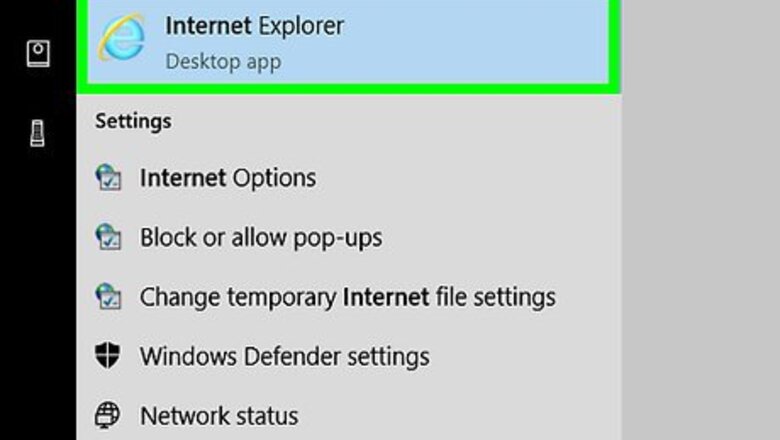
Open Internet Explorer. Click or double-click the Internet Explorer app icon, which resembles a light-blue "e" with a yellow band around it.
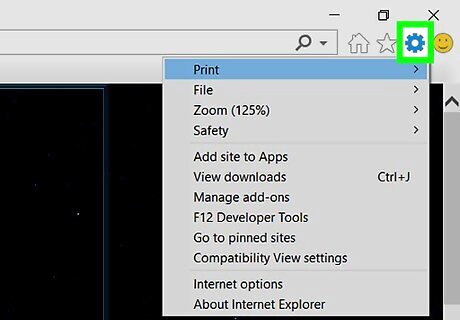
Click the "Settings" IE Settings icon. It's in the upper-right side of the window. A drop-down menu will appear.
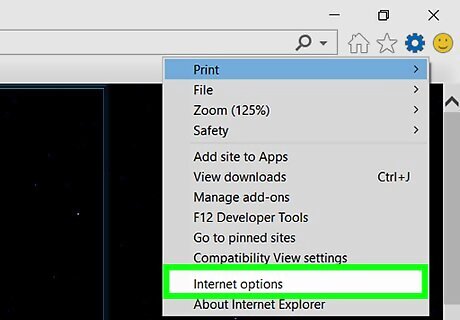
Click Internet options. This option is at the bottom of the drop-down menu. Clicking it opens the Internet Options pop-up window.
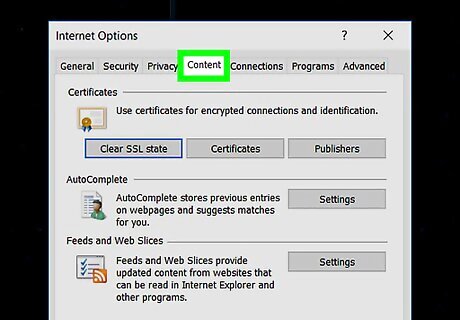
Click the Content tab. It's at the top of the Internet Options window.
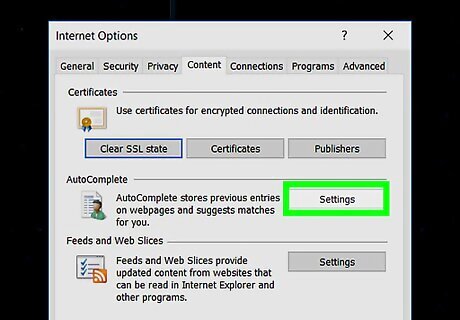
Click Settings. This button is below and to the right of the "AutoComplete" heading in the middle of the page. Don't click the Settings button below the "Feeds and Web Slices" heading—the button there opens a different settings menu.
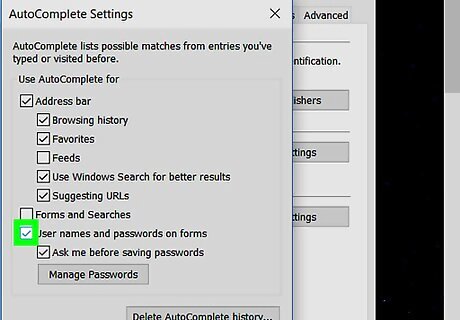
Check the "Usernames and passwords on forms" box. This option is in the middle of the AutoComplete window.
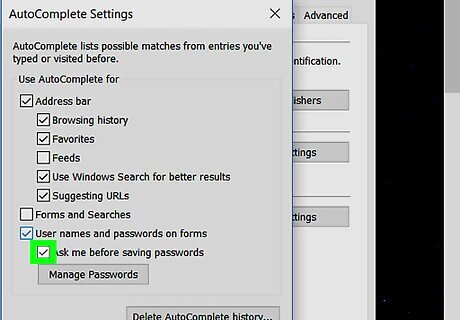
Check the "Ask me before saving passwords" box. It's near the bottom of the AutoComplete window.
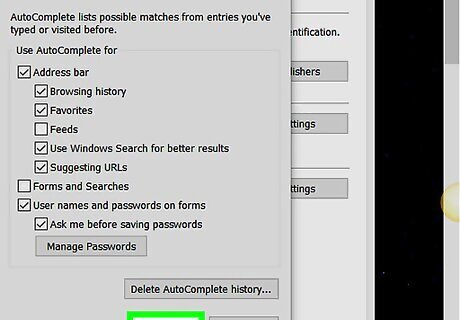
Click OK. You'll find this at the bottom of the AutoComplete window.
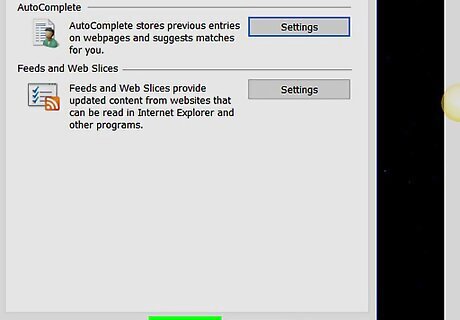
Click OK. It's at the bottom of the Internet Options window. Doing so saves and applies your changes.
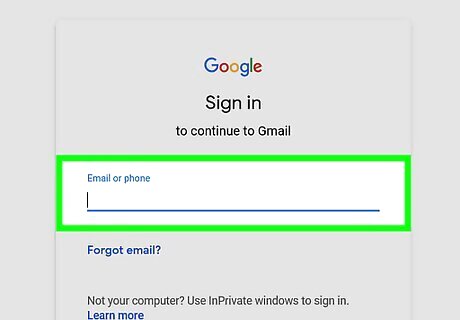
Log into a website. Go to a site for which you need to sign in (e.g., Facebook), then enter your login information and press ↵ Enter.

Click Yes when prompted. If Internet Explorer offers to save your password, doing this will confirm the choice and add your password to Internet Explorer's list of saved passwords. Internet Explorer won't save passwords for every site you visit. If you don't see a pop-up asking if you want Internet Explorer to save your password, the site won't allow Internet Explorer to save your password.


Comments
0 comment