views
Resetting to Default Settings
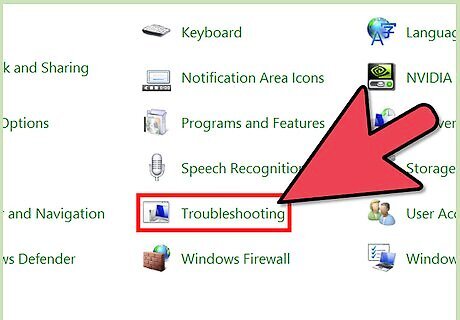
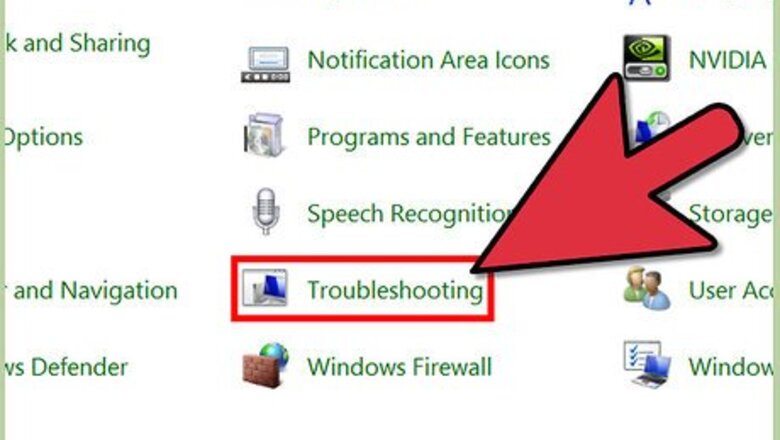
Open Windows Media Player Troubleshooting. Click the Start Menu and then Control Panel. From here, select “System and Security,” “Action Center,” and then “Troubleshooting” near the bottom left of the window. In the Troubleshooting window, click “Programs” at the top of the page then “Windows Media Player Settings,” which should be third from the bottom of the page.
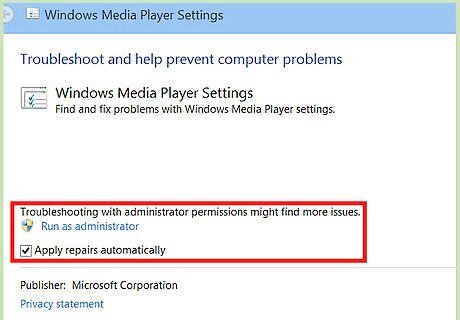
Run as Administrator. A new window will appear. In the lower left-hand side of the window is the “Advanced” option in blue letters. Click this, and in the window that appears, make sure the box is checked to the left of “Apply repairs automatically” before clicking “Run as administrator.” The current window will close and reopen using the new permissions. Make sure that you have the proper permission to perform this action. You may be prompted for a username and password to continue on.
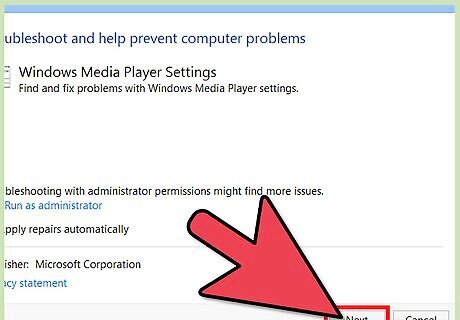
Reset to the default Windows Media Player settings. Click “Next” on the troubleshooter window, and the troubleshooter should begin scanning the WMP settings. Once this finishes, it should say “Reset default Windows Media Player settings” at the top of the page, and “Apply this fix” under it. Click the latter to continue. The steps above should reset all of the settings in WMP. After completing these steps open WMP and see if your issue has been resolved. If not continue with the next method.
Resetting by Disabling then Enabling WMP
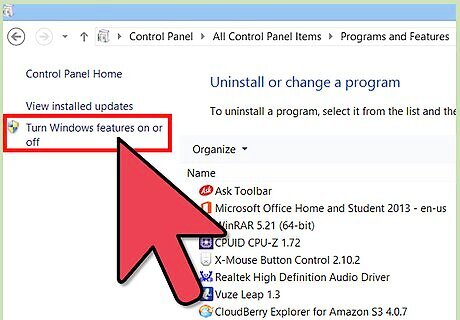
Open Windows Features. Click the Start menu then “Control Panel.” Select “Programs” and click “Turn Windows features on or off” under the top “Programs and Features” subheading. It should be highlighted in blue.
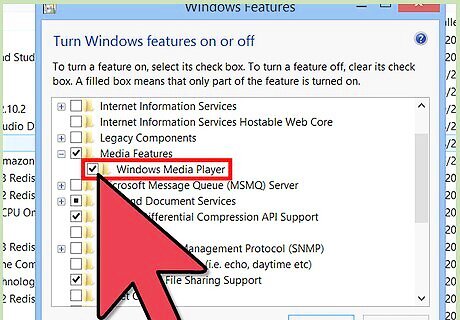
Disable WMP. There should be a little box that pops up in the middle of the page. It may take a moment to load, but once it does, it should be a list of Windows features that can be enabled or disabled. Scroll through and click the little + next to “Media Features” to expand the list. After it expands, uncheck the box next to Windows Media Player, then click “OK.” There may be a little box that pops up after unchecking the box next to WMP. This box is telling you that disabling this feature may affect different features on the computer. For example, Windows Media Center depends on WMP being enabled. This will not damage the computer, but simply disable this other feature. Hit “OK” on this pop-up to continue to the next step.
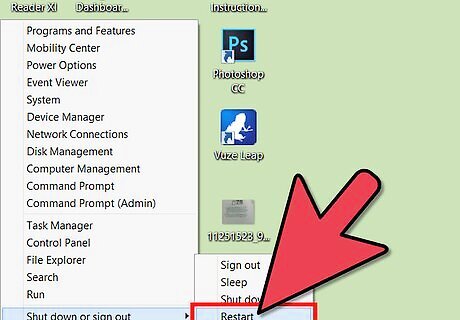
Restart your computer. After clicking “Yes” and “OK” on the two boxes, there may be one more window showing that the feature is being disabled. Wait for this to finish, and click “Restart Now” on the little window that pops up to restart the PC.
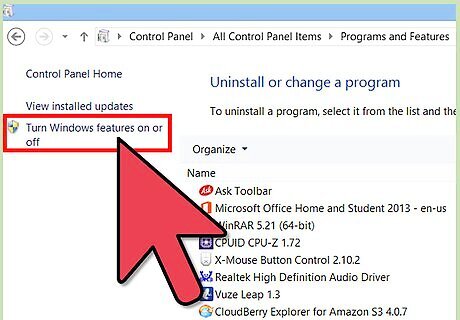
Open Windows Features again. Once the PC restarts and you login, open the Windows Features window again. (Start >> Control Panel >> Programs >> Turn Windows features on or off).
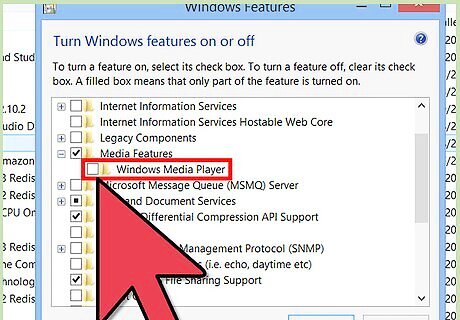
Enable WMP. Scroll down to “Media Features” again, and hit the + on the left to expand the options. Check the box next to Windows Media Player. This may also automatically check the box next to Windows Media Center as well. Click “OK.” and a small box may appear for a minute while the feature is being enabled; wait until this finishes.
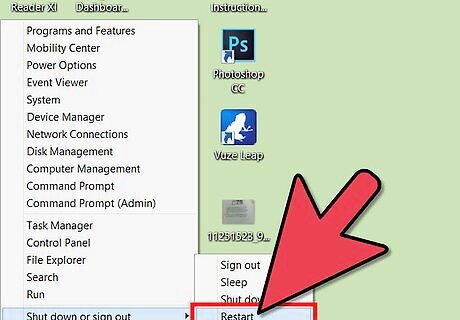
Restart your computer. Once the small loading box is finished, it should automatically disappear. Restart the PC again (Start >> Shutdown). Once the PC restarts, Windows Media Player will be enabled again and its settings reset to default.


Comments
0 comment