views
Preparing to Replace the Floor
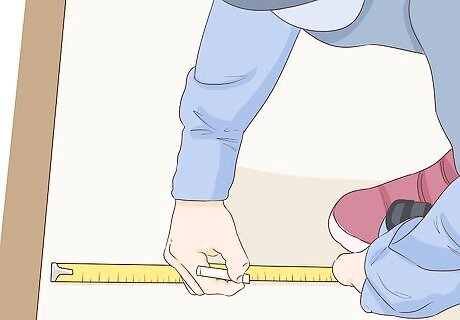
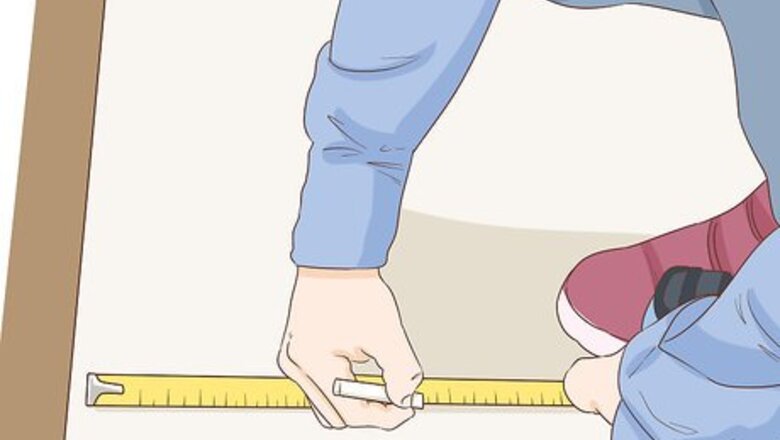
Measure the square footage of the floors. Use a tape measure to take measurements of the floor layout. You may want to note the measurements on a sketch of the RV. Take the drawing with you when you’re shopping for your floors so you can picture the layout as you shop.
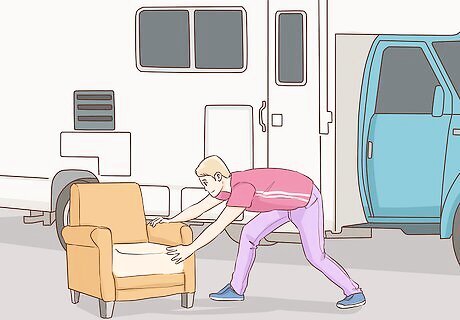
Take out the furniture if you need to. You may not have to remove the furniture in your RV for your floor replacement. However, if you have to replace the subfloor, or if you want you new flooring to extend underneath the couch or table, you'll need to take the furniture out. Unless the subfloor is damaged, the choice of whether to install new flooring under your furniture is largely aesthetic. Furniture in an RV is often bolted down, so you will probably need a wrench in order to remove it.

Remove any trim from the around walls and cabinets. Use a crowbar to pry the trim loose. If the trim appears to be in good shape, remove it carefully and keep it so you can replace it after you install your new flooring. If it’s molded, warped, or otherwise damaged, throw it out and buy new trim.

Gather your safety materials. If you have to do any cutting with a saw, you’ll need to have safety goggles and a face mask nearby. You may also want heavy leather or canvas gloves to protect your hands while you’re working. It’s a good idea to have these on hand before you start your project just in case you need them. Open the windows and doors to ventilate the space as well.
Replacing Carpet
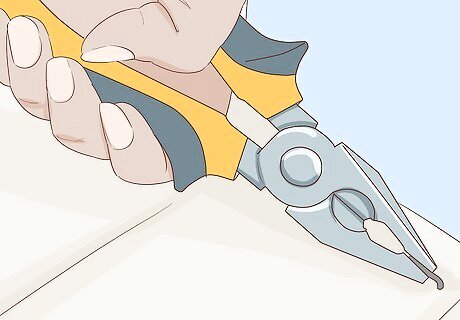
Use pliers to remove the staples holding the carpet in place. Removing carpet in an RV is time-consuming because of the many staples you’ll have to pry up. Grip each staple with your pliers, then rock the pliers back and forth until the staple comes free. Some people prefer to use a hammer and mallet for removing staples. Hook the claw of the hammer under the staple, then strike the hammer with the mallet to loosen the staple.
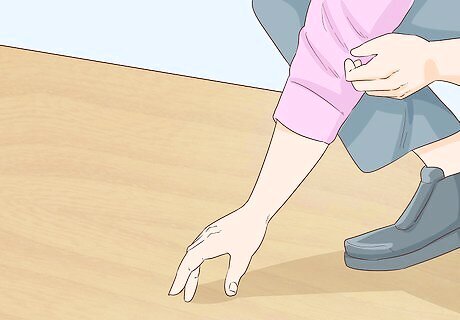
Examine the subfloor after you remove the old carpet. Check the plywood subfloor for dark spots, soft areas, or cracks. If you notice any damage, use a skill saw to carefully cut outside of the area you need to remove. Repair the damaged area by nailing new marine plywood into the joists beneath the subfloor. Marine plywood is made to withstand temperature fluctuations as well as moisture, making it ideal for a travelling vehicle. Always wear safety goggles and a face mask when working with a skill saw.

Check the remnants section at a local store when you buy new carpet. Many carpeting stores have a collection of oddly-sized cuts left over from larger jobs. Since you won’t need much carpet to cover your RV, you can save a lot of money if you can find a remnant that’s the right size. Remnants aren’t usually left out on the sales floor, so ask an associate if they can show you where they are.

Sweep your subfloor before you start the installation. No matter how careful you are when you pry up the staples, chances are you’ll miss a couple. Sweep the plywood carefully to make sure there are no staples that can work their way up through the carpet after you install it.

Attach your carpet to the subfloor permanently with staples. Start working in 1 corner of the RV, using a staple gun to staple the carpet down every 4 inches (10 cm). Pull the carpet as taut as possible as you work your way to the other side of the room to ensure that your carpet is free of any wrinkles after installation.
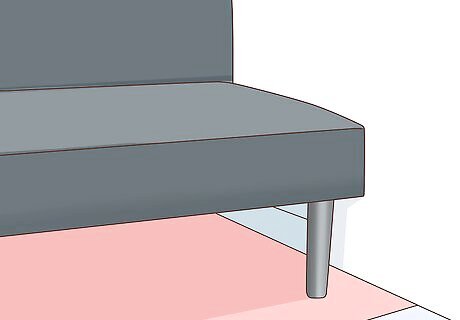
Anchor your carpet with furniture if you don’t want to staple it. Some RV owners prefer not to staple their carpet to the subfloor because they want to be able to remove the carpet regularly in order to clean it. This is a good option if you have pets that will be travelling with you.
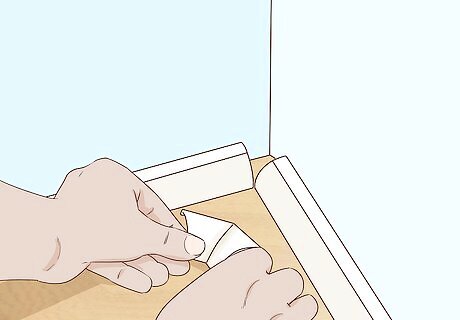
Hide gaps between the carpet and the wall with trim. Since the flooring is usually installed before the walls in an RV, there is usually a slight gap between the floor and the wall. You can hide this gap by installing the trim you removed earlier, or you can purchase new trim if you prefer. Take care when you nail the trim into place to ensure you don’t nail through the exterior of the RV.

Reinstall any furniture you removed. Once your new flooring is installed and the trim is in place, it's time to replace your furniture. Tighten any bolts firmly with a wrench so the furniture will be steady when the RV is moving.
Changing Vinyl Tile

Use a crowbar or a flathead screwdriver to pry up stick-on tiles. Vinyl stick-on tiles are usually easy to remove. Just wedge a small crowbar or a flathead screwdriver under the tile, then pop it upwards to loosen the adhesive.
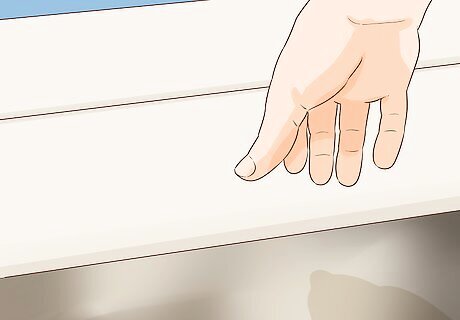
Look for damage on the subfloor and repair it if necessary. New vinyl tile can often be laid over an existing floor. However, removing the tile that is already in place will allow you to check the health of the subfloor. If you find mold or rot in your subfloor, you will need to use a skill saw to cut out the damaged area. You can then replace the damaged subfloor with a new sheet of marine plywood cut to fit. Always use caution when operating a skill saw. Wear protective glasses and a face mask to protect yourself from flying debris.

Opt for peel and stick vinyl tile for easy installation. Stick-on vinyl tile is available in a wide range of thicknesses and designs, with options for every price range. This is a great option for a durable floor that doesn’t require a lot of work to install.
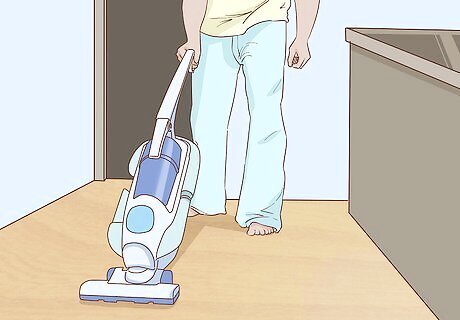
Sweep or vacuum the subfloor before you install your new tile. If your subfloor is dirty, the stick-on vinyl tile will not adhere properly. Make sure the entire subfloor is free of dirt, dust, or other debris before you start the installation process. If the subfloor seems greasy, slimy, or stained, wash it thoroughly with soap and water, then let it dry completely before you install your tile.

Start in the middle of the room and work outward to the edges. When laying square tiles, you want to center them so that any oddly-sized cuts are around the outside of the room. Peel off the paper backing from each tile, then lay the tile in place and press down on it firmly to ensure it adheres to the subfloor properly. Use a utility knife to cut any edge pieces to size when you reach the walls.
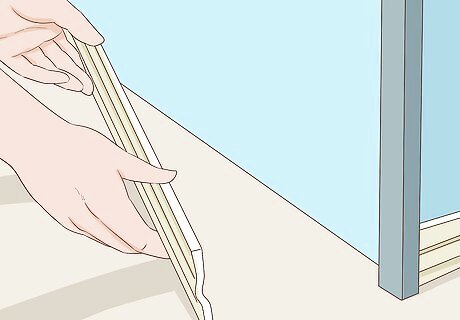
Replace any trim you removed. Nail the trim back into place, taking care not to puncture the exterior. For a fresh new look, try painting the trim a shade that will match your new vinyl tile. When nailing the trim into place, use caution so you don't nail through the exterior of the RV.

Install any furniture you removed. If you took out your chairs, tables, or cabinets in order to replace your flooring, use a wrench to tightly bolt them back into place. The furniture must be completely secure so it doesn't move while the RV is travelling.
Installing Plank Flooring
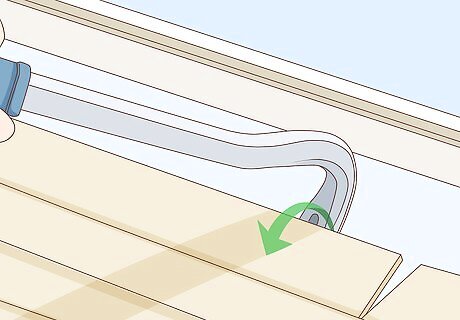
Use a crowbar to remove existing plank flooring. Laminate planks fit together in a tongue-and-groove formation, and they are usually not attached to the subfloor with adhesive or nails. As you pry up the planks, they should easily snap free of each other.

Repair any damage to the subfloor, if necessary. Climate changes and excessive humidity can cause the plywood subfloor in your RV to rot. If you notice any signs of damage, including black discoloration, soft spots, cracks, or warped wood, use a skill saw to cut away the affected area, then replace it with new plywood. Marine plywood is ideal for use in an RV because it is resistant to changes in temperature and humidity.

Start along the longest wall if you're installing new laminate planks. If you’re using tongue-and-groove floor planks, using the longest pieces first will allow you to make fewer cuts. Each time you cut a plank, you lose a joint, so you will want to make as few cuts as possible.

Lay the first plank with the female side facing outwards. The female side of the plank will have a groove that goes inwards, while the male piece will have a piece that fits into the groove. Line up the male connector of the second piece with the female side of the first piece, then tap the second plank lightly with the mallet to lock it into place. Continue this process down the wall.

Use spacers with plank flooring to allow them to expand and contract. Spacers will protect your floor from warping when your RV is exposed to dramatic temperature changes. Place at least 2 spacers along each wall as you install the floor. Some plank flooring will come with spacers included, but if yours doesn’t, you can purchase them at a flooring supply store.

Cut the remaining planks to length with a utility knife or jigsaw. Most of your pieces should be easily cut with a utility knife. However, a jigsaw will offer more precision if you need to make more detailed cuts.
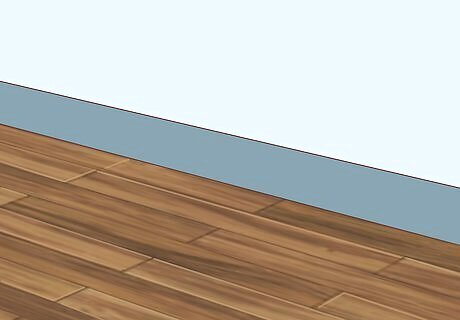
Replace the trim you removed. Rounded trim will give your new flooring a finished look, and it will also help hide any gaps between the floor and the wall. Use caution when nailing anything in an RV, since you can puncture the exterior.
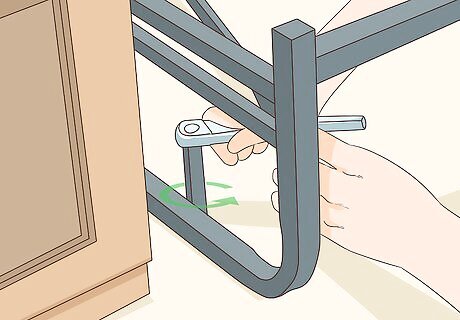
Replace any furniture you removed. Tighten the furniture down with a wrench so it will be stable while the RV is moving, then relax in your renovated camper!


Comments
0 comment