views
Replacing a Socket Switch
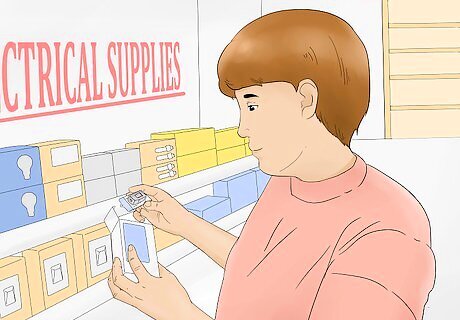
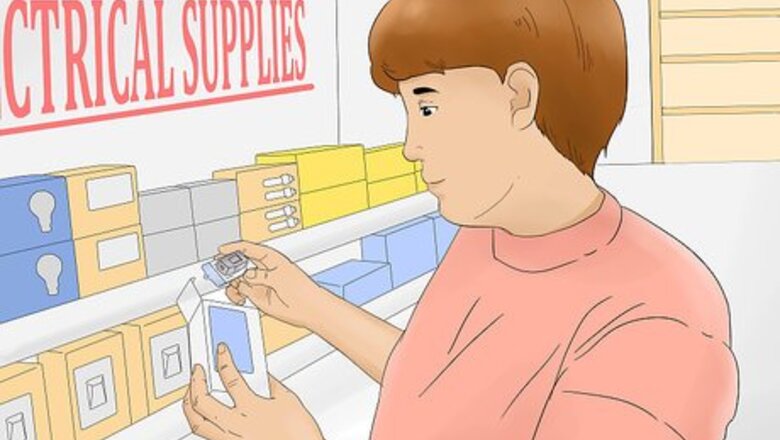
Purchase a new socket switch from a hardware store. Your new switch can be whatever type you prefer, regardless of the existing switch. For instance, if your lamp has a pull chain but you want to install a 3-way turn knob, all you have to do is buy a 3-way turn switch and a light bulb with 2 brightness levels. You can even replace a socket switch with a cord switch. Just purchase a new socket assembly without a switch and follow the instructions for replacing a cord switch. You can buy a new socket switch from most hardware stores, and they usually cost around $2-$5 USD.
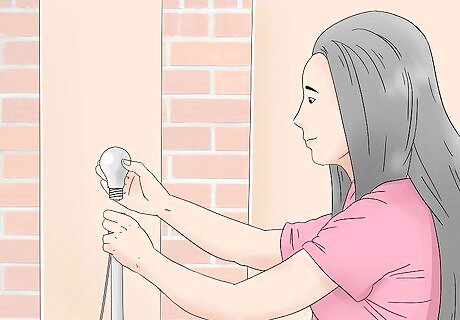
Unplug the lamp before you begin repairs. Never take chances when you’re working with electricity. Double-check to be sure that the lamp is unplugged before you start to take it apart.
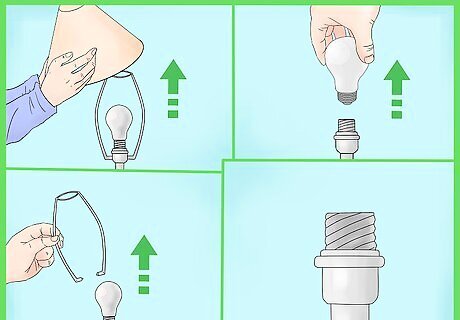
Remove the shade, bulb, and the wire that holds the shade in place. At this point, the socket at the top of the lamp should be exposed. On most lamps, this is where the switch is located.
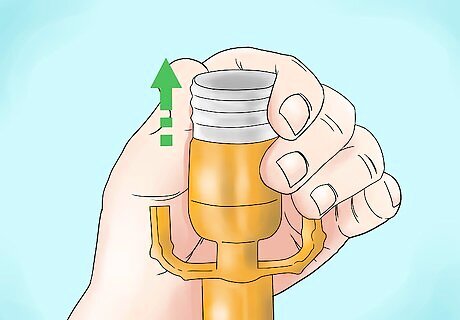
Squeeze and pull the socket shell to remove it from the lamp. The socket shell is the actual assembly where the switch is located and the light bulb screws in. On most lamps, you can squeeze the socket shell and pull upwards to remove it. If the socket shell is hard to remove, use a screwdriver to pry it loose.
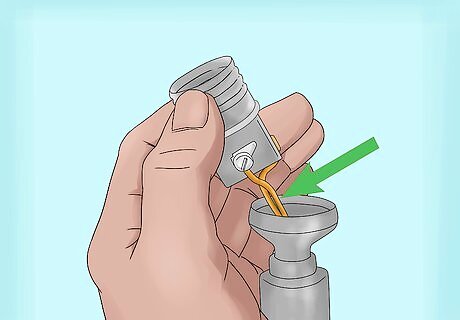
Locate the wires attached to the socket shell. There should be 2 wires attached to the switch. 1 is hot and the other is neutral. The hot wire is usually attached to a brass screw, and the neutral wire is usually attached to a silver screw. The neutral wire is usually marked in some way. It may be a different color, or the insulation may be printed, stamped, or have indentations. Make sure to note this now, since you’ll need to know which wire is neutral when you hook up your new switch. If you can’t identify the neutral wire, look at the plug. The neutral wire is attached to the wider plug blade on a polarized plug. If your plug blades are the same size, you should replace the plug while you’re replacing the socket.
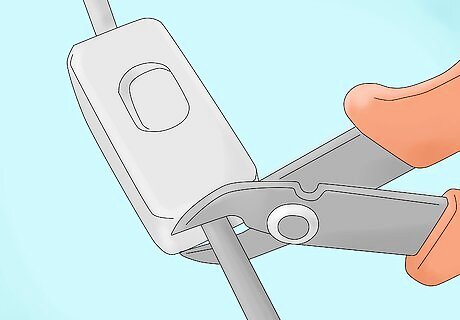
Use wire cutters to cut the wires leading to the existing switch. Cut through the wires as close to the switch as possible to ensure you have plenty of wire to work with.
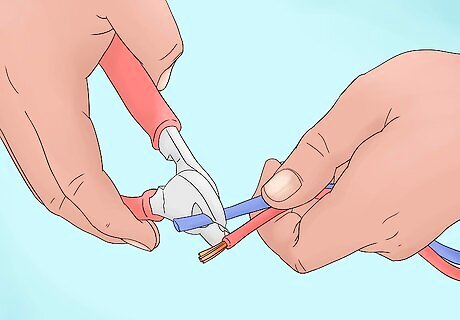
Cut off the ends of the wire and strip away ⁄2 inch (1.3 cm) of insulation. Wire cutters can also be used to strip insulation from wires. Use the wire cutters to make a notch in the insulation around the wires, then clamp down on the insulation with the strippers and carefully pull the insulation away. If you see any strands of wire when you pull away the insulation, it means you cut too deep. Cut off that section and start again.
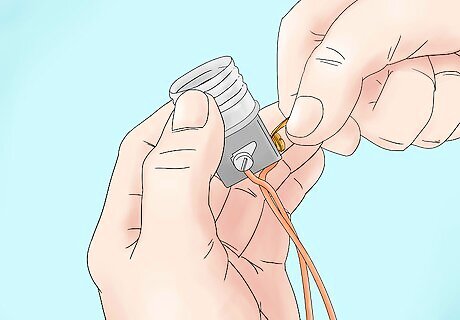
String the 2 wires through your socket and attach them to the screws. Use your fingers to wrap the wire tightly around the screw. Be sure to connect the neutral wire to the silver screw and the hot wire to the brass screw. Although sockets will be slightly different depending on the manufacturer, the wires should thread easily through the socket. Make sure the socket is right-side-up and look for wire channels to help you know where to guide the wire.
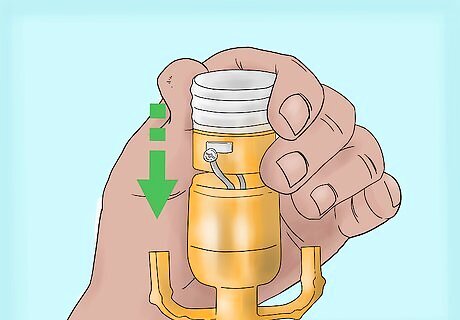
Place the new socket shell into the lamp and press down. You should hear the new socket shell snap into place. If there is a screw on the stem of the lamp, tighten it now to hold the socket in place.
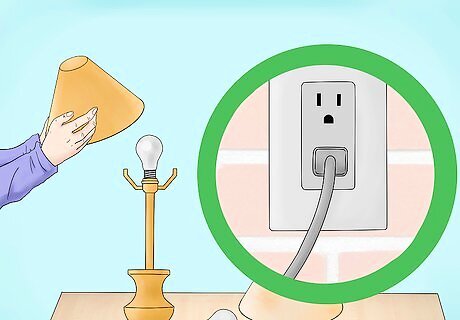
Replace the light bulb and lampshade and plug in the lamp. If you’ve done everything right, you should be able to use your new switch to turn on your lamp! If the lamp doesn't come on, check the connection in your switch and try again. If this doesn't help, you may need to replace the plug.
Replacing a Cord Switch
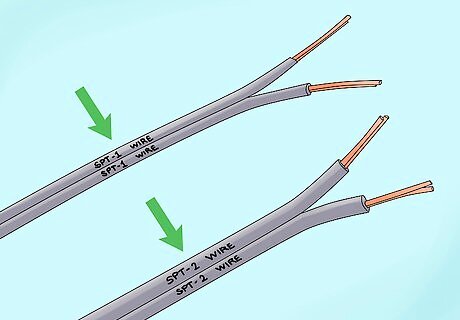
Look for printing on the lamp cord to determine the size switch you need. Look for printing which says either SPT-1 or SPT-2. The printing is small, so you might have to look carefully. The difference between SPT-1 and SPT-2 involves the thickness of the lamp cord.
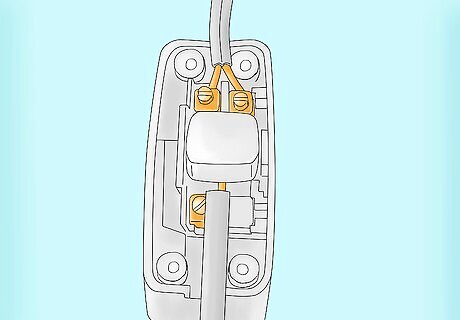
Examine your new switch to see which wires you have to cut. Some switches only require you to connect the hot wire. If this is the case, there will be a channel along one side of the switch for the neutral wire.
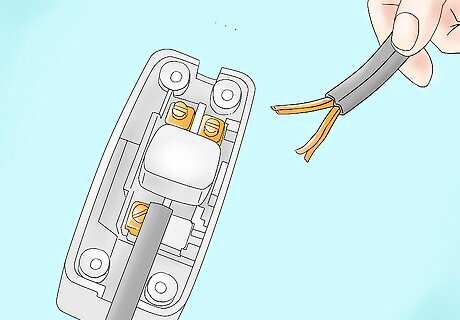
Remove the existing cord switch. You may be able to open the casing of the existing switch and remove the wires without cutting them, but if not, use wire cutters to cut as close to the switch as you can. Try to avoid cutting the neutral wire. If you have to cut it in order to remove the old switch, strip the insulation and connect the cut ends of the neutral wire together. If you like, add a plastic connector to protect the wire at the location where you want your new switch to be. If you are adding a cord switch when there wasn’t one before, use a small knife to carefully split the cord where you want your new switch to go, then cut through the hot wire. If your switch requires you to attach the neutral wire, cut through that too.
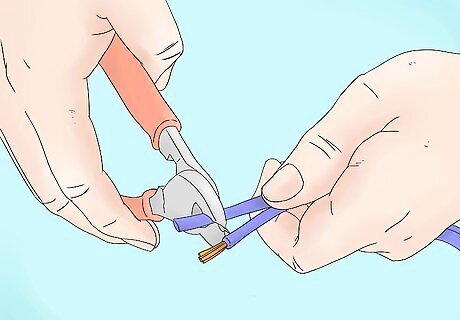
Strip about ⁄2 inch (1.3 cm) of insulation off of the wires. Use your wire cutters to make a notch in the wire insulation, then gently pull to remove it. Only take off as much insulation as you need to attach the wires to the screws in the switch.
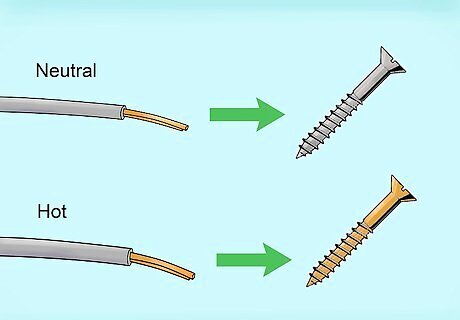
Match the hot and neutral wires to the appropriate screws. If you only have one screw, it's for the hot wire. If you have to connect both the hot and neutral wires, the hot wire goes to the brass screw, and the neutral wire goes to the silver screw.
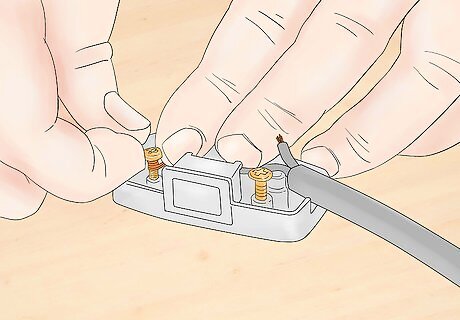
Insert the stripped wires into the screw terminals. Use your fingers to wrap the wires around the screws securely, and make sure there is enough insulation on the wires so that no live wires will be exposed when you close the switch. There should be no visible wires showing when the switch is assembled. All you should see is insulated cord. If the exposed wires are too long, use the wire cutters to snip off a small portion and reattach the wires to the screws.
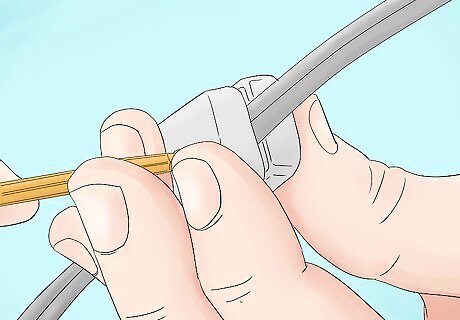
Close the cover on the switch and snap or screw it shut. Make sure that the cover closes securely and there are no bare wires showing around the switch.
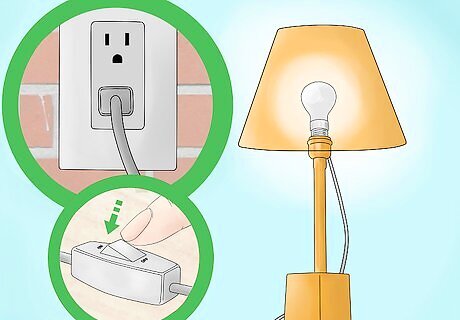
Plug in your lamp and try out your new switch. If you’re confident that the switch feels like it’s securely connected and there are no live wires showing, it’s time to test out your lamp! If you hooked everything up right, you should be able to plug in the lamp and turn it right on. If the lamp doesn’t turn on, double-check your wiring and try again.



Comments
0 comment