views
Installing a New Mirror
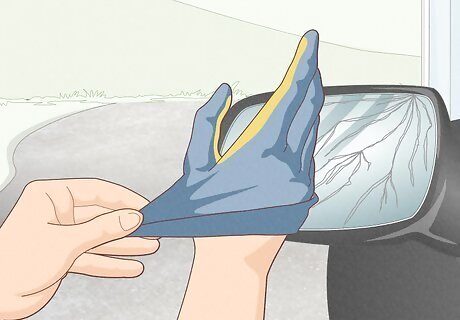
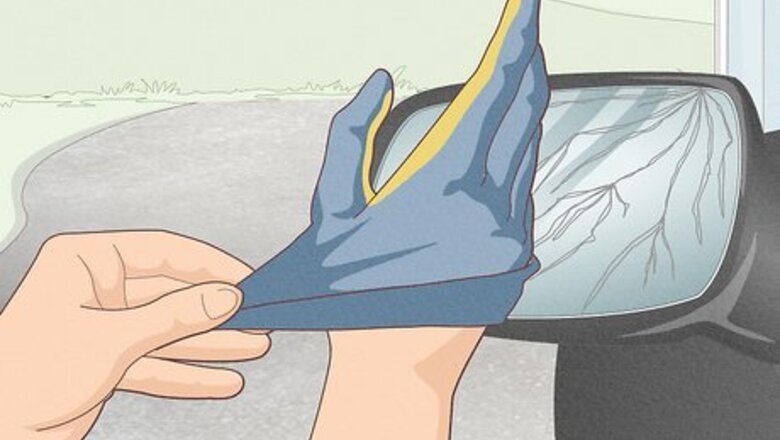
Protect your hands and eyes with safety equipment. Slide on a pair of work gloves, ideally made of leather or some other thick material. Additionally, slip on a pair of safety glasses to cover your eyes. Since you’ll be working with broken glass, you don’t want any shards flying into your eyes or cutting your skin. If you don’t have any safety equipment on hand, check a hardware or home improvement store.
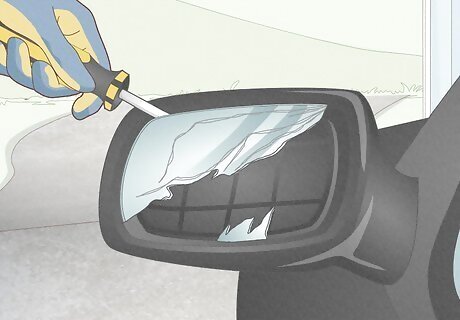
Pry away any loose pieces of glass with a flat tool. Take a flathead screwdriver, ice scraper, or some other flat tool and use it to pull away any remaining pieces of glass. Keep a trash bag or waste bin on hand to catch any loose pieces of glass so they don’t litter the ground. You might have to use a little bit of force to pry off the glass. You don’t have to remove the extra shards of glass, but it might help you install the new window more smoothly.
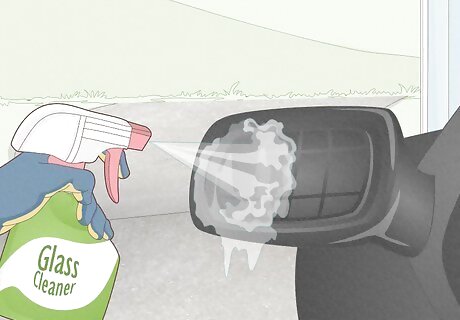
Spritz the plastic backing with glass cleaner. Take a sprayable cleaner and coat the plastic backing and frame for the mirror, as well as any leftover glass pieces. Rub in the cleaner with a dry wash rag, or with a sheet of paper towel. As you work, focus on removing any spots of dirt, dust or grime that are visible on the window. While you don’t have to clean off the plastic surface, it helps make your car look cleaner.
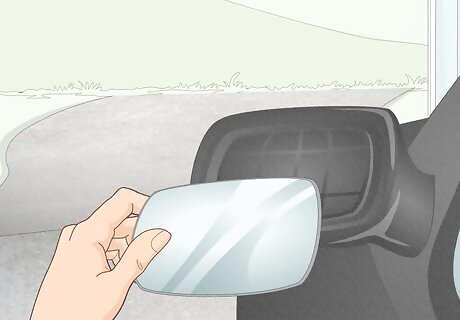
Search online for glass cuts specific to your vehicle. Go to a local hardware store or look on specialty websites to find a side view mirror cuts that fit the make and model of your car. When the shipment arrives, line the glass up with the frame to ensure that it will fit securely. If your car is a more well-known or popular model, an auto shop might have what you’re looking for. The owners of less common vehicles might need to check online.
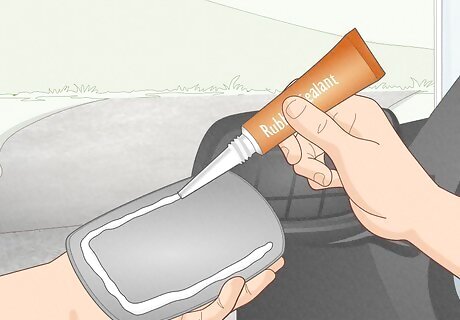
Apply a thick layer of rubber sealant around the edge of the frame. Use a spoon, scoop, or knife to smooth sealant around the edges of your mirror’s plastic backing. Don’t put any sealant in the center, as the mirror’s adhesive backing will go there. Try to apply the product in a relatively thick layer, keeping the sealant 0.75 inches (1.9 cm) in from the edge of the frame. While your new glass cut should come with adhesives, this sealant helps secure the glass into place.
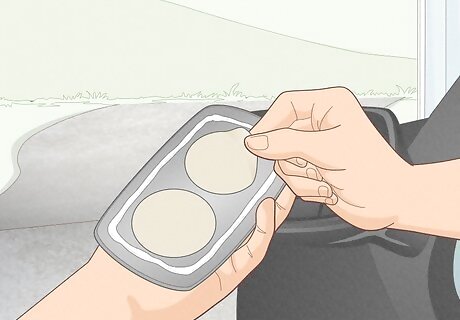
Put 2-4 adhesive circles on the back of your new glass. Remove the protective backing paper from the adhesives and arrange them evenly along the back of the mirror. Follow the instructions that came with your new mirror to determine the exact way to position them. Once the pads are all in place, remove any other layers of backing paper or tape. Focus on covering the center of the mirror’s backing, instead of the edges.
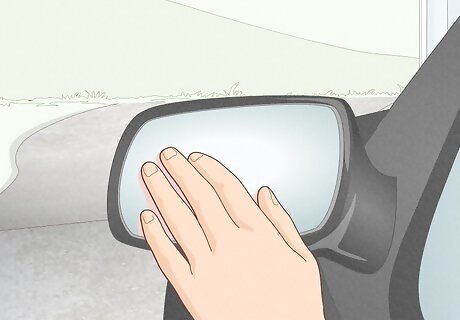
Press the new mirror into the frame. Line the mirror up to the plastic frame and apply some pressure. Continue pushing until the adhesives stick to the frame, and the perimeter of the mirror sticks to the sealant. While installing a new mirror, look to the opposite side view mirror as a model. Try to install the mirror immediately after applying the sealant.
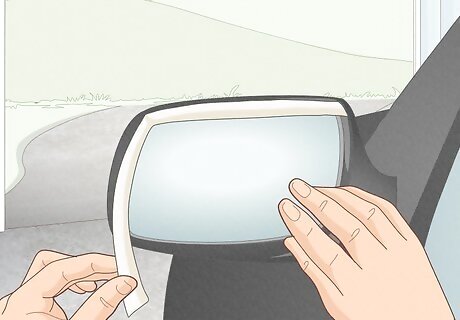
Hold the mirror in place with masking tape until the sealant dries. Cut or rip away 2 in (5.1 cm) strips of masking tape and arrange them around the edge of the mirror. Work your way around the mirror, using as many strips as you need to hold the glass in place. If needed, cut or rip away longer strips of masking tape. Try not to use duct tape, as this tape is a lot stronger.
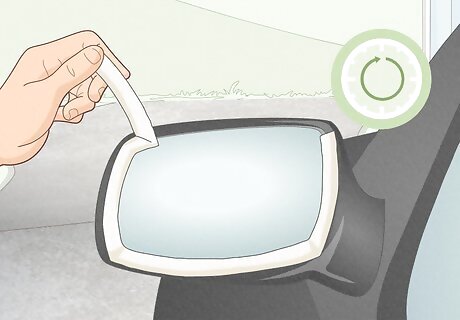
Remove the masking tape after 24 hours. Read the label on your sealant to see how long the product takes to dry. To be safe, wait at least 1 day before lightly tapping on the sealant to check its firmness. If the sealant is dry, remove all strips of tape from the mirror. Once the sealant is firm, you’re ready to drive with your new mirror!
Replacing a Mirror with Electrical Components
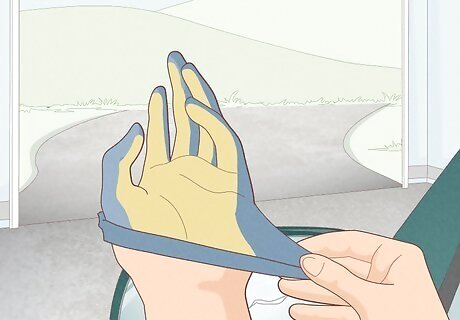
Wear protective gloves as a safety precaution. Slip on a pair of durable gloves whenever you work with glass. Even if the glass isn’t smashed or shattered, gloves can protect you from unwanted and unexpected cuts while you’re removing and replacing the glass. If you’re dealing with shattered glass, consider slipping on a pair of safety goggles as well.
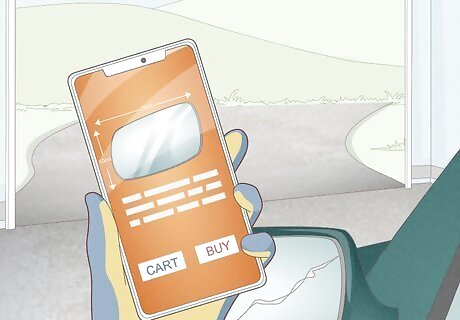
Search online to find a mirror that fits your car. Go to an auto shop or online auto parts store and look for a replacement side mirror that fits the make and model of your car. Perform a rough estimation and see if the new cut is a good fit or replacement for the old glass before you do anything else. If the glass doesn’t fit your mirror, try re-measuring the dimensions of the frame and ordering a different cut of glass. If you’re getting a new mirror for a vehicle with heated side mirrors, purchase a piece of plastic and metal-backed glass that fits your exact car model.
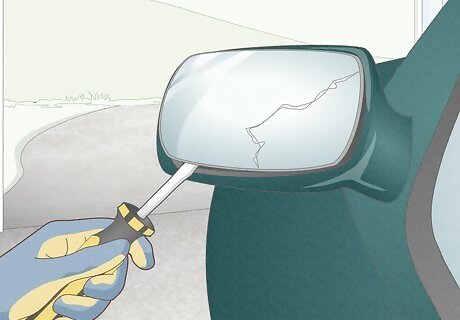
Pry the glass off with a flathead screwdriver. Stick the screwdriver beneath the mirror and it pull it out. Note that heated mirrors are already attached to a heavy backing, and don’t rely on adhesives to stay in place. While it’s important to use force, try and be as gentle as possible when removing the mirror. You don’t want to damage any of the electrical components.
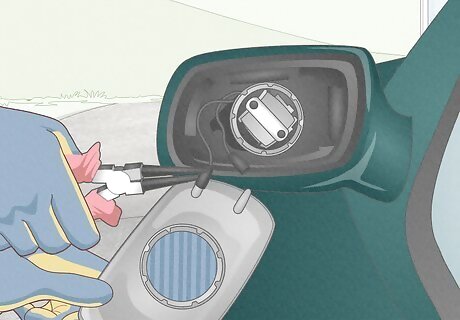
Use pliers to remove any electrical connectors. Attach your pliers to the edge of the mirror component, focusing on the areas where the electrical connectors are hooked into the mirror. With a small amount of force, squeeze and lift the pliers to disconnect the 2 wires from the mirror. Check that the loose wires are now dangling beneath the empty mirror compartment, untangled. Try to use gloves whenever you’re dealing with wires or other electrical components.
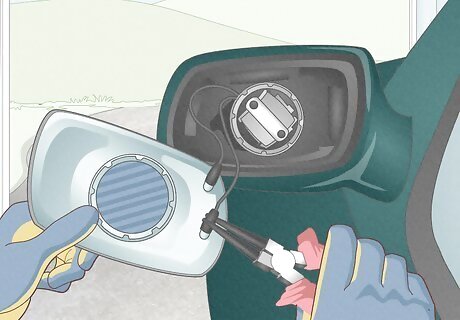
Attach the electrical connectors to the back of the new mirror. Squeeze your pliers and grip the electrical connectors again, placing them in the same place on the new mirror. Check the instructions with your new glass piece to confirm where the electrical connectors are supposed to go. Try to remember what the old mirror looked like as you reattach the electrical connectors. The electrical connectors are thin, metallic blocks that fit between 2 grooves. Use a small amount of force when securing these blocks into place.
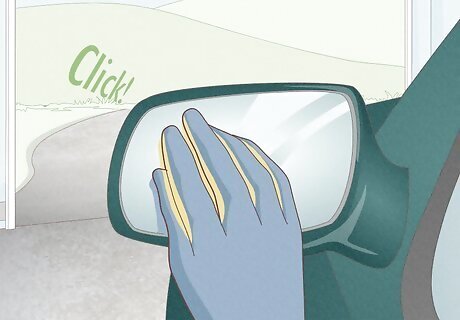
Press the mirror into place until you hear a click. Use both hands to apply pressure along the sides of your new glass. Continue pushing the mirror backwards until you hear a click sound. If you drive the vehicle before clicking the mirror in place, you might risk risk the glass falling or jiggling out of place while you drive. Replacing an electrical side mirror is a lot less time-intensive than fixing a traditional mirror.
Putting in a New Mirror Case
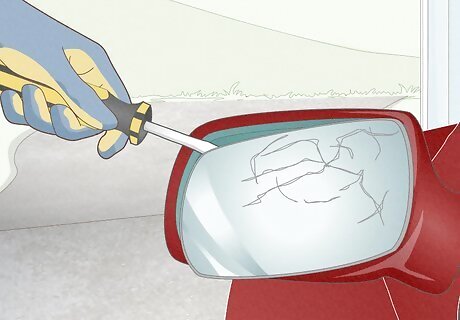
Pry the mirror out of the casing with a flat screwdriver. Stick the tip of a flathead screwdriver behind the mirror to pull it forward. Focus on disconnecting the clips along the edge that attach the mirror to its housing. Continue prying off the mirror until you’re able to fully remove it with your hands. If you’re having trouble reaching the screwdriver behind the mirror, try pushing the bottom half of the mirror inwards.
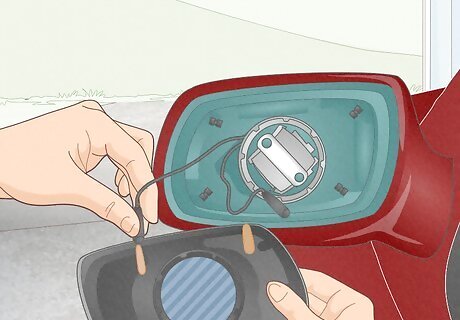
Disconnect any wires from the side mirror. Use your fingers to pinch and remove any electrical components. Don’t be afraid to use a bit of extra force to yank out and remove the connectors from the back of your mirror. This only applies to vehicles with heated mirrors. If your side mirrors aren’t electrically powered in any way, you won’t have to worry about this.Warning: Always make sure that the car is off before you touch the car’s wiring.
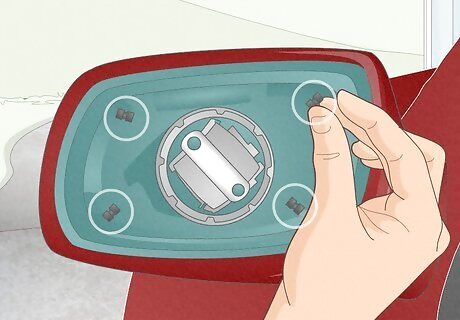
Push in 4 clips along the edges of the casing. Look along the vertical edges of the side view mirror to find 4 clips securing the side mirror case to the frame. Use your fingers or a pair of pliers to lift up these clips, which will completely loosen the mirror case. Since the clips are small, it might be easier to access them with pliers. There are no clips on the horizontal edges of the mirror casing.
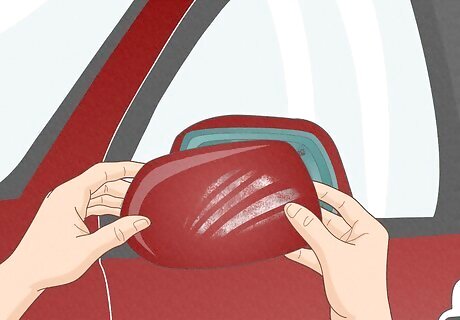
Pull the cover off and away from the side mirror. Use both hands to grip the loosened mirror casing and fully separate it from the mirror frame. Along the back hinge of the case, look for 2 more clips. Remove the cover with a gentle amount of force, so the old casing can naturally disconnect from these clips. Since you’ve already disconnected the other 4 clips, the casing should come off fairly easily.
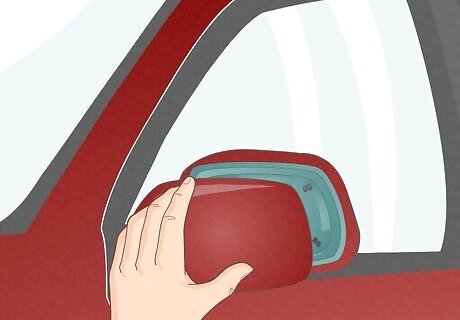
Place a new cover over the back of the mirror. Search online or in your local auto shop for a replacement case for your side view mirror. Make sure that it’s designed for the exact make and model of your car before arranging it along the backside of the mirror frame. At this point, double check that the case fits the rest of the mirror, and that it isn’t too big or too small.
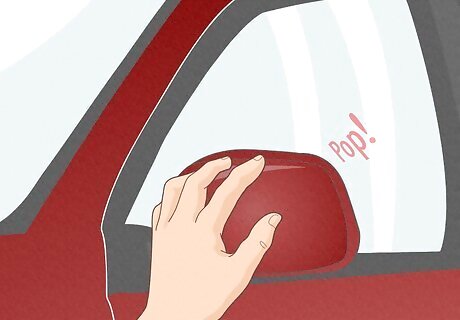
Push the cover into place until you hear a popping sound. Once you’ve arranged the mirror along the back of the casing, use your hand to push it in. Continue applying pressure until you hear a popping or clicking sound, which signifies that the new mirror case is securely attached. If your mirror case doesn’t attach correctly, it may be the wrong size.



Comments
0 comment