views
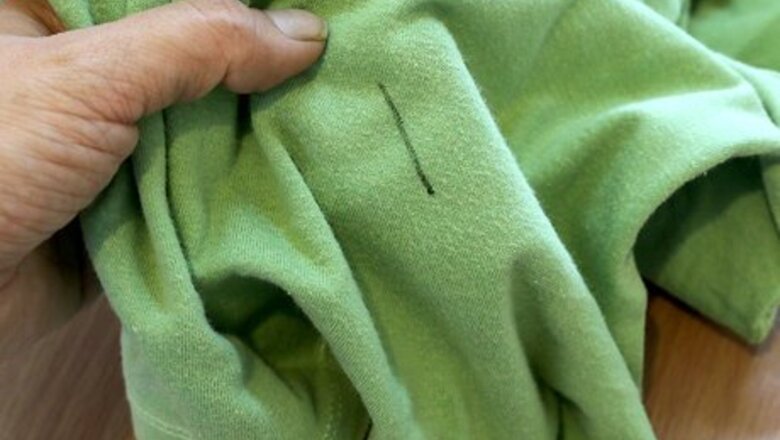
Removing Pen Marks from Fabric
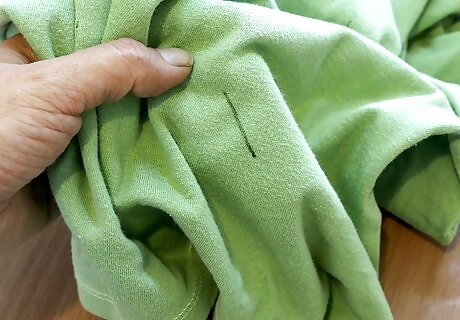
Treat the stain as quickly as possible. The longer you let the ink sit in the fabric, the harder it will be to remove, so take action as soon as you notice the stain. Ideally, the ink will still be wet when you treat the fabric.
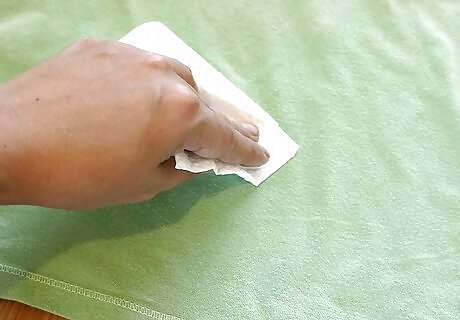
Apply a pre-wash treatment solution. There are a wide variety of pre-wash treatments available in the cleaning aisle of the grocery store, where you purchase laundry detergent and dryer sheets. The handiest variety is found in pen form; this allows you to keep a cleaning agent on you at all times in your pocket or bag. Remove the article of clothing if possible and lay it on a flat surface — any table will do. Press the tip of the pen into the stain, releasing the treatment solution. Do not rub at the stain, as this will rub it further into the fabric and/or spread it around. Simply soak the stain in the solution. Dab at the stain with a clean paper towel or rag until the stain is removed, or at least significantly lightened.
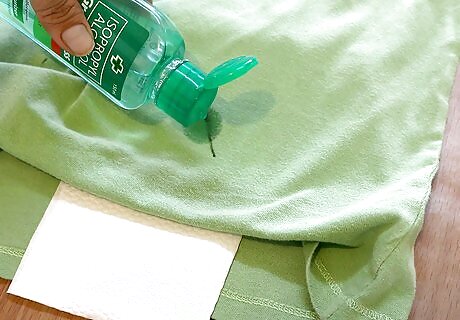
Apply rubbing alcohol. Place the stained fabric face down on a flat surface, so the stain is facing away from you. Put paper towels between the fabric and the surface to soak up the alcohol and the staining liquid, so you don’t mess up your table. Apply the rubbing alcohol to a cotton ball or rag, then gently press it into the back of the ink stain. Rinse the fabric with water when you’ve removed the stain.
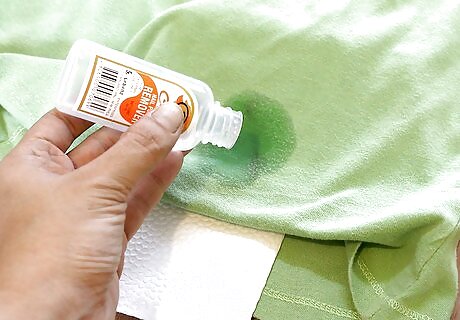
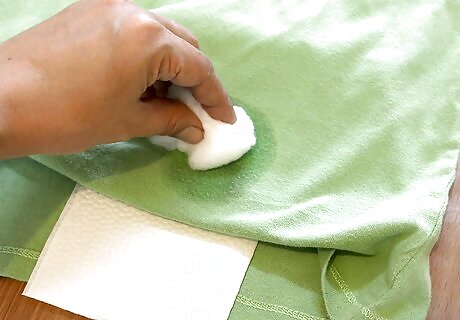
Use nail polish remover on stubborn stains. If you weren’t able to get to an ink stain while it was still fresh, you may not be able to loosen it from the fabric with the usual methods. If that’s the case, apply nail polish remover to it. Place paper towels between the fabric and the flat surface you place it on to protect the surface underneath from the nail polish remover. Apply the nail polish remover to a cotton ball, then transfer it to the cloth by dabbing the cotton ball onto the stain. Apply a generous amount of nail polish remover; the stain should be completely saturated. Press clean paper towels or cotton balls onto the stain until the ink has come off completely. Reapply nail polish remover and change out the paper towels protecting the table surface as necessary.
Use gentler alternatives on delicate fabrics. If you’ve gotten ink on pure cotton, silk, or high quality wool, you may want to avoid applying harsher chemicals to it, as they may damage the fabric while treating the stain. Instead, try one of these alternatives: Create a solution of equal parts fresh lemon juice (not the bottled kind you can buy in the store), baking soda and a gentle laundry detergent. Transfer that solution to the stain using a clean rag or a cotton ball, soaking the stain with a generous amount of it. Allow the stain to soak for at least two hours before laundering the garment in cold water. Blot the stain using cold milk instead of detergent or alcohol.
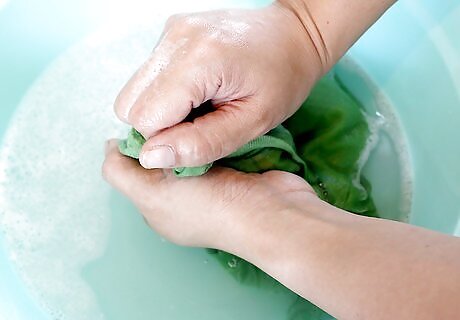
Launder the fabric. If you’ve gotten to your stain quickly with either a pre-wash treatment solution or with rubbing alcohol, you may have removed the stain effectively. However, to make sure you’ve gotten all of the offending ink, and to remove the chemicals you applied, which don’t belong on the fabric, make sure you run the garment through the laundry as soon as possible. If you were unable to remove the stain completely before laundering the fabric, spray hairspray onto the stain and allow it to dry before running the garment through the laundry. The hairspray will help break down the chemicals, raising the likelihood of the stain coming out in the wash. With any stain, check the fabric to make sure the stain has been completely removed before putting the garment through the dryer. Applying heat to a stain that has not been completely removed will actually cause the stain to set even further, making it difficult to remove at a later date.
Removing Pen Marks from Paper
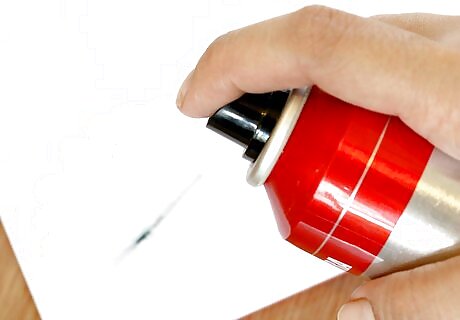
Apply hairspray, nail polish remover, rubbing alcohol, lens cleaner, or even just water to the pen mark. Pens use a wide variety of inks, some of which will break down and loosen with the simple application of water, and some of which will need heavy duty chemicals like the acetone used in nail polish removers to break down. The list provided here moves from harshest to weakest chemical strength. Try each of these options until you find one that works on your ink. Don’t apply these liquids directly to the page, as it will soak through and cause the paper to rip. Instead, apply the liquids to either a Q-tip or a cotton ball, and transfer them gently to the page.
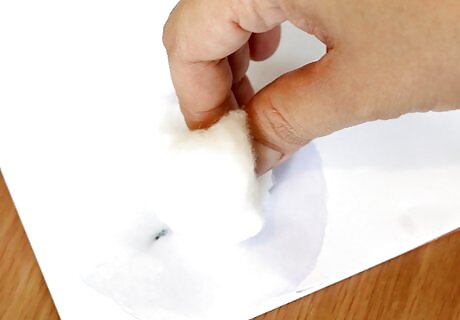
Rub the stain with a clean cotton ball. Be careful not to apply enough pressure to rip the page. Continue rubbing and dabbing until the stain comes out.
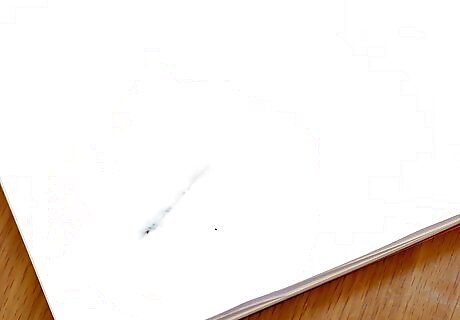
Allow the page to rest and dry between attempts. A ripped page is far more unsightly than one with a stray pen mark on it. By allowing the page to dry completely between attempts, you lessen the likelihood of ripping.
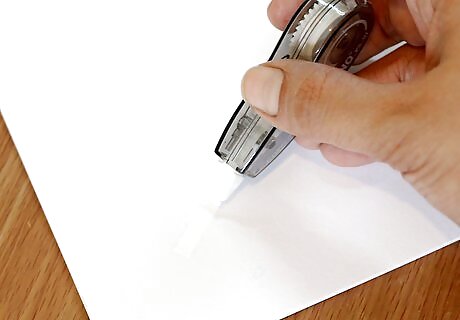
Use corrective white-out. While this will not “remove” the pen mark, it will cover it up. You can purchase white-out in the same aisle where you purchase pens. Simply apply a light coat using the brush attached to the lid of the bottle. Allow the liquid to dry before writing over it with pen again.
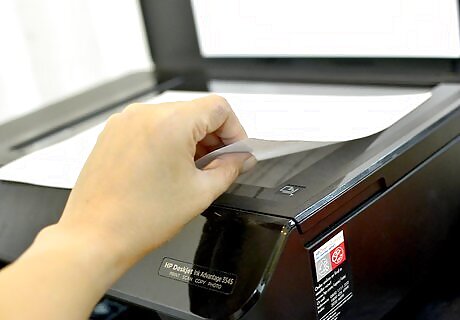
Xerox the page if you need a clean sheet. Anyone who looks closely at the page will be able to see that there is corrective fluid on it. If it’s important that the page be smooth and clean, you should make a Xerox copy of the page after you’ve made your correction. Note that for some official documents, especially those requiring signatures, a Xeroxed page may be unacceptable. Double-check to make sure.


Comments
0 comment