views
Leading Up to Removal
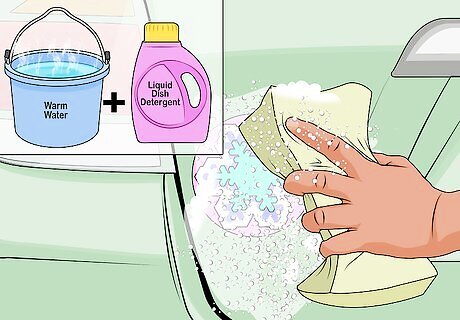
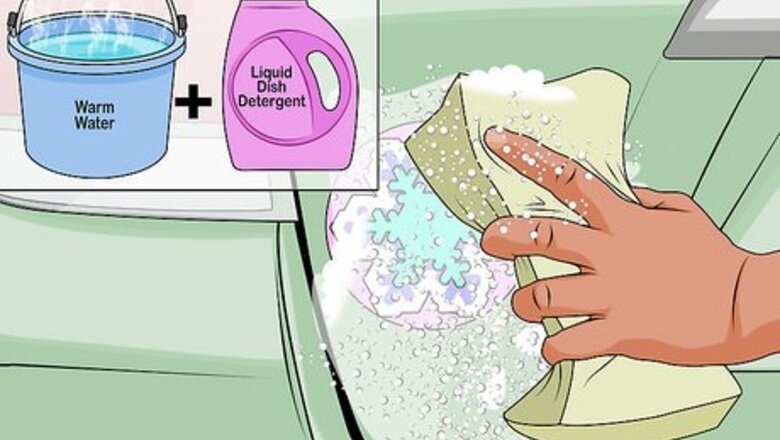
Clean the decal and the surrounding area. Fill a small bucket with warm water and add a couple squirts of liquid dish detergent or laundry soap. Dunk a sponge in the bucket and rub the area well to ensure that no dirt or grime interfere with the decal’s ability to separate.
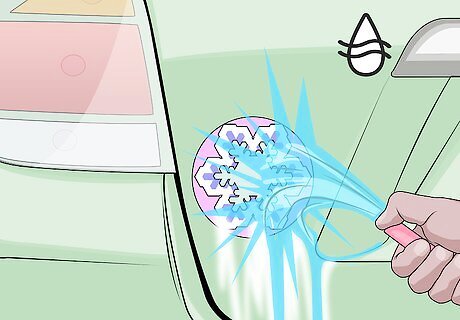
Rinse and dry the area. Pour some fresh, clean water over the area to remove any suds. With a clean microfiber cloth, thoroughly rub the decal and the area around it dry until there are no more traces of soap or water. You can also just let it air dry for several minutes if you’re willing to wait a while longer.
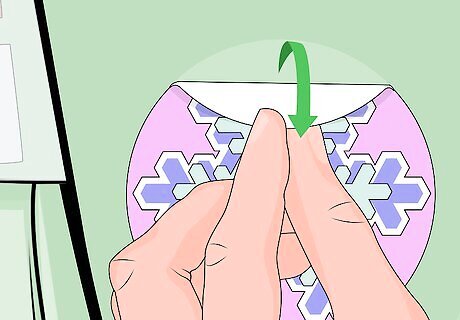
Start lightly picking at the weaker points of the decal. Take a good look at the sticker and try to figure out where its weaker spots are. If, for instance, one of the corners of the decal is already lifting up a little on its own, start pulling away at that corner.
Getting the Decal off
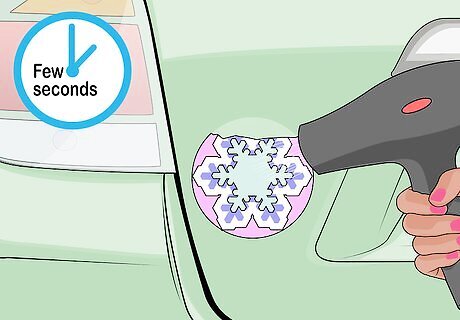
Apply heat with a hair dryer to loosen the adhesive. Plug in your hair dryer and put it on the hot setting. Hold the hair dryer a couple of inches away from the decal and start by keeping it aimed at the center for a few seconds. Then, slowly move to the other parts of the decal. Continue this for several seconds until the decal is warm to the touch.
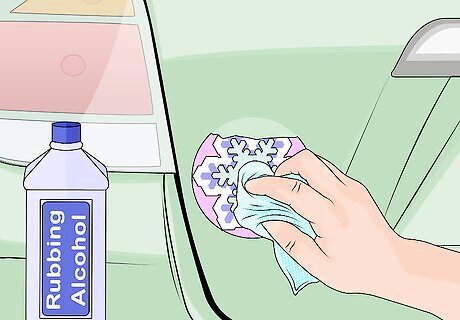
Use rubbing alcohol or WD-40 before you pull the decal. After you’ve put the hair dryer away, it may be a good idea to apply a safe oil or alcohol-based substance to further influence the decal’s edges. Gently rub the substance on the corners.
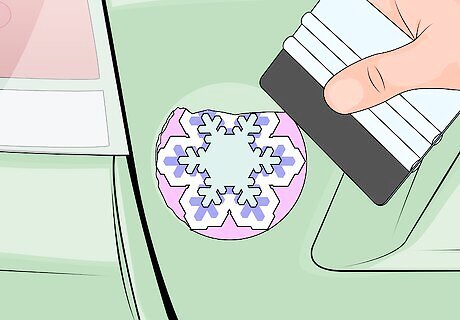
Peel or scrape away the decal. Use your fingernail, a rubber spatula, or and angled old credit card to carefully peel or scrape away the decal. If there is a clear weak spot on your decal, make sure to start removal there. Unless you’re using it to remove a decal from a window, don’t use a razor blade. When not used extremely carefully, a razor blade may create permanent scratches to your painted surfaces.
Cleaning Up After the Decal
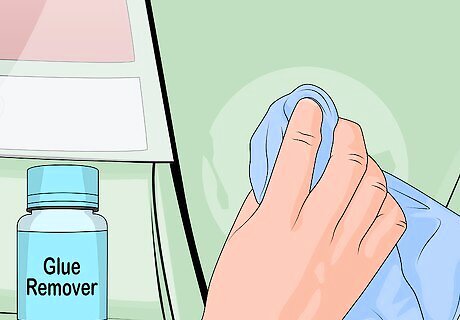
Carefully use a glue removal product. There may be leftover glue residue that you’ll want to get rid of. You can go to any automotive parts supply store to purchase a remover product that will get the job done safely. Put a dab of the product on a microfiber cloth and rub it onto the residue. Let it sit for about one minute before wiping it off with soapy water. Repeat this process until the residue is gone.
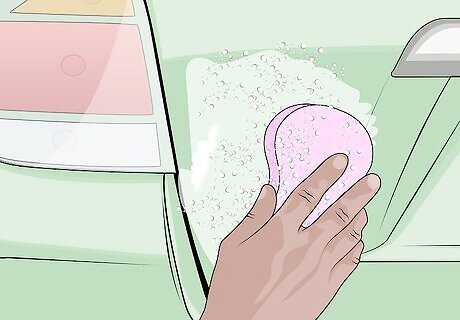
Clean the area again. Again, use a little friction with a sponge and warm, soapy water to make sure any leftover dirt is removed from the surface. Dry the area again with a microfiber cloth.
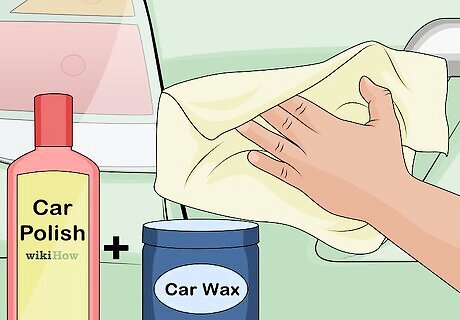
Apply a fresh coat of polish and wax. Finally, buff the spot where the decal was with a polishing compound and a fresh coat of wax. You can find both of these products at an automotive parts supply store. This will help remove any remaining discoloration and also protect the area.


Comments
0 comment