views
Removing Tiles by Hand
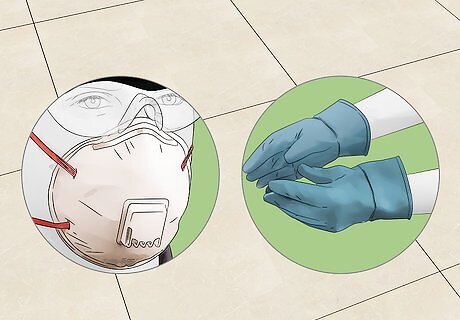
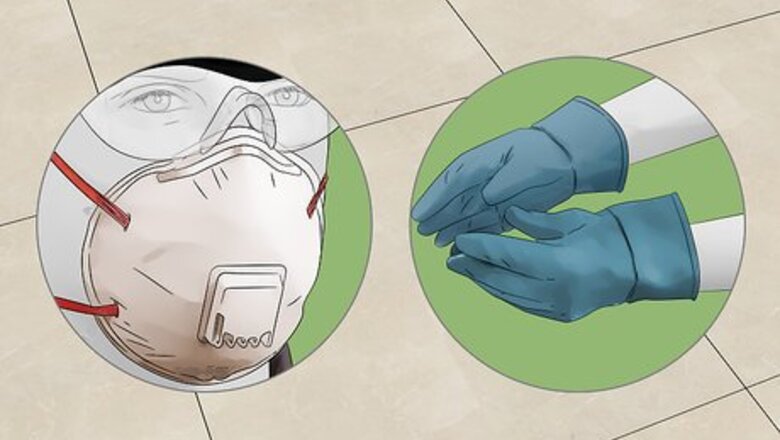
Wear gloves, safety glasses, and a face mask. Tile shards can be very sharp, so wear thick work gloves and safety glasses when handling them. Wear long sleeves and pants while working to avoid any cuts. Though breaking apart ceramic doesn’t produce a lot of dust, wearing a face mask will prevent you from breathing in any that does get kicked up. If you’re working on a large tile floor, wear knee pads so you stay comfortable.
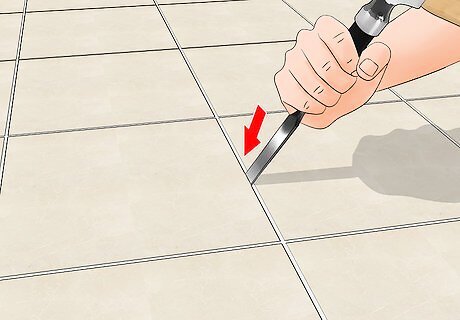
Use a chisel and hammer to lift the tiles. Hold the chisel with your non-dominant hand so the sharp edge is against the bottom of the tile. Hit the end of your chisel’s handle with a hammer to loosen the tiles from the floor. Some tiles may break apart and others may come up undamaged. Use a chisel with a wide-backed handle so you can easily hit it with your hammer. Chiseling out your tiles takes the longest amount of time, but ensures that you don’t damage anything underneath the tiles.
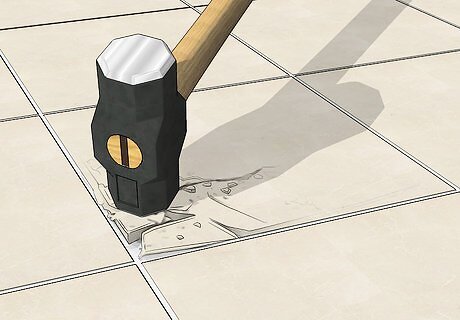
Break the tiles with a hammer or sledgehammer if you don’t need to save them. Start with tiles on the outer edge of the room or wall. Use a hammer on small wall tiles or a 3–5 lb (1.4–2.3 kg) sledgehammer for larger floor tiles. Work across the whole room until all the tiles are destroyed. Wear earplugs if the sound starts to bother you. Don’t use a sledgehammer if you don’t want to damage drywall or flooring underneath your tile.
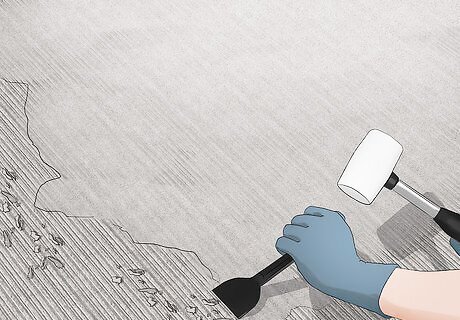
Scrape off the mortar with a chisel. Put the edge of your chisel against the mortar that was underneath your tiles. Apply a firm amount of pressure to your chisel to lift the mortar off of your floor. Hit the end of your chisel with a hammer if you cannot lift up the mortar by yourself. Make sure to remove all the mortar so the surface is smooth. That way, you can easily lay another type of flooring or wall coating on top of it.
Using a Hammer Chisel
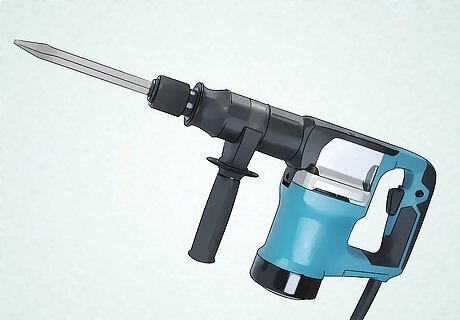
Rent a hammer chisel. A hammer chisel is an electric machine similar to a jackhammer. Many home improvement stores offer a day-to-day rental service so you don’t have to buy your own, so call a few stores and see what their daily rates are. Some hammer chisels are handheld so they can be used on walls or floors, while others are larger and made just for floors. Pick the right hammer chisel for your job. Hammer chisel rentals usually cost around $50-$60 USD per day.
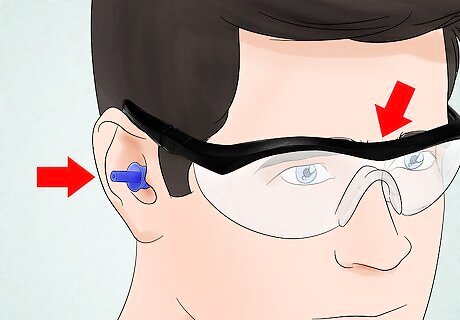
Put on safety glasses and earplugs before you start working. Since hammer chisels break apart your tiles and could send shards into the air, wear safety glasses to protect your eyes. Hammer chisels also make a lot of noise, so wear earplugs to prevent damage to your hearing. If you have a large project, wear a face mask as well to prevent dust inhalation.
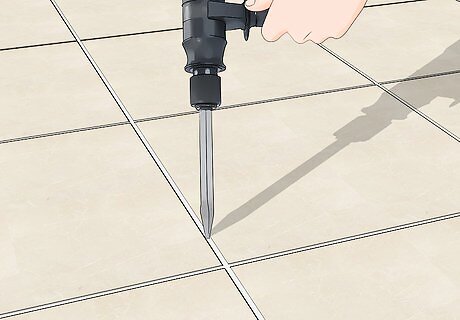
Hold the end of the chisel against the edge of your tiles. Start on the outer edge of your room or wall. Hold both of the chisel’s handles so you have the most control. Set the blade of the hammer chisel against the bottom of the tile at a 30 or 45-degree angle.
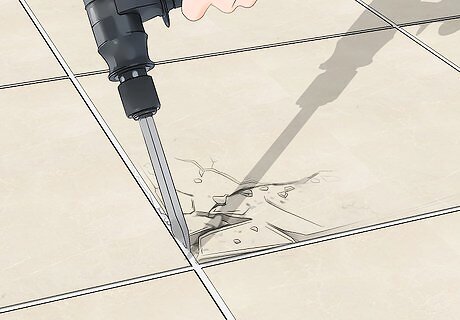
Turn on the hammer chisel to break apart your tiles. Pull the trigger on the handle of your hammer chisel and push it underneath your tiles. The hammer chisel will chip away the ceramic as well as the adhesive underneath. Continue breaking your tiles until you’ve removed them all. Clear your work surface occasionally so your broken tiles don’t pile up.
Taking out a Single Tile
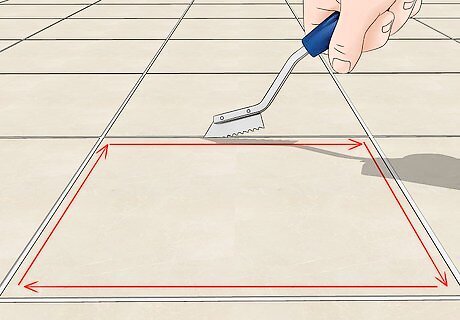
Remove the grout around the tile with a grout saw. Grout saws resemble utility knives and are used to remove grout surrounding tiles. Hold your grout saw firmly in your dominant hand and work around the tile you want to remove. Use long strokes as you apply firm pressure to cut into the grout so the tile comes up easier. Grout saws can be purchased at any hardware or home improvement store.
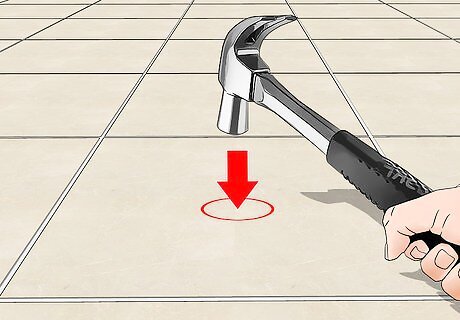
Hit the tile with a hammer to loosen it. Set the hammerhead directly in the center of the tile. Lift the hammer up and bring it back down in the middle of the tile with a firm amount of pressure. This helps loosen the tile more and break apart some of the adhesive on the bottom. You can also try drilling through the saw with an abrasive diamond drill bit. Work with your drill on slow speed, and continuously dip the bit in a little water to keep it from overheating. For larger tiles, use a 3–5 lb (1.4–2.3 kg) sledgehammer. Replacing a Small Tile If your tile is smaller than 3 in × 3 in (7.6 cm × 7.6 cm) and you don't want to damage the ones surrounding it, drill 5 holes in an X-shape through the tile with a carbide masonry drill bit. Use a hammer and a chisel on the holes to chip the tile out.
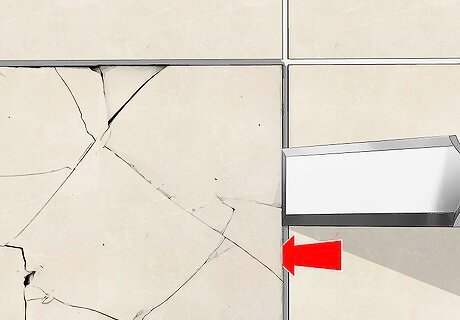
Pry up the edge of the tile with a chisel. Slide the end blade of your chisel underneath the tile and pull up on the handle to lift it. If the tile is still stuck, hit the end of the chisel’s handle with your hammer to break apart your tile. Work slowly so you don’t accidentally chip any of the tiles next to the one you’re trying to remove. If you don’t have a chisel, use the back of a claw hammer to lift and pry the tile off of the surface.
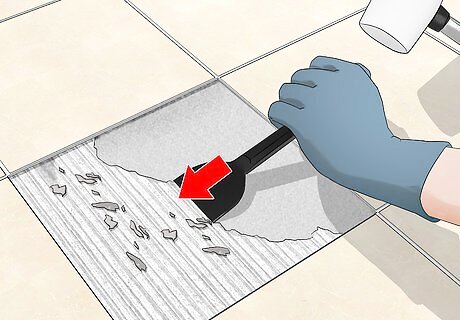
Use your chisel to scrape off the mortar. Set the chisel blade on the surface next to the adhesive mortar. Apply a firm amount of pressure to the chisel, working in short back and forth motions to scrape the mortar off. Once you’ve removed it all, use a vacuum to get rid of the residue. Make sure the surface is completely smooth or else you won’t be able to lay another tile in flat.



Comments
0 comment