views
Selecting Your Covering Material
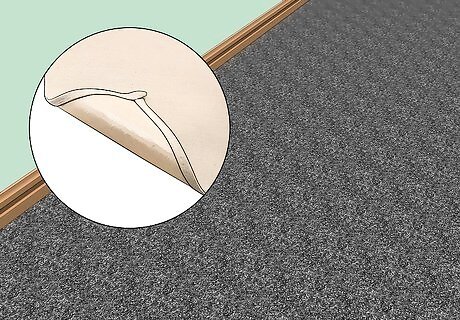
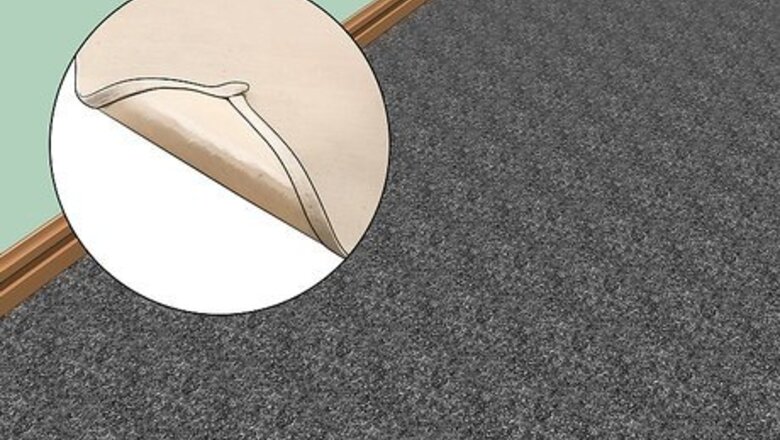
Use a canvas drop cloth to cover your floors if you have carpet. Canvas drop cloths are the best option to cover carpet flooring because they are easy to spread out. They also catch most drips and splatters. To use, simply unfold them and spread them across your carpet. You can reuse canvas drop cloths for many painting projects. While canvas is a relatively thick material, it cannot block out heavy spills. Because of this, be careful not to spill a lot of paint. Use a small amount of paint at a time, and be mindful of where your bucket or tray is at all times. Canvas drop cloths are hefty enough that you do not need to use tape. You can simply bunch them up along the walls to keep them in place. However, using masking tape ensures your drop cloth will stay put and protect your floors. You can purchase canvas drop cloths at most home supply stores in the painting aisle.
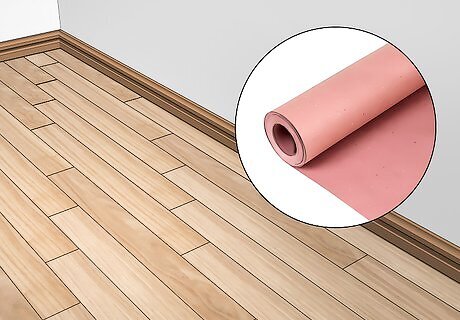
Choose rosin paper to protect your hardwood, vinyl, or tile floors. If you want to protect hard surface flooring, rosin paper is the best option. Plastic or canvas materials are often slippery on these floors, but rosin paper is easy to walk on. It often comes in a roll, so you can unroll it and tape sheets together to cover your floor. The size of your sheets will depend on the size of your floor, but generally speaking, you can cut it into about 5 ft (1.5 m) long sections so it is easy to work with. Purchase rosin paper at most craft stores and home supply stores. You can also use ram board or cardboard flooring if you're going to be painting for a couple of weeks and really want your floors to be protected well.

Select a plastic drop cloth if you want a disposable, cheap option. Plastic drop cloths often vary in thickness, from about .4 in (10 mm) to 4 mm (0.16 in). They are not the best to use on most flooring options because they are very slippery to walk on, though if you want to use them, select as thick of plastic as you can. Plastic drop cloths work better to cover furniture when you are painting, rather than using as a drop cloth. However, they are a popular choice because they are easy to use, relatively inexpensive, and easy to throw away. Since plastic is not an absorbent material, spilled paint will not dry and can run across the drop cloth. If you step in the paint, you can easily track it across your floor. However, even if you spill a gallon of paint, it won't bleed through plastic drop cloths. Plus, it also prevents dust from getting through which makes cleanup easier.
Covering Your Floors
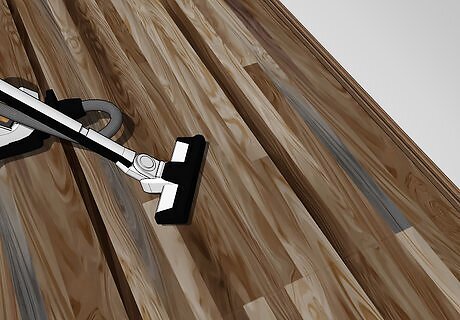
Vacuum before you lay your covering to avoid scratching your floors. If dirt or debris is caught underneath of your covering, it could scratch your floors when you walk on top. To avoid this, vacuum either your carpet, hardwood, tile, or vinyl flooring before you lay down your covering. Go over all of your flooring for a thorough clean. While this is not required, it will help protect your floors from any additional damage.
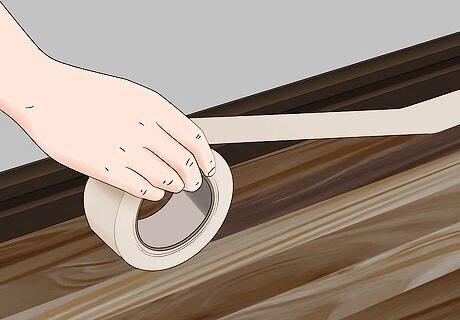
Apply 2 in (5.1 cm) wide pieces of masking tape to the floor perimeter. Before you lay down your covering, run a piece of 2 in (5.1 cm) wide masking tape around all of the floor edges. Rip them in about 6–12 in (15–30 cm) sections, and stick them at the base of your wall. If you’d like, you can stick half or 1/4 of the piece of tape to your baseboards. This helps prevent any paint from landing on your baseboards or carpet edges.
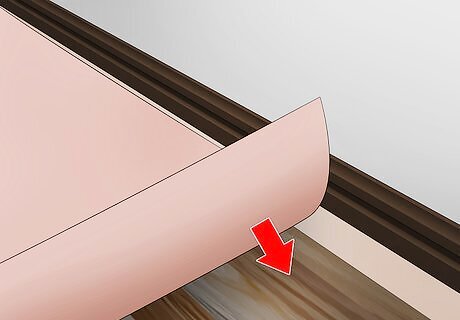
Spread your covering across your floor. Depending on the type of covering you are using, you may have to unfold it or unroll it to get started. Then, lay it across your floor so it is flat and flush against your wall. Stretch your covering out so it covers your entire floor. If you are using pieces of rosin paper, place 1 piece at the edge of your wall, and lay the additional pieces next to the first section so they overlap by at least 0.5 in (1.3 cm). If you have furniture in your room, you can simply lay your covering around it. You can fold the edges on top of the rest of the covering and use an additional covering if you need.
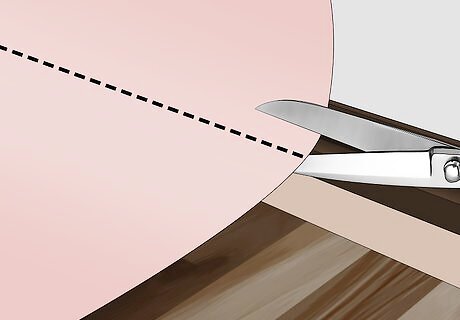
Cut off any extra covering with scissors if using plastic or rosin paper. If you have any remaining covering sections left over, take a pair of sharp scissors, and cut it along the last edge of your room. Neatly roll up or fold your remaining covering, and place it outside of your room to use next time. This way, you will not trip over any extra plastic or paper. Alternatively, you can fold the extra plastic or paper on top of the layers spread across your floor. Then, tape down the edges so you don’t trip!
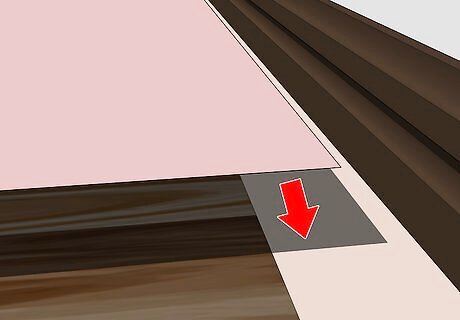
Line the edges of your covering up with your wall so it covers the tape. After your covering is stretched across your floor, go around your room and line the edge up so it is flush against your wall. You want the covering to sit over top of your initial tape layer, so you can catch any potential spills or drips.
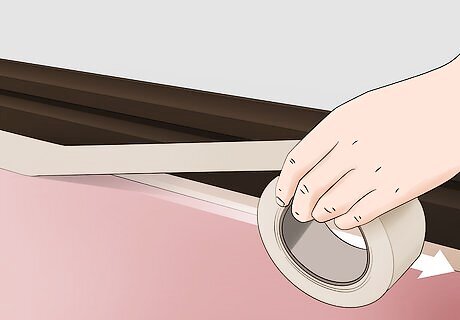
Tape down the covering's edges using 2 in (5.1 cm) wide masking tape. Rip your masking tape into 6–12 in (15–30 cm) sections, and stick 1/2 of the tape on your covering and the other 1/2 onto your floor and baseboard. Continue placing pieces of tape around the perimeter of your covering until it is completely secured to your floor. Do this after your covering is properly aligned, so your sizing is correct.
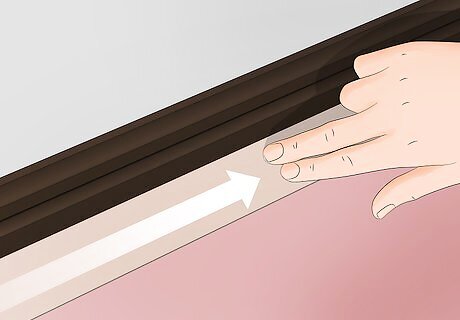
Smooth over the tape with your hands to secure it to the floor. As you place your pieces of tape around your floor, run your hand over top of the tape to stick it into place. This adheres the sticky side of the tape to your covering and floor, so it will not move as you are painting.


Comments
0 comment