views
Creating Enough Pressure for Plunging
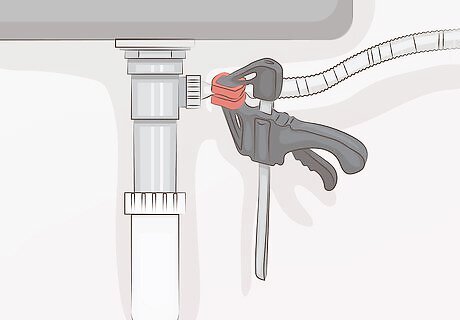
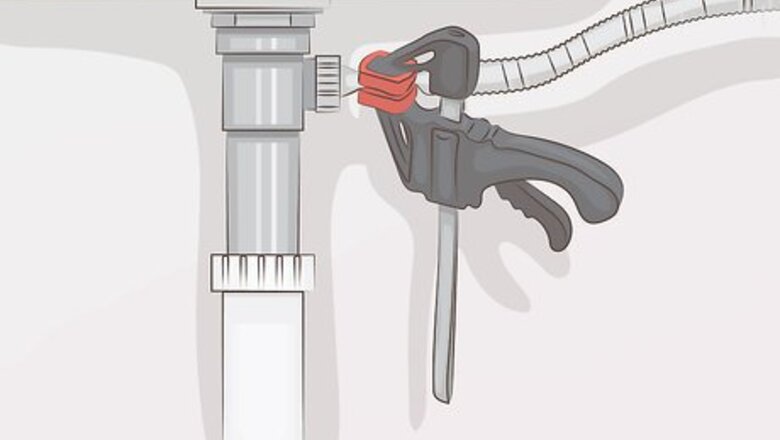
Clamp the hose to your dishwasher if you have one. You may not be able to create adequate pressure to loosen the clog if your sink is attached to a dishwasher. Use a clamp to close off the hose going from your sink drain to the dishwasher. Place the clamp as close to the pipe as you can get it. If there is no dishwasher attached to your sink, then don’t worry about this.Tip: If you will be plunging a bathroom sink, then it might have a stopper and that will get in the way of plunging. You can remove the stopper and replace it after plunging, or a different option for unclogging the sink.
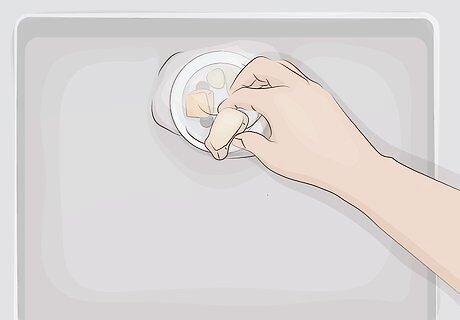
Remove any visible debris from the sink before you plunge it. Food waste and other debris in the sink may get in the way of plunging, or even make the clog worse. Remove the waste and throw it away before you start plunging. You may want to put on a pair of rubber gloves before reaching into the sink, especially if the water is dirty or has been standing for a while.
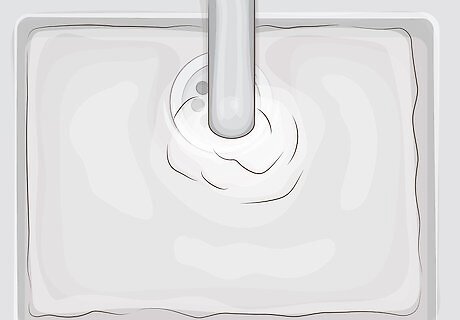
Fill the clogged sink with 3 to 4 in (7.6 to 10.2 cm) of water. You need water up above the level of the drain to create a tight seal with the plunger. If the water is not already 3 to 4 in (7.6 to 10.2 cm) above the drain, turn on the tap and fill up the sink to this level. It does not matter if the water is hot or cold. However, hot water may help to loosen a clog that is due to grease. Never pour drain chemicals into a sink with standing water! The chemicals will not help to undo the clog. They will just sit in the water and produce fumes, which can be dangerous. Also, never pour chemical drain cleaner into the sink before you plunge it. It could splatter and burn you.
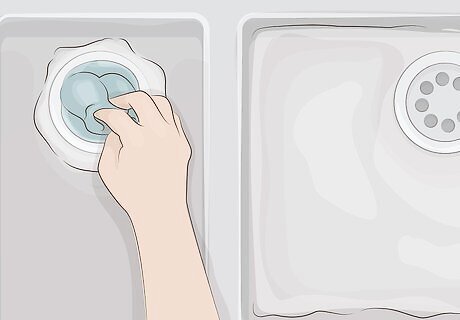
Stuff a dishcloth into the other drain or overflow hole in your sink. If you are going to plunge a 2 drain sink, then you will need to block off the other side to create enough pressure. Get a rag or dishcloth, wet it, and push it into the drain. If the sink has an overflow hole, shove a wet rag or dishcloth into that hole. You may also want to hold the cloth or rag over the drain or overflow hole as you plunge. This will help to ensure that it will not pop out once you begin plunging.
Using Proper Plunging Technique
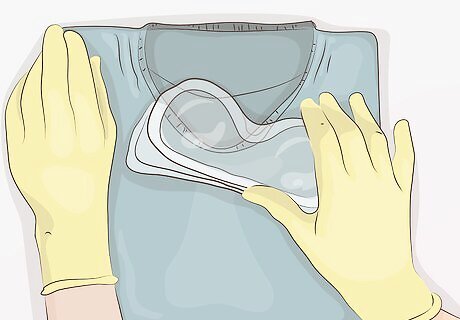
Put on protective eyewear, an old t-shirt, and rubber gloves. Plunging can be sloppy work, and clogged sinks often have food waste and other remnants in the standing water. Before you begin plunging, put on a pair of goggles or other protective eyewear to prevent water from splashing into your eyes. You can also put on an old t-shirt a pair of rubber gloves if desired. Don an apron to protect your clothing if you do not want or have time to change your shirt.
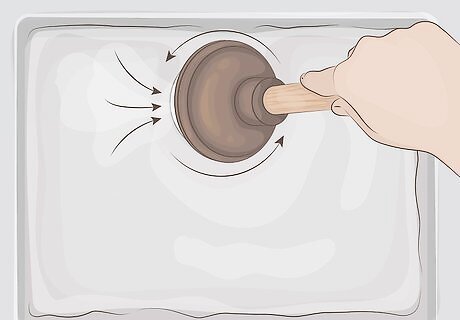
Roll the plunger over the affected drain to get water into it. Don’t put the plunger straight down over the affected drain. This will trap air in the plunger, which is not ideal. Instead, tilt the plunger and put 1 end against the edge of the drain. Then, roll the plunger around the drain to form a tight seal over the drain and get water inside of the plunger. If you can see into the water, look to see if the edges of the plunger are covering the edges of the drain. If you cannot see into the water, try plunging up and down a few times to see if the plunger is making contact with the area around the drain. You will feel resistance when you plunge if the plunger is positioned properly. If it is not, then there will be no resistance. Be sure to use a separate plunger for your kitchen sink than the one you use for your toilet.
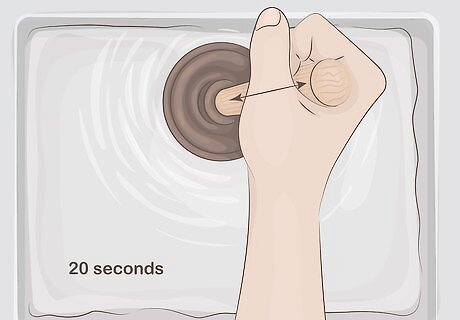
Plunge straight up and down over the drain for 20 seconds. Hold the plunger handle about 6 in (15 cm) from the top with 1 or both hands. Press the plunger up and down over the drain vigorously for about 20 seconds. Do not tilt the plunger as you do this or you may lose suction.Warning: Never plunge a sink if you have poured chemicals down it! The chemicals can splash on your skin as you plunge the sink and cause chemical burns.
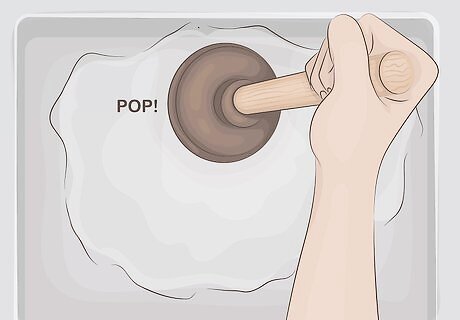
Pop the plunger straight up and off the drain to create extra pressure. After 20 seconds of plunging, pull the plunger straight up and off of the drain to remove it. You should hear a pop as you do this, which is due to the pressure from the plunger and may help to loosen the clog. Do not roll the plunger off of the drain as you did when you put it on.
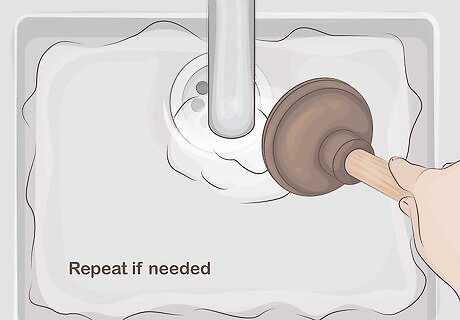
Check to see if the water drains and repeat if needed. After you have finished plunging and taken the plunger off of the drain, watch to see if the water flows again. If the clog is loose, the water should flow freely down the drain. If the clog is still in place, the water will remain standing or it may trickle very slowly. If the water does not flow freely, then repeat the process. You can repeat plunging as many times as you like, but if the clog does not come loose after the first few times, you may need to try something different, such as cleaning out the p-trap or using a snake to remove a deep clog.


Comments
0 comment