views
Mounting Photos on Canvas
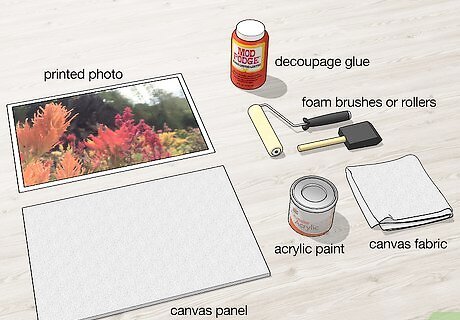
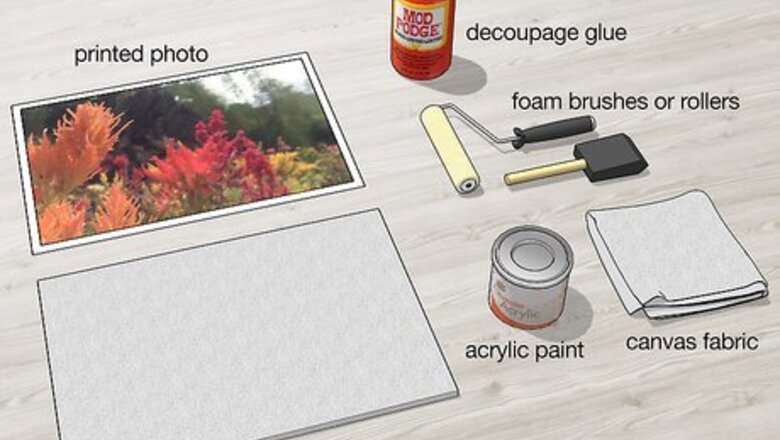
Purchase or gather supplies. The supplies you need to mount a photo or other print to a canvas panel are readily available from hobby or craft stores, as well as many department stores. For this project, you will need: The photo or other print you would like to mount (printed on regular photo paper) A pre-made blank canvas panel the same size as the print you would like to mount (if you use a canvas panel that is smaller than the print, you will have to cut the print to size, or wrap and glue/staple its edges to the sides of the panel) Gel medium or decoupage glue such as Mod Podge Foam brushes or rollers Acrylic paint (optional, to be used if you want to paint the sides of the canvas panel) A scrap of canvas fabric, if you want to add texture to your print.
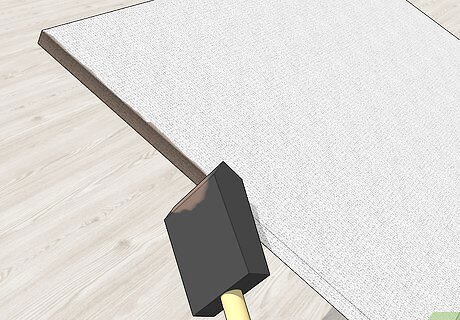
Paint the edges of the canvas panel, if desired. Your print, once mounted, will cover only the front surface of the canvas panel. Many pre-made canvas panels are mounted on wood frames so that there is a small side (about 0.5 inches thick) on all sides. You can leave these sides unpainted canvas (usually white), or use quick-drying acrylic paint to make them any color you like. For a classic look, choose a dark color of paint, such as black or brown. You can also paint the sides in a color that matches or complements a color in the print you are mounting. Once you have chosen a color, simply use a foam brush to paint the sides of the canvas panel. Let the panel dry before moving on to the next step. You can add an additional layer of Mod Podge over the acrylic paint if you want extra shine.
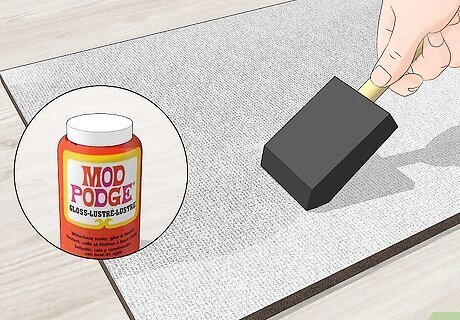
Coat the front of the canvas in Mod Podge. Using a foam brush, paint a thick coat of Mod Podge (or whatever medium you are using) on the front of the canvas panel. Work quickly so that the medium does not dry, but make sure the entire front of the panel is coated, all the way to the edges. You can use regular white glue or white wood glue instead of Mod Podge or gel medium. However, you may have to work more quickly, since glue tends to dry faster.
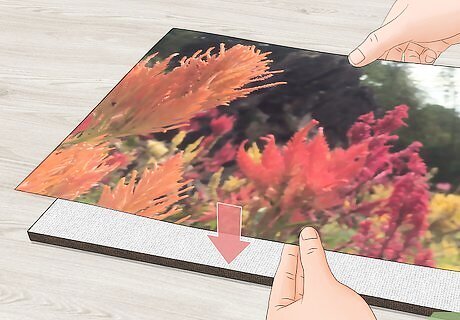
Place the print on the front of the canvas panel. While the Mod Podge or other medium is still wet, carefully lay the photo/print on the front of the canvas panel, image side up. Make sure that the print lines up exactly with the edges of the front of the canvas panel (they should be the same size). Alternatively, you can lay the photo down on a hard surface (image side down), then lay the canvas panel on top of it. If you mess up when laying the print down (such as by not lining it up correctly with the canvas), you may be able to remove it if the medium is still wet, and try again. If your print is larger than your canvas panel, wrap its edges over the sides of the panel and glue or staple them down.
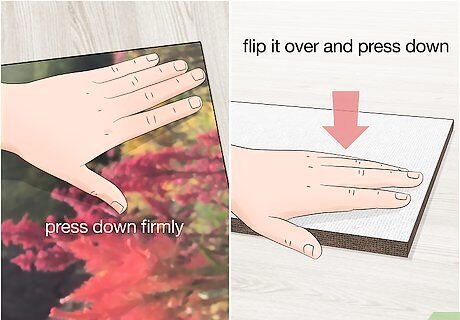
Press the print down. When you are sure that the print is lined up on the canvas panel the way you want it, press down firmly so that it sticks to the Mod Podge or medium underneath. Make sure that all areas of the print are pressed down. If there are any air bubbles trapped between the print and canvas, gently push them to the edge of the panel and press the canvas down again. Once the print is fastened to the canvas panel, you can flip it over, set it on a hard surface, and press down on the back of the panel to make sure that the print sticks well.
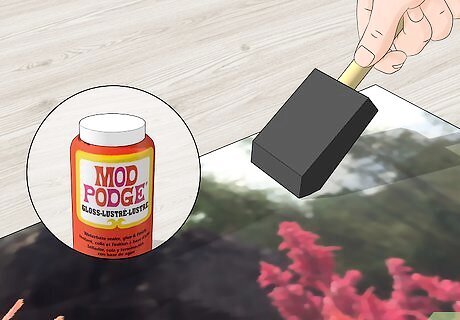
Coat the print in Mod Podge. Using a foam brush, coat the front of the photo or print in a light coat of Mod Podge (or whatever medium you are using), using long, even strokes. It might look like you are covering up the print, but remember that the Mod Podge or medium will dry clear.
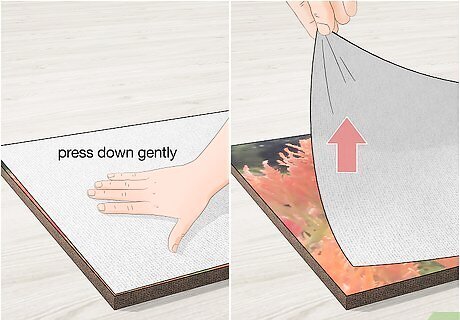
Add texture, if you want. While the Mod Podge or medium you coated the print in is still wet, lay a piece of scrap canvas fabric on top of it. Press down gently, and then quickly pull it away. This will leave behind a simulated canvas texture. If you do not want this texture on your print, just skip this step. If you don't have a scrap piece of canvas to use to create texture, you can use a piece of another kind of cloth, or roll a foam roller over the Mod Podge/medium for a similar effect.
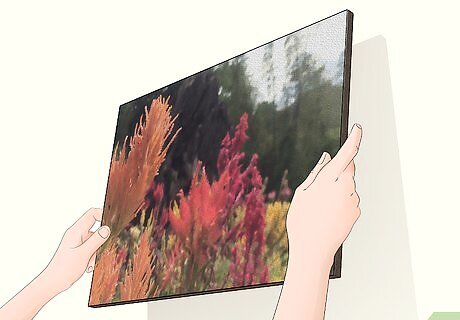
Hang the print once it is finished. When all of the paint and Mod Podge/medium is dry, your print is ready to hang. Most canvas panels have a “lip” or overhand that makes them easy to hang on a wall using a nail, wire, or other common methods.
Transferring Images to Canvas
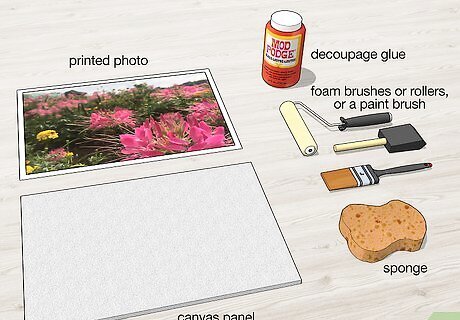
Purchase or gather supplies. Transferring a photo or other print to canvas doesn't require many more supplies that simply mounting one on a panel, just a little more time. The supplies you need can be found at hobby, craft, and department stores. You will need: The photo or other print you would like to mount (printed on regular paper using an ink jet printer) A pre-made blank canvas panel the same size as the print you would like to mount (if you use a canvas panel that is smaller than the print, you will have to cut the print to size, or wrap and glue/staple its edges to the sides of the panel) Gel medium or decoupage glue such as Mod Podge> Foam brushes or rollers, or a paint brush A sponge or spray bottle filled with water
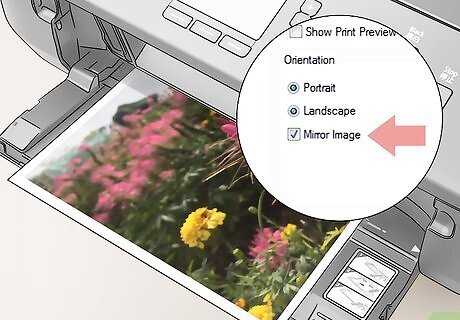
Prepare your image. For this method, it is important to print the image on regular paper. This will allow you to transfer the image onto the canvas by removing the excess paper. This process will create a reverse image of your print on the canvas, so if there is wording on the image (or if it is very important that the image is not reversed), you should first create and print a reversed image, so that it will transfer correctly to the canvas. You can create a reverse of an image using most photo and image processing software programs if you have a digital file (including a scanned image) of it.
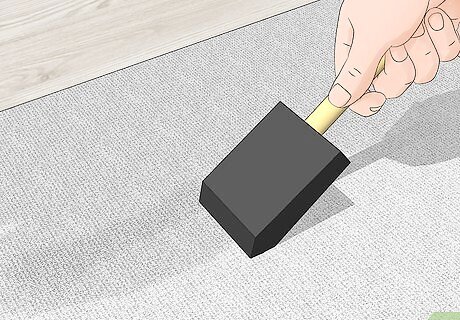
Coat the front of the canvas in Mod Podge. Using a foam brush or paint brush, paint a thick coat of Mod Podge (or gel medium) on the front of the canvas panel. Work quickly so that the medium does not dry, but make sure the entire front of the panel is coated, all the way to the edges.
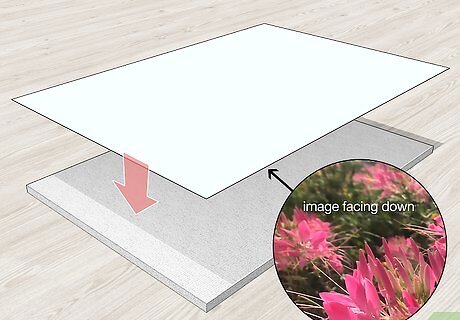
Place the print on the front of the canvas panel. Carefully lay the photo/print down on the wet Mod Podge/medium, image side down. Make sure that the print is lined up exactly with the edges of the canvas panel.
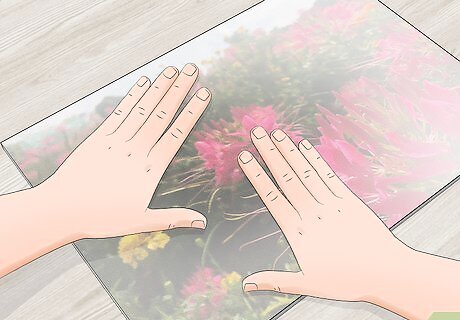
Press the print down. Without rubbing the paper too hard, make sure that the print is firmly fixed to the Mod Podge/medium and canvas panel. If there are any air bubbles, gently smooth them out (it's fine just to use your hands). You can also use a brayer or scraper to make sure the paper is pressed down firmly.
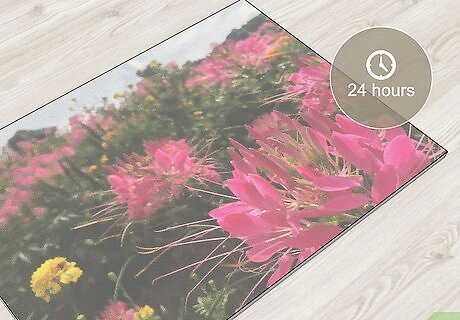
Let the panel dry. Before proceeding, you need to wait and let the panel dry completely (24 hours is best). Your print will be completely attached to the panel, looking like a piece of paper glued to the canvas, but don't worry—things will come together soon.
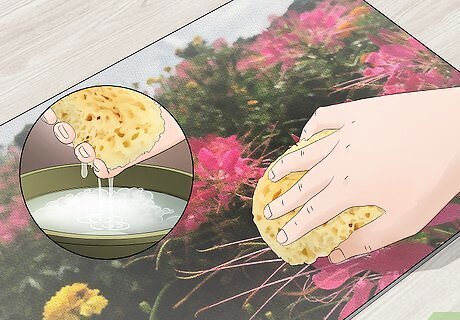
Rub the print with a damp sponge. Soak a sponge and squeeze out the excess water. Gently wipe the sponge on the paper print on the canvas panel. As the paper gets wet, it will start to rub off. The image from the print, however, will remain behind on the panel. If you are using a spray bottle of water, just dampen the paper and rub it off, using your fingers.
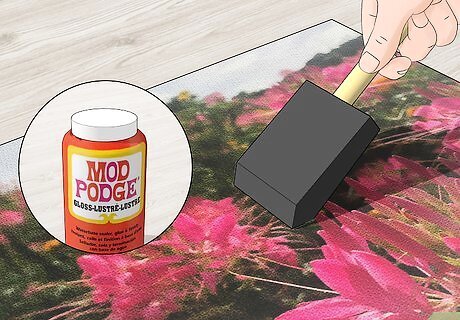
Coat the panel in Mod Podge. Using a brush, coat the front of your canvas panel with a light coat of Mod Podge or gel medium. This will protect the image.
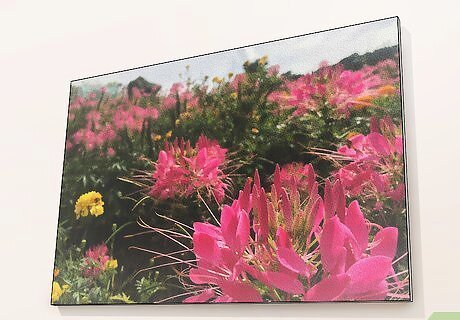
Hang the print once it is finished. When the top coat of Mod Podge/medium is dry, you can hang your print. Most canvas panels have a “lip” or overhand that makes them easy to hang on a wall using a nail, wire, or other common methods.





Comments
0 comment