
Making Yeast from Malt Extract

Bring 1 cup of water (250 ml) to a boil. Once you have achieved this, remove water from the heat.
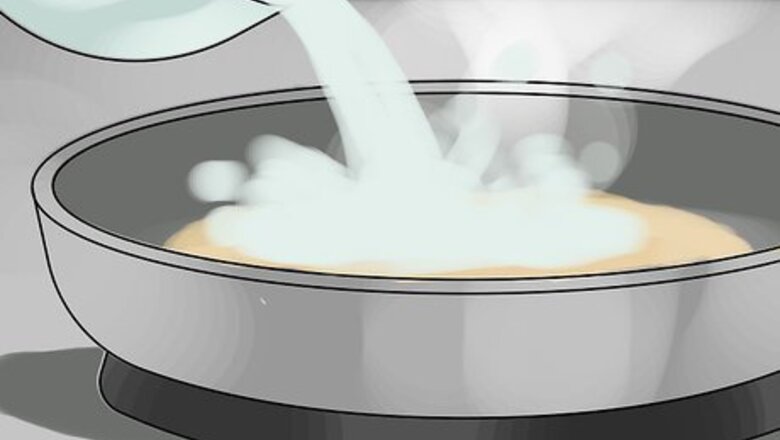
Stir 15 grams (1/2 ounce) of malt extract into the water until it is completely dissolved. Bring it to a boil for another 10-15 minutes. This will ensure sterility. This second boil is sanitizing the medium mixture, which is called “wort.”
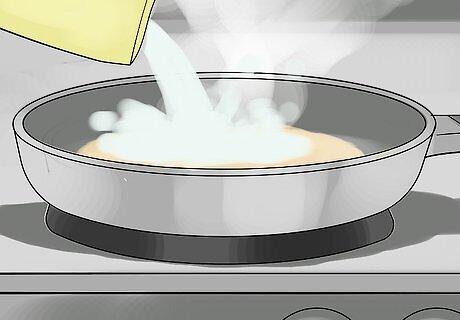
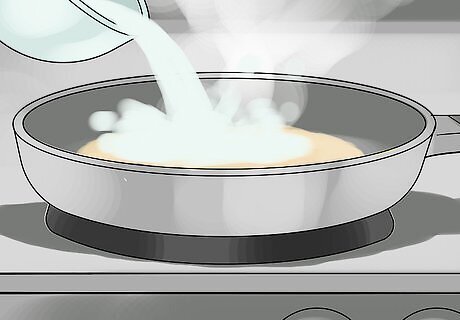
Add a packet of gelatin to the wort. Stir it until it is dissolved -- completely dissolved.
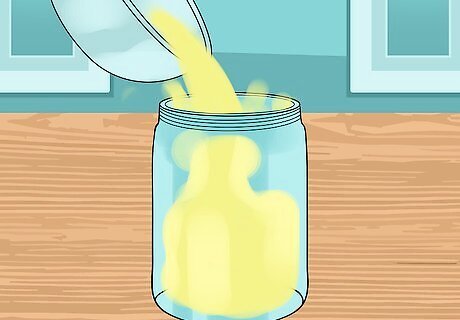
Pour some of the gelatin-wort mixture into each of the jars or dishes you’re using to make your cultures. Fill each container about 1/4 inch full. It's easiest to do this with a sterilized funnel if you're using a test tube or vials. Keep one empty jar or dish aside for use later in the culturing process.

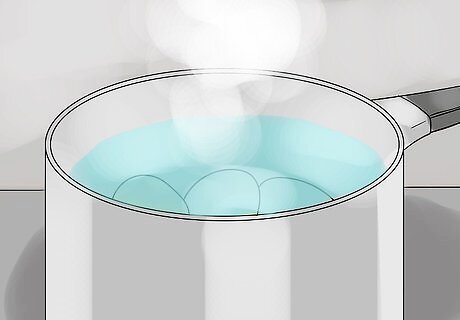
Place the jars or dishes in the bottom of the large stock pot. Make sure it has a lid! This is where having vessels with a flat bottom comes in handy. If you're using tubes with a rounded base, you'll need to rack them to stand them up.
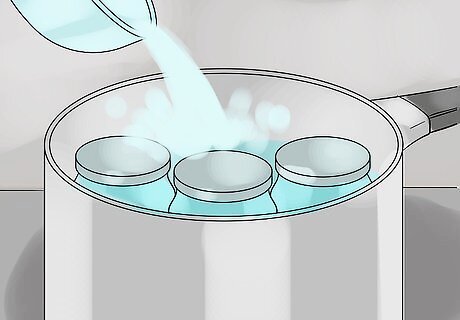
Add 2 to 3 inches (5 - 7.5 cm) of water to the dish. Or enough so that the water comes halfway up the sides of your culturing vessels. Make sure the water does not get inside the jars. Add the jar lids carefully. Don't put them on, just in -- this will sterilize them. If you put them on, everything may explode.
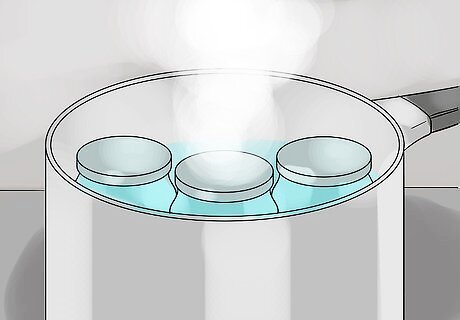
Bring the water in the stock pot to a boil. Keep it on high for 15 minutes to sterilize the culturing vessels. Then remove vessels from the hot water using your kitchen tongs and cool completely. This may take a while, so be patient. You need to wait for things to cool to at least 40 deg. C before attaching the sterile caps, otherwise the cooling growth-medium will cause the vials to either suck the caps into the vials, or actually implode. Once cool enough, put the caps on the vials firmly. Pros generally cool for 24 hours at a slant. These are often referred to as “slants” by home brewers because many use test tubes and invert them at an angle so the wort-gelatin mixture inside solidifies on a slant.
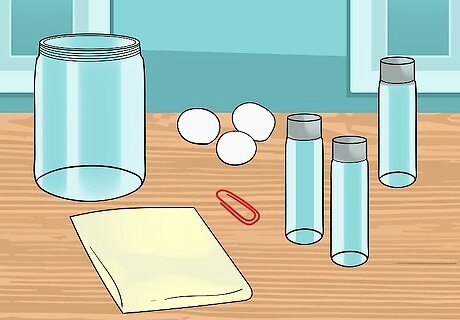
Lay out your working area. You're now going to need a number of things. It'll be easiest if you have them all at your side when you begin this process. You'll need: Yeast pack Slant vials An unwrapped paper clip or long needle Cotton ball or folded up paper-towel Your vial of ethyl alcohol Your starter vessel laid out on clean paper toweling, An empty, unused slant vial that has been sterilized, along with its cap.
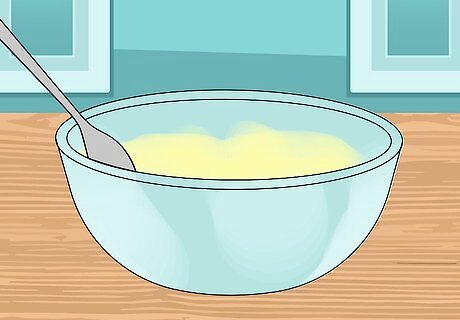
Prepare the yeast as directed on the package. Each package will list different tips and instructions, so follow them carefully. You'll need to shake the yeast so it swells and forms a paste.

Start culturing your slants. Open the yeast packet about halfway. Wipe the needle or paper clip with the alcohol swab (this sterilizes the needle and removes contaminants that could prevent the yeast from culturing properly). Draw a small amount of the yeast paste into the needle or swirl the paper clip around in the yeast packet to coat it.
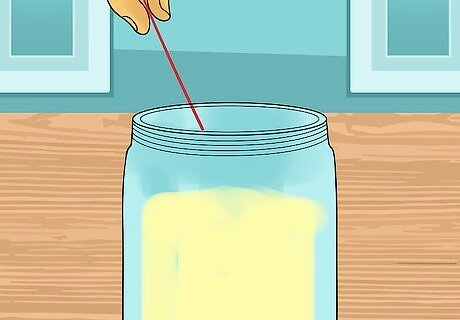
Insert the needle into the gelatin mixture and release the yeast. Work as quickly as possible during this step to prevent contamination. Avoid breathing if at all possible. Some brewers recommend placing an alcohol-soaked paper towel over the opening of the jar or dish and inserting the needle or paper clip through it into the dish to help prevent contamination when inserting the yeast.
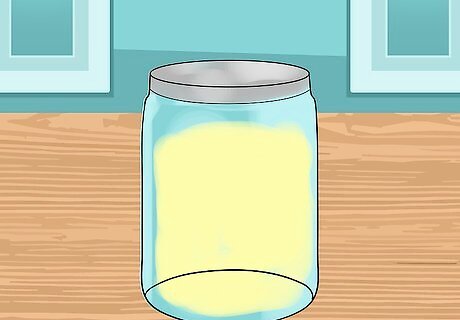
Cap the jar or dish tightly. Place the jars in a clean, cool, dark place for 72 hours. Within a couple of days you will see a cloudy film on the slant surface, and a few days later it will develop into a milky white layer about 1 mm thick. Wipe the outside of the jars and lids with alcohol swabs. As always, everything needs to be completely sterile.
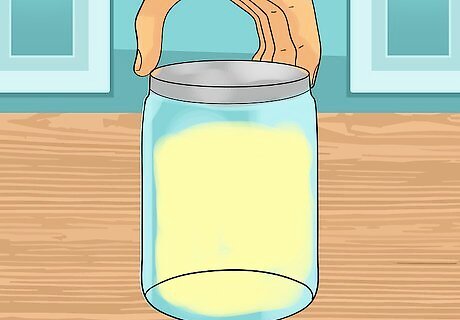
Loosen each jar slightly to release the pressure built up in each jar, then tighten again. You'll notice a slight hissing sound as you break the seal on the jar. That's excess carbon dioxide from the yeast grows as it escapes to reduce the pressure in the jar.
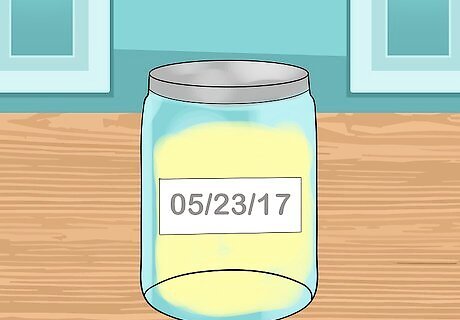
Label each jar with the date it was cultured. Store in a clean refrigerator to continue culture growth. They will keep in perfect condition for at least 3 months.
Making Yeast Starter from Potato
Boil 1 medium potato in unsalted water until done. Drain, but save the water.

Mash the potato. Add 1 teaspoon of sugar and a pinch of salt.

Cool to lukewarm. Add enough potato water to make one quart of mixture.

Cover and set in a warm place. Allow to ferment. Note: If the starter is not rising, you can add a package of store bought yeast to speed up the process––but––it will be just as good if allowed to ferment without the added yeast.


Comments
0 comment