
Growing the Mold

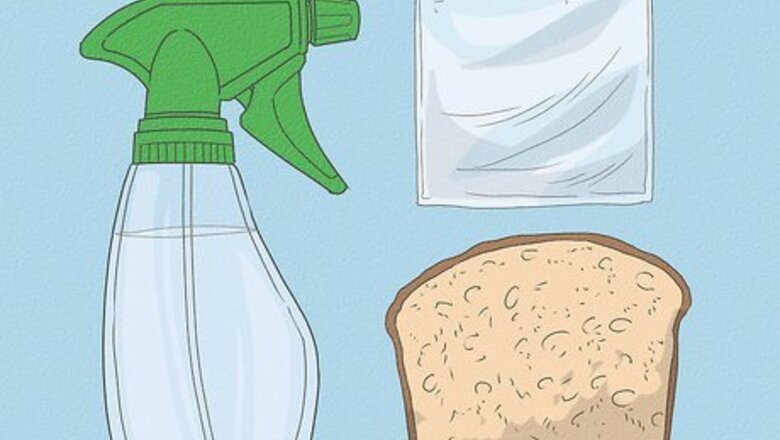
Gather the necessary materials. To grow mold on bread you will need to collect the following materials: a slice of bread (any kind), a sealable plastic bag, a spray bottle, and water. You can use any type of bread, but know that store-bought sandwich bread contains preservatives and will take longer to grow mold. Fresh bread will grow mold faster. A spray bottle is not entirely necessary, but it is an easy way to evenly coat the bread in a fine mist of water. Fill the spray bottle with water before beginning the experiment. If you don’t have a plastic bag, you can replace it with some other sealable clear container. You want it to be clear so you can observe the mold growth and sealable to contain the mold. An old plastic or glass jar would also work, but you’ll need to throw it away at the end of the experiment.
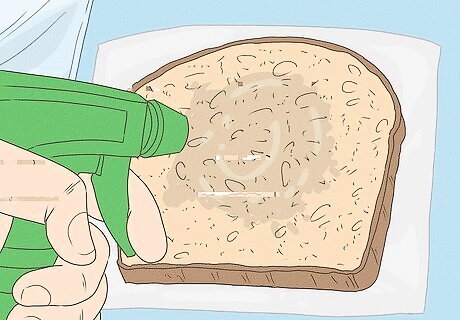
Spray the bread with water. Using the spray bottle, lightly spray the piece of bread with a coat of mist. You don’t want the bread to be soaked, you just want there to be some moisture to stimulate the growth of the mold. One spray is sufficient. Alternative methods for keeping the environment moist include: Placing a wet paper towel in the plastic bag with the bread. Sprinkling some water over the top of the piece of bread. Spraying the inside of the bag instead of directly on the bread.

Seal the bread in the plastic bag. Place your moistened piece of bread into the plastic bag and seal it closed. For the remainder of the experiment you’ll want to keep this bag sealed to avoid exposing yourself to the mold spores that will grow on the bread. If you have allergies, you might not want to do this experiment as it may cause you difficulty.
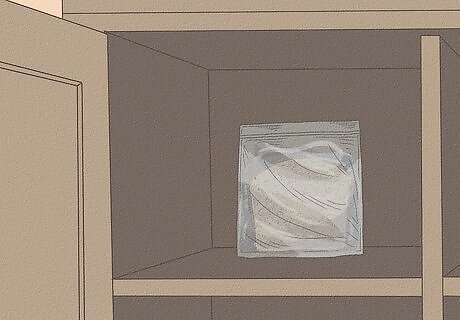
Store the bread in a damp, warm area. Mold thrives in warm environments with moisture in the air. Find a warm place in your home and store the sealed bread here. You’ve already supplied sufficient moisture to the bread for growth. Mold is a heterotroph, so it does not need sunlight to create food. It gets food from the bread itself in the form of starch which is broken down into smaller sugars. This is why mold often grows in dark, damp areas such as basements.

Observe the mold growth. Make daily observations of your bread and track the growth of mold. It should take around 7-10 days before you will be able to see significant growth on the bread. You could see growth as soon as 5 days depending on the type of bread you used. Remember, fresh bread will mold faster than store-bought bread containing preservatives. If you notice the bread has dried out, start over with a wetter piece of bread instead of adding water to the bread. Mold spores can cause allergic reactions and respiratory problems. Some mold contains mycotoxins which can cause neurological problems or even death.

Dispose of the bread properly. When you are finished observing the growth of the mold, dispose of the sealed container in the garbage. Do not open the bag. Opening the bag can release mold spores into your environment that are not good for your health. Wash your hands every time after you have handled the bag.
Experimenting with Different Growth Conditions
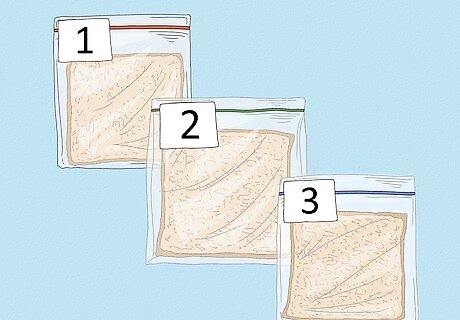
Make multiple samples of moistened bread. To test various growth conditions for mold, you will need multiple samples. Moisten as many pieces of bread necessary to test your conditions. Place each one in a separate bag. For example, if you want to test 3 different temperatures, make 3 samples. Before each experiment, make some predictions about what will happen. Make a hypothesis about how quickly the mold will grow under each condition. Write down whether you think there will be more or less mold for each condition at the end of the experiment.

Vary the amount of moisture on each slice of bread to see how moisture affects mold. Keep all other conditions the same (temperature and amount of light), but add different levels of moisture. Have 1 slice with no moisture, 1 slice that is just damp, and 1 slice that is soaked in water. Check the samples daily to see if the growth of mold is different between the 3 pieces.

Place each bagged bread sample in a different temperature to see how temperature affects mold. To test mold growth at different temperatures, store 1 sample at room temperature, 1 in the refrigerator, and 1 in the freezer. Remember, to minimize variability, you will want to use the same amount of water for each piece of bread and store the room temperature sample in the dark, as the samples in the fridge and the freezer will mostly be in darkness. Check each sample daily and see which piece of bread grows the most mold the fastest.
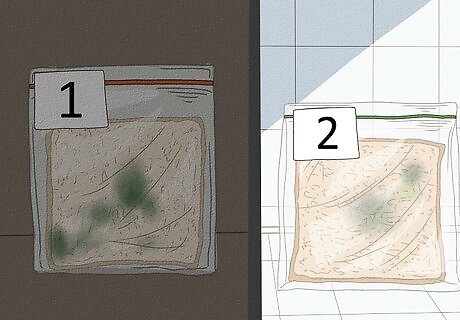
Store each bagged sample in areas with different varying light levels to see how light affects mold. If you want to test whether or not light has an effect on the growth of mold, store samples in different light environments. Place 1 bag in total darkness and 1 bag in a brightly-lit area. To minimize variability, make sure the temperatures of both environments are the same. Use the same amount of water for each piece of bread as well. If the amount of water and temperature is also different, you won’t know whether the difference in growth rate is due to the light, water, or the temperature. Observe your samples daily to check for differences in growth rate and amount.


Comments
0 comment