views
Making Wings from Cardstock
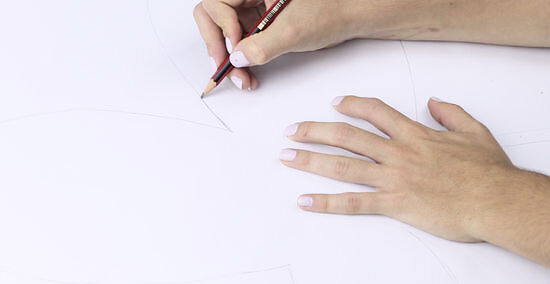
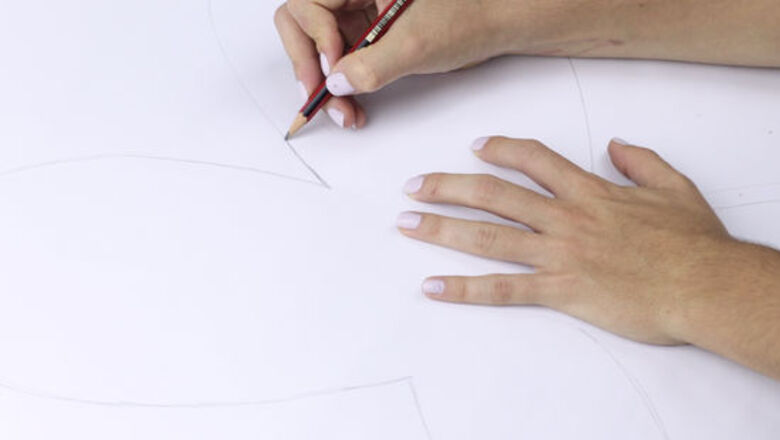
Draw the outline of butterfly wings onto a large piece of cardstock. Try to make your wing as symmetrical as possible, as this helps them to look realistic. Draw the wings as little or as big as you like! If you don’t feel very confident drawing butterfly wings, search online for a template and then print it out. If you prefer, you can use paper instead of cardstock. These wings aren’t as sturdy but they look very similar. The amount of cardstock that you will need will depend on what sized wings you want. However, a 1 metre (39 in) square will most likely be more than enough.
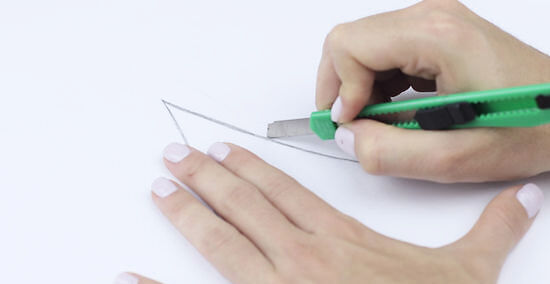
Use a craft knife to cut out the butterfly wings. Place the cardstock onto a cutting board and carefully cut out the butterfly wings with a craft knife. Try to cut just inside the lines, as this means that you won’t see the pen marks on the butterfly wings. Ask a parent to help you to cut out the butterfly wings, as craft knives can be dangerous.
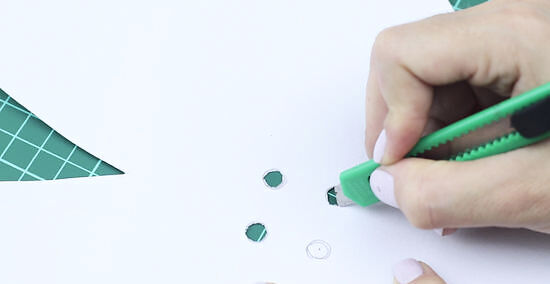
Cut four 1 centimetre (0.39 in) holes into the middle of the butterfly wings. Use a craft knife to cut 2 holes side-by-side, approximately 2 centimetres (0.79 in) apart. Then cut 2 more holes 2 centimetres (0.79 in) underneath. These holes allow you to attach the straps to the butterfly wings. It doesn’t matter if the holes aren’t perfectly in the middle of the butterfly, just use your best judgement.
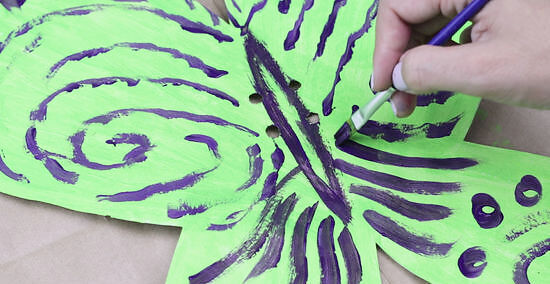
Paint the front of the butterfly wings, if desired. Place the butterfly wings onto scrap paper to protect your work surface from paint. Paint the butterfly wings a solid colour or give it stripes or spots. Be creative and use your imagination! Water-based paints are a great option as they can easily be washed out of clothes; however, oil paints and acrylic paints will also work.
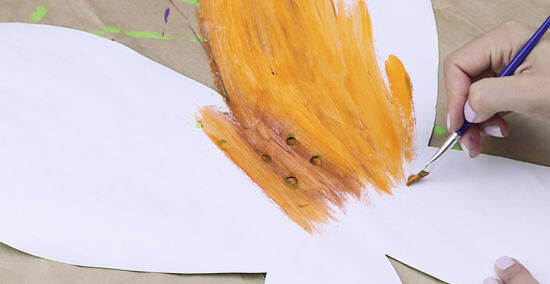
Wait 2 hours for the paint to dry and then paint the other side. Place your painting in a safe, dry spot away from animals or children. Once it is dry, turn it over and paint the other side so that the back-facing side of the wings doesn’t look bare when you wear them. If you want to add extra decoration to your butterfly wings, stick on sequins, glitter, tissue paper, stickers, or beads. If the paint is still wet after 2 hours, allow it to dry for another hour or until it feels dry to touch.
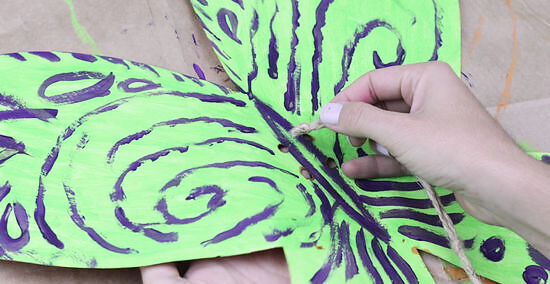
Thread the tips of a 2 m (79 in) rope through the 2 top holes. Thread the rope through the side of the wings that you painted first (the side that will face outward from your back). Pull the rope so that it is even on both sides. This creates a loop through the forward-facing side of the butterfly wings. If the rope won’t fit through the holes, burn the ends of the rope to make the tips pointier. Ask an adult to help you with this. This rope creates straps that allow the wings to be easily worn.
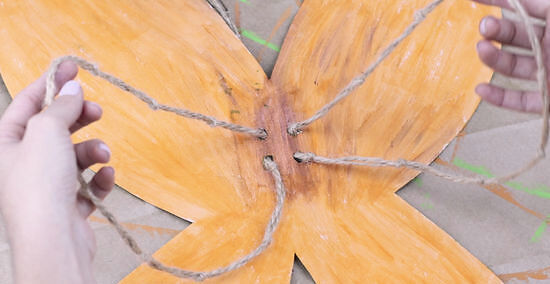
Push the tips back to the forward-facing side through the bottom holes. This helps to create straps that look similar to those on a backpack. Push the right end of the rope through the bottom right hole and the left end of the rope through the bottom left hole.
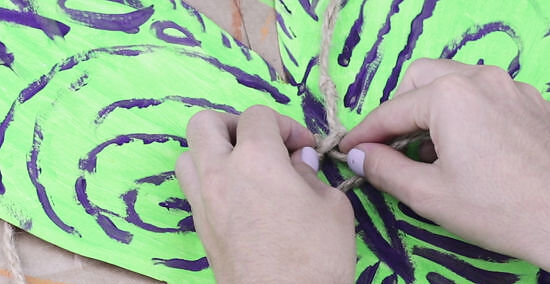
Tuck the tips of the rope under the top loop of rope. This helps to secure the rope in place and makes your butterfly look like it has antennas. If the rope is too long, simply cut it to your desired length with a pair of scissors. The pressure of the holes against the rope will likely keep the rope in place; however, if the straps come undone, try tying the ends of the rope into a double knot.
Using Wire Hangers
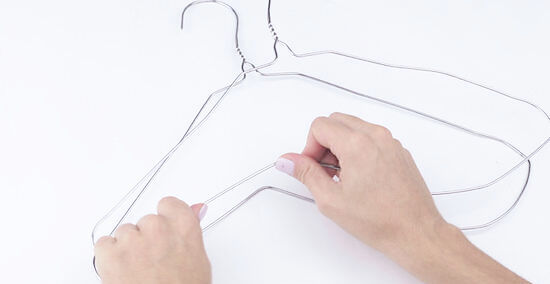
Bend 2 wire hangers into the shape of butterfly wings. Leave the hook portion of the hanger intact and then use your fingers to push and pull the rest of the wire into the shape of a wing. Try to make the 2 wings as similar as possible, as this helps them to look more realistic. If you are having trouble bending the wire, use a pair of pliers to help you.
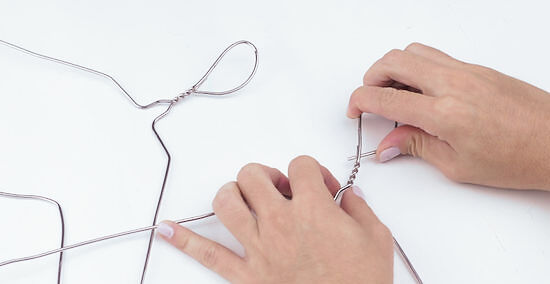
Pull each of the hooks into a circle shape. This helps to stop the wire from poking out and hurting the person wearing the wings. If there is enough wire, wrap it around the base of the hook to secure it in place. If you are struggling to bend the wire, use pliers to help shape it.
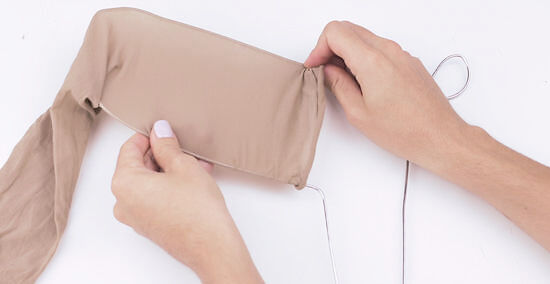
Push each wing into the leg of a stocking. Push the wings into the stockings very slowly to help prevent them ripped. If the stocking gets stuck on a bump in the wire, simply pull the stocking up and over the bump to stop it from getting torn. Keep pushing until the entire wing is inside the stocking. In some countries, stockings are called pantyhose.
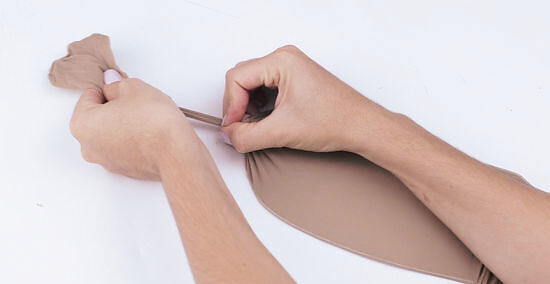
Knot each end of the stocking close to the hanger. Tie a knot in 1 end of the stocking and then pull the stocking tight and knot the other end as close to the hanger as you can. This pulls the stockings taut over the wire and makes them look like wings. Trim off any excess stocking with a pair of scissors. Repeat this process on both wings.
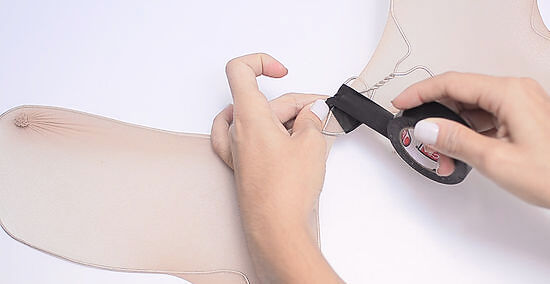
Wrap the hooks of the wings together to form the middle of the wings. Place 1 hook on top of the other. Then, completely cover the wire with heavy-duty sticky tape. This helps to prevent the wire on the hooks from digging into your back when you wear the wings.
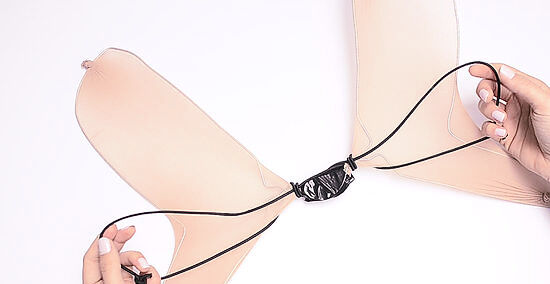
Place elastic loops over each wing. Knot 2 lengths of 50 centimetres (20 in) elastic to form an elastic loop. Stretch each loop of elastic over the wings of the butterfly so that they sit in the middle section of the butterfly. These elastic loops act as armbands for the wings. Put the elastic loops on the same way that you would put on backpack straps. It doesn’t matter where exactly the elastic loops sit, as the extruding wings will keep them in the middle of the butterfly.
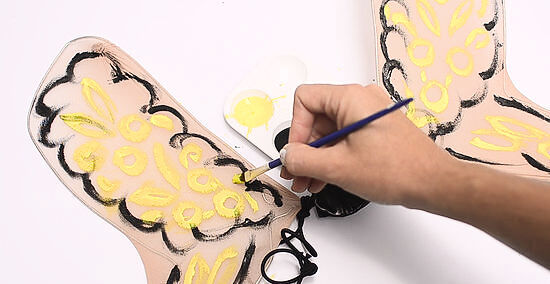
Paint the butterfly wings, if desired. This is a great way to make your butterfly wings look unique. Consider painting stripes, dots, or patterns on your wings to make them stand out. Leave the wings to dry for about 2 hours before wearing them. Paint your wings orange and black to make them look like a Monarch butterfly. Fabric paint works best for this method; however, water-based paints and acrylic paints will also work.


Comments
0 comment