
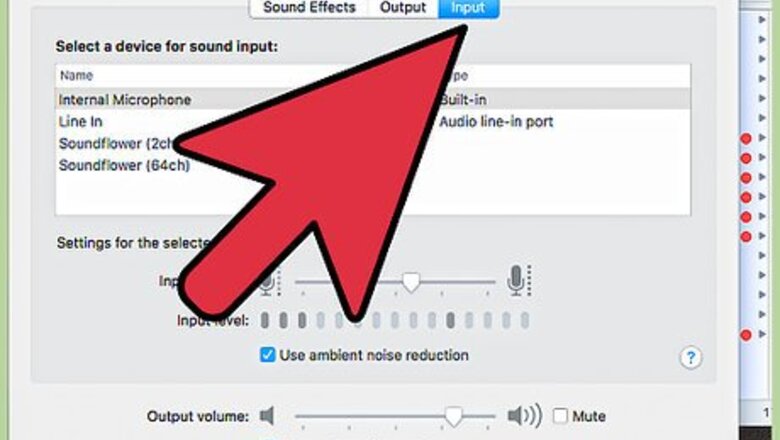
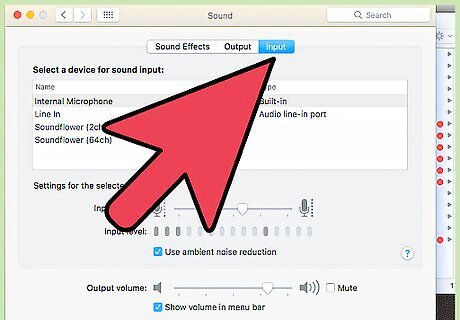
Set up your workstation. Before beginning work on Logic Pro X, make sure all of your equipment (MIDI keyboard, Mixer, Mic, Monitors, etc.) are all properly connected.
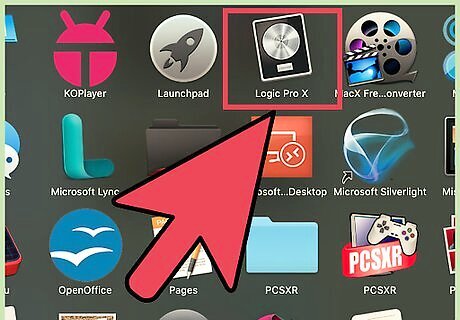
Open up Logic Pro X. Ensure your Mac has sufficient battery, and open up the software. Close other programs for optimal performance.
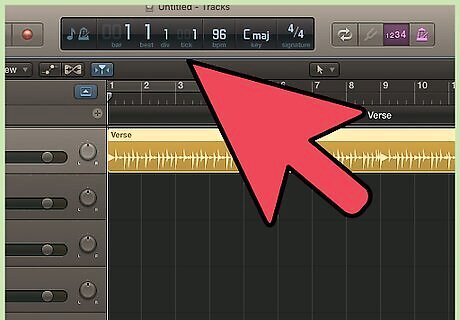
Set up your project. Before beginning work on any project, you must set the Tempo, Key, and Time Signature. This can be set up at the bar at the top that shows your project info. You can always change the tempo of your project later. However, you cannot change the tempo with any tracked out instruments or vocals, as those are tracked out according to the tempo that was present when they were recorded. If you do need to change the tempo in such a scenario, you must re-record those particular components. It is also recommended that you change your "Count In" settings before you record so you have a comfortable amount of room before your actual recording begins. You can do so by going into the "Record" option at the top of the bar, scrolling down to "Count in" and selecting what you are comfortable with.
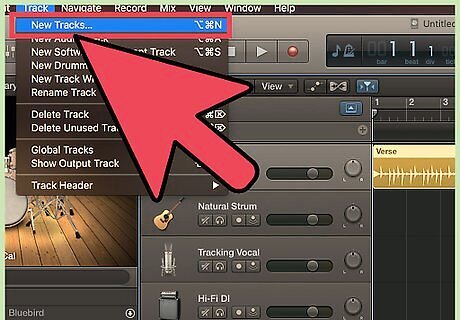
Create a new track. To create a new track, navigate your mouse to the "Track" option in the top bar and select "New Track". Select the first track you want to add in the arrange window.
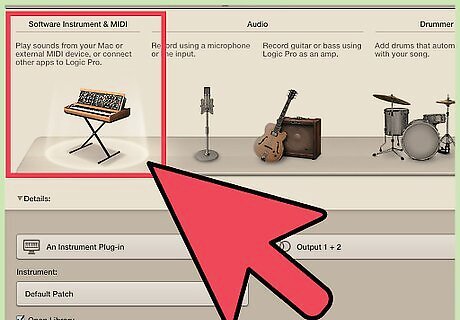
Record software instruments. With your MIDI keyboard/synthesizer, you can emulate hundreds of different instruments through Logic's library. From the new track window, click "Software Instrument". Select your instrument and make sure your MIDI workstation is connected and ready. Press "R" your keyboard to record.
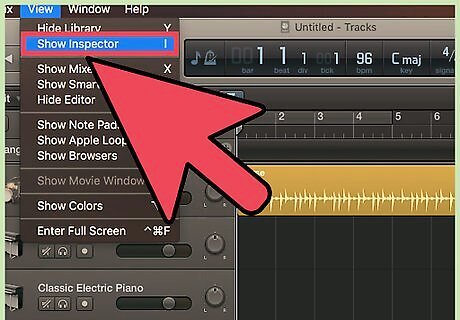
Use Quantization. To correct any discrepancies in timing when recording software instruments, you can quantize that track to a certain time signature, based on its frequency in the recording. To do so, first go into the inspector by clicking "View" at the top bar, and then "Show Inspector". Select your track, then navigate to the "Quantize" option and select your particular timing. Those notes will automatically align themselves according to the timing you select.
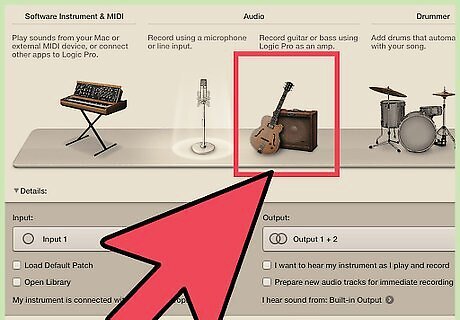
Record real instruments. To record any real instrument you can either connect to the mixer or use a mic. Make sure your instrument/mic is connected to the mixer, and is turned on. Go to the "New Track" window, and select "Audio" as the option. Specify your input device as the mixer you are using, and the output device as your headphones. Press "R" on your keyboard to record.
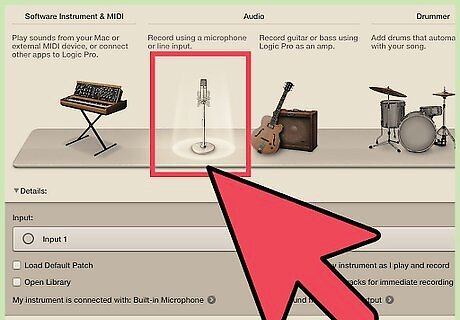
Record vocal tracks. To record vocals must use a mic that is connected to the mixer. Make sure your mic is connected to the mixer and turned on. Go to the "New Track" window, and select "Audio" as the option. Specify your input device as the mixer you are using, and output as the headphones. Press "R" to record
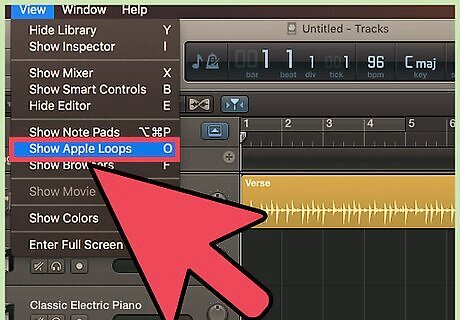
Use Apple loops. Logic Pro X provides a large amount of pre-created audio loops for those who want to use them in their project. Navigate to the "View" window and select "Show Apple Loops". Select the loop you want to use based on the categories that are shown. Clicking on multiple categories narrows down your options. Drag the loop and drop it into the area labeled "Drag Apple Loops Here".
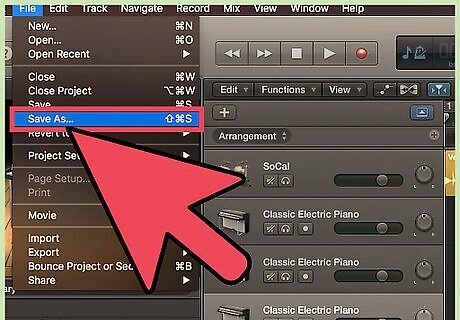
Save your project. Periodically as you are working on your project, you must continue to save so you do not lose any of your work. Navigate to the "File" option at the top bar and select "Save As" or "Save", and give your project a name.
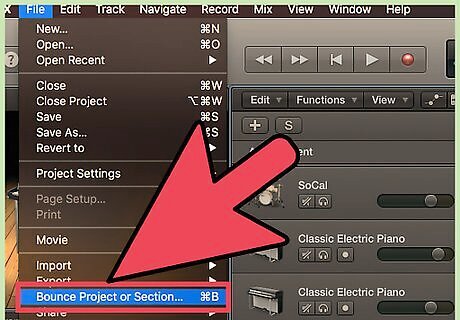
Bounce your project. Whether you are finished with a draft, or the final, Logic Pro X allows you to bounce this project as a variety of different formats based on your needs. ("Bouncing" refers to creating one individual track that is made up of a number of tracks that you select.) You can track out your project as a different audio tracks for mixing using another software, such as Pro Tools. Navigate to the "File" option in the top bar, and select "Export" and then click on "All Tracks As Audio Files". Select the format of the files, and click "Bounce". You can bounce the entire project, or a selected few tracks, to listen to it as if they were a finished song (at that point.). Select the particular tracks that you want to hear in the bounce. Navigate to the "File" option in the top bar, and select "Bounce", and then click "Project or Section". Specify your formatting options and select "Bounce".


Comments
0 comment