views
Making a Realistic Arm Cast
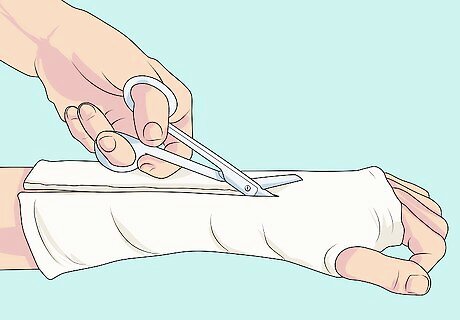
Realize that you'll have to remove the cast. If you are making your own plaster cast, you'll have to be able to remove the cast yourself. Removing a plaster cast requires having access to either plaster shears or an electric cutter. It's highly dangerous to do this process yourself, so have a friend ready to help you. Plaster shears are safer than electric cutters. Plaster shears are available at medical supply companies. Never use another tool, such as an electric carving knife, to remove a plaster cast from a human arm.
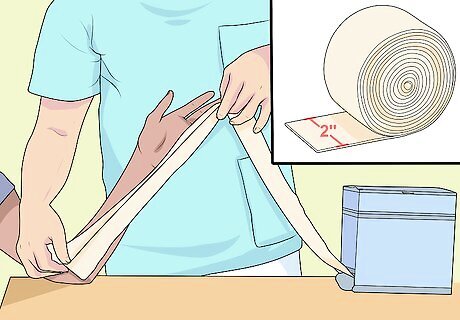
Open a tube of medical stockinette. The stockinette will be placed between the skin and the cast to protect the arm. The stockinette should be 2 inches (5 cm) wide. Unroll the stockinette the length of your forearm. Placing both your arm and the stockinette roll on a table is the easiest way to do this.
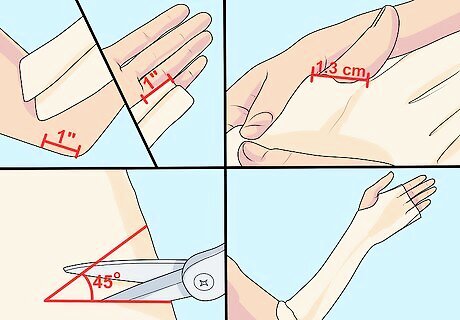
Cut the ends of the stockinette with scissors. The strip should begin 1 inch (2.5 cm) above the elbow and end 1 inch (2.5 cm) past the knuckles of your hand. Cut 1/2 inch (1.3 cm) into the stockinette for your thumb. Make the cut at a 45-degree angle for best results. When you're finished, slide your arm into the stockinette, and your thumb through the 1/2-inch (1.3-cm) hole. You can wear this while you work on the remainder of the cast.
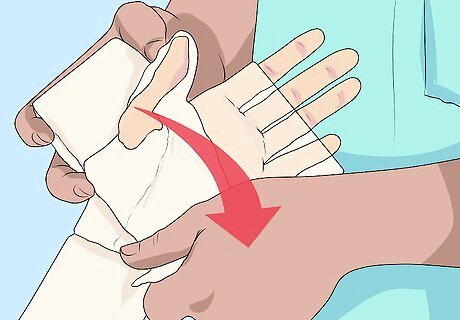
Affix the cast padding. Begin unrolling the 3-inch (7.6-cm) cast padding at your wrist. Wrap your wrist one time with the padding. As you wrap your wrist, hold the beginning end of the padding in place so it doesn't move, twist or slide. Wrap the padding around the hand two times. Do not wrap the fingers. Cut the padding to go over the thumb if the padding bunches. Wrap the padding around the wrist, moving up the arm towards the elbow with each rotation of the wrap. Ensure that each new pass around the arm overlaps approximately 30% of the pass made before it. Keep the padding smooth as you wrap the arm. Stop wrapping below the elbow. The wrap should end below the elbow with a space about as wide as two horizontal fingers between the wrap and the elbow. Wrap the padding back down the arm. Stop at the wrist. Cut off the remainder of the padding with scissors.

Soak the plaster rolls. Place 2 rolls of 3-inch (7.6-cm) plaster casting and a roll of 4-inch (10.2-cm) plaster casting into a basin filled with warm water. The edges of the rolls should face upwards. Soak the plaster right before you apply it to the arm, so that the plaster will not dry out. Remove the plaster when it has softened all the way through. Wring out the plaster gently.
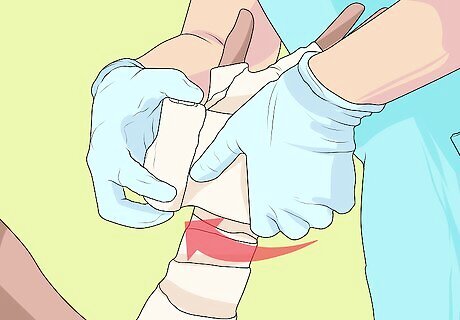
Apply the first roll of plaster casting. With your free hand, wrap the plaster casting around your forearm. Place the end of the 3-inch (7.6-cm) plaster approximately 1/2 inch (1.3 cm) below the top of the padding on the hand. Wrap the plaster around the hand twice. Continue to wrap the arm, moving down towards the elbow. Do not pull on the plaster. Flatten the applied plaster with your hand as you wrap. Ensure that each new pass of the plaster overlaps the one before it. Stop wrapping the plaster 1 inch (3 cm) before the edge of the padding near the elbow.
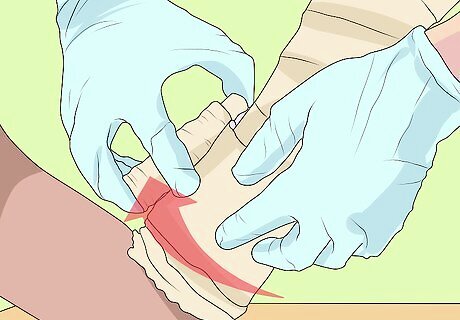
Apply the second roll of plaster casting. Continue to wrap your arm in the same manner, pressing each layer of plaster close to the one below so that it creates a solid, unified substance. Place the end of the 4-inch (10.2-cm) plaster casting near the elbow, where the 3-inch (7.6-cm) plaster casting ends. Wrap the casting around the arm, moving towards the hand. Do not pull on the plaster. Gently press the applied plaster with your hand to smooth it. Stop wrapping underneath the thumb. Fold the leftover padding down over the cast, and wrap the last part of the plaster over the padding to secure the padding.
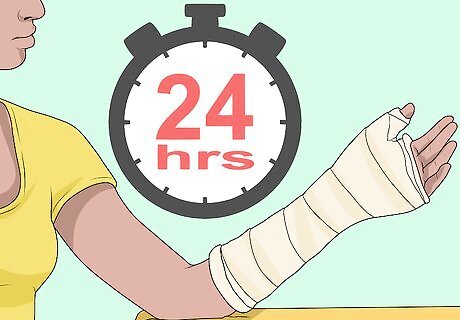
Allow 24 hours for the cast to dry completely. You can speed up the drying process somewhat by holding it to a hand dryer, but for best results wait a full day before considering it finished. Don't allow your cast to get wet. Take baths, rather than showers, while wearing your plaster cast. Make sure your cast is covered when you're outside in the rain.
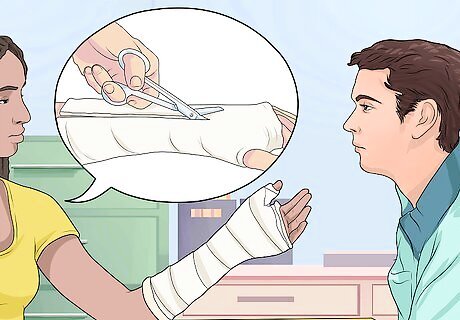
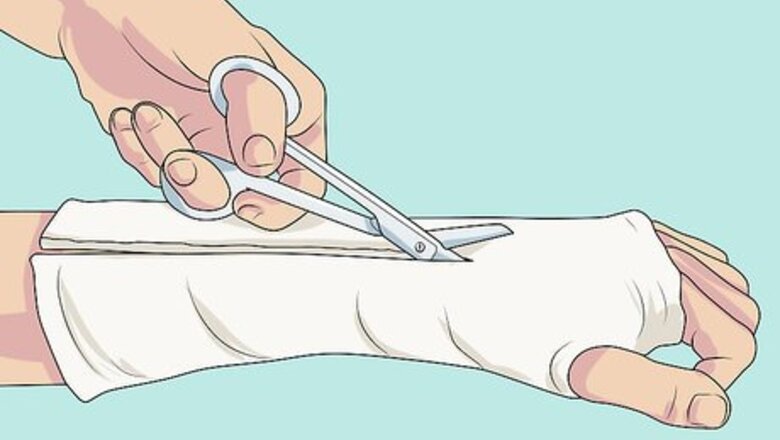
Ask a friend to help cut off the cast. Snip the stockinette so that the shears can be placed in between the plaster and the padding. Try to cut straight down along the length of the cast. As your friend cuts, the shears should be removed and cleaned every 4-6 cuts. This step should be planned prior to creating your plaster cast. If you've neglected to plan for this step, you should make an appointment at your local medical office and ask them to help you.
Making a Modroc Cast For a Doll's Arm
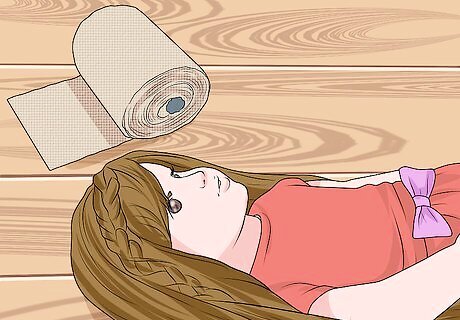
Use Modroc to make a cast for a doll. Modroc should never be used on humans, but can be a good substitute for plaster if you want to teach your child to make casts for her dolls. Modroc is very easy for children to work with, and does not require the length of drying time that plaster needs. Modroc is basically gauze, purchased in rolls, lightly layered with plaster, which can be wrapped and molded when wet. Modroc can be found in many craft stores on online.
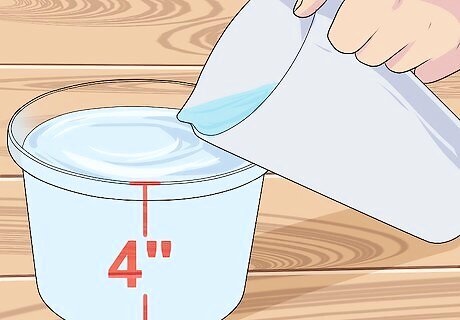
Fill a plastic container with warm water. Open your Modroc rolls, and cut short strips out to use for your casts. Your strips shouldn't be longer than your container, so make sure your container is at least 4 inches long. If you are doing this activity with a child, you may wish to do the cutting yourself to avoid accidents with the scissors. The water is only for dampening the Modroc bandage. If you leave it in too long, all the plaster will fall off. Remove it from the water after about 5 seconds.
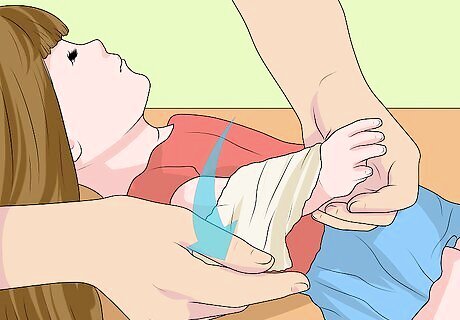
Wrap the damp strips of Modroc around the doll's arm. Build up the layers one by one, pressing smoothly so that each strip molds itself to the one below. If your strips start to feel dry, dip your fingers into the water and touch the casting material with your wet fingers. Apply strips until the area appears properly covered. Teaching your child to bandage her doll can help her learn physical knowledge, 1st aid basics and empathy.
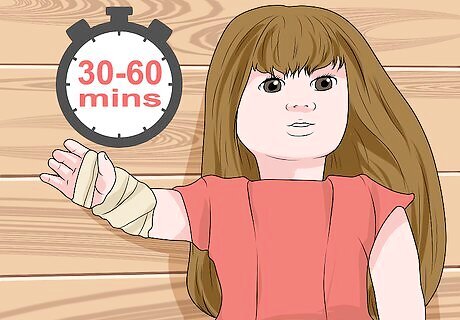
Allow cast to dry. A Modroc cast should only require 30-60 minutes to dry completely. This is a good opportunity to teach your child about resting while waiting for an injury to heal. Put the doll in a "recovery bedroom" while the cast is drying. Be careful that your child doesn't put any of this cast material in her mouth. You can easily wash any residual plaster off your fingers.
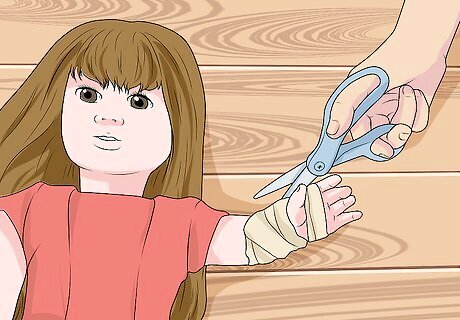
Cut cast off using scissors. Start at the lower end of the bandage, and cut a vertical line to the top. The two halves of the cast should fall off the doll. Modroc should be easy to cut with household scissors, and any excess can be cleaned up with a damp cloth. Any Modroc that has spilled into your counter or table can be easily wiped up.


Comments
0 comment