views
Measuring and Cutting the Fabric
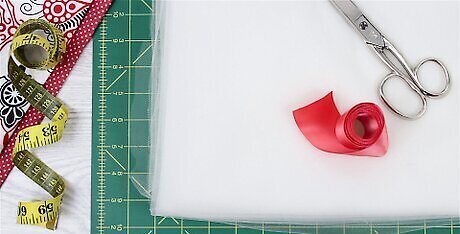
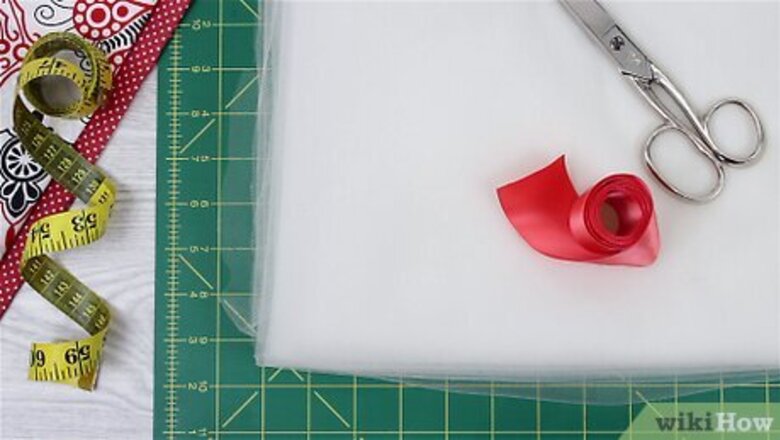
Buy about 4 to 5 yards (3.7 to 4.6 m) of tulle or crinoline. This should be enough for most petticoats. Crinoline is stiff and typically comes in white, although sometimes you can find it in black too. It is great if you want structure and volume. Tulle comes in more colors, but it isn't as stiff as crinoline. It's a better option if you want something that looks pretty. If you want less volume at the top of the skirt, consider using chiffon for the top tier. The fabric is smooth and will feel more comfortable too. You can also use taffeta if you want to give the skirt more volume.
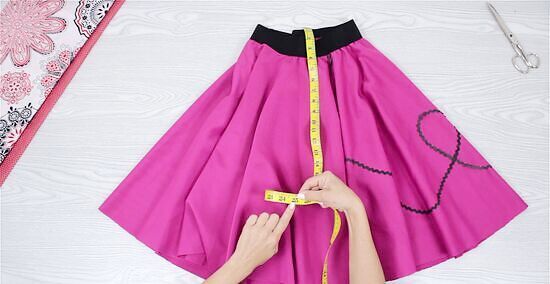
Measure the length of your skirt and subtract 1 inch (2.5 cm). Find the skirt or dress that you want to wear over the petticoat. Measure the skirt from the waist seam down to the bottom hem. Subtract 1 inch (2.5 cm) and remember this new measurement; you'll use it in the next step. If you are wearing the petticoat with a dress that does not have a waist seam, measure down from the narrowest part of the waist instead. Petticoats are typically 1 inch (2.5 cm) shorter than the skirt or dress worn over them.
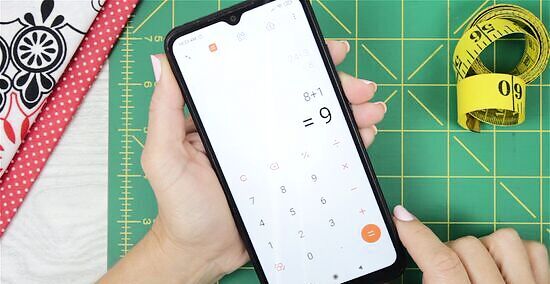
Divide your measurement by 3, then add 1 inch (2.5 cm) for the seams. This will give you the width for each of the 3 tiers on your petticoat. For example, if your skirt is 25 inches (64 cm) long, your petticoat would be 24 inches (61 cm) long. Divided by 3, each tier would be 8 inches (20 cm) wide. After you add 1 inch (2.5 cm) for the seams, the final width will be 9 inches (23 cm).
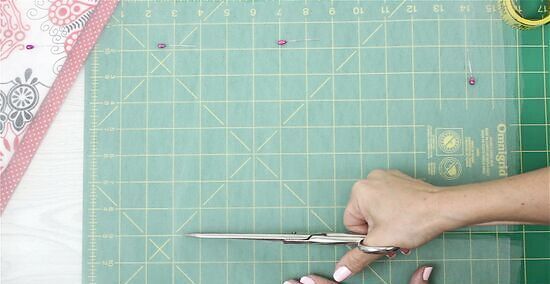
Cut 2-, 4-, and 8-yard (1.8-, 3.7-, and 7.3-m) strips of fabric for the tiers. You will need 1 2-yard (1.8-m) piece for the top tier, 1 4-yard (3.7-m) piece for the middle tier, and 2 4-yard (3.7-m) pieces for the bottom tier. You will be sewing the 2 4-yard (3.7-m) pieces together for the bottom tier. Use your width measurement from the previous step for the width of the strips. You will have 4 strips in the end: 1 2-yard (1.8-m) strip and 3 4-yard (3.7-m) strips.
Assembling the Tiers
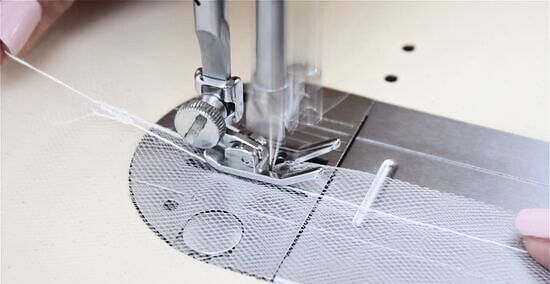
Sew the 2 4-yard (3.7-m) strips together for the bottom tier. Take 2 of the 4-yard (3.7-m) strips. Sew the narrow ends together using a 1/2-inch (1.3-cm) seam allowance and a straight stitch. Finish the raw edges with a zigzag stitch or an overlock stitch for a nicer touch. When you are done, you'll have a strip that is about 8 yards (7.3 m) long. Match the thread color to the fabric as closely as possible. Backstitch when you start and finish sewing to keep the thread from unraveling.
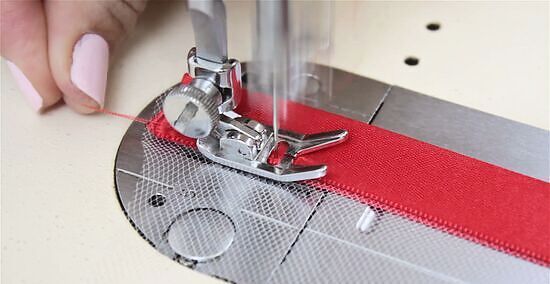
Fold, pin, and sew a 1-inch (2.5-cm) ribbon over the bottom hem, if desired. Cut an 8-yard (7.3-m) length of 1-inch (2.5-cm) wide satin ribbon. Fold the ribbon over the bottom edge of your fabric strip and secure it with pins. Sew the ribbon to the strip as close to the edge as possible. Use a thread color that matches the ribbon and a straight stitch. You'll have a 1/2-inch (1.3-cm) ribbon hem when you are done. Remember to remove the pins and to backstitch. For a nicer look, use a ribbon color that matches the fabric. This step is not absolutely necessary, but it will give your petticoat a nicer finish and prevent it from the hem feeling scratchy against your legs.
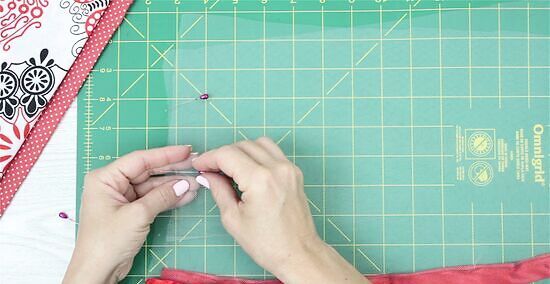
Sew the ends of the bottom tier to make a ring. Fold the 8-yard (7.3-m) strip in half. Make sure that the right sides are facing in and the seams are facing out. Sew across the narrow ends using a 1/2-inch (1.3-cm) seam allowance and a straight stitch. Finish the raw edges with a zigzag stitch or an overlock stitch.
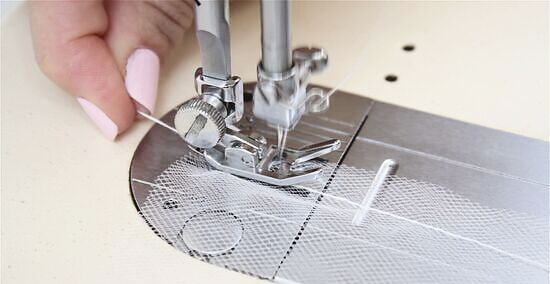
Sew the ends of the middle tier together to make another ring. Take the 4-yard (3.7-m) strip and bring the narrow ends together to form a ring. Sew across them with a straight stitch and a 1/2-inch (1.3-cm) seam allowance. Go over the raw edge using a zigzag stitch or an overlock stitch. This is just like you sewed the bottom tier except that you are not hemming the bottom edge.
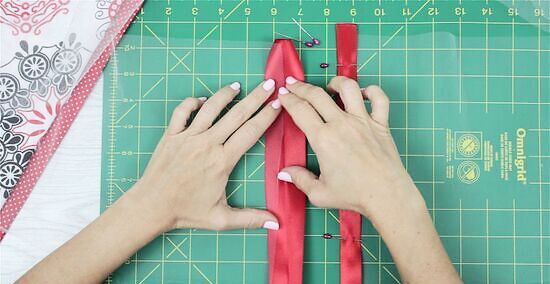
Hem the narrow edges of the final fabric strip. Fold both of the narrow ends down by 1/4-inch (0.64-cm), then sew them down using a straight stitch. This will give the opening of your petticoat more structure. Alternatively, hem the narrow edges with 1-inch (2.5-cm) wide ribbon, just like you did for the hem of the bottom tier.
Gathering the Tiers
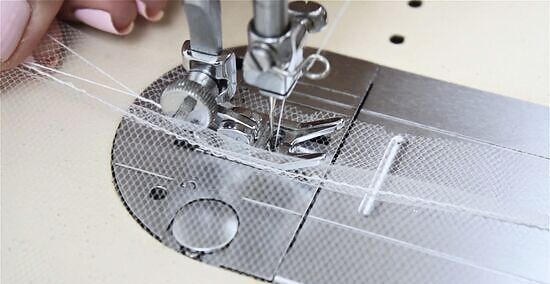
Sew 2 rows of straight stitches along the top edge of the bottom tier. Sew the first row using a 1/4-inch (0.64-cm) seam allowance and the second row using a 1/2-inch (1.3-cm) seam allowance. Use a straight stitch and a matching thread color for both rows. Do not backstitch. Use a long stitch length and a low tension on your sewing machine. This will make gathering it easier.
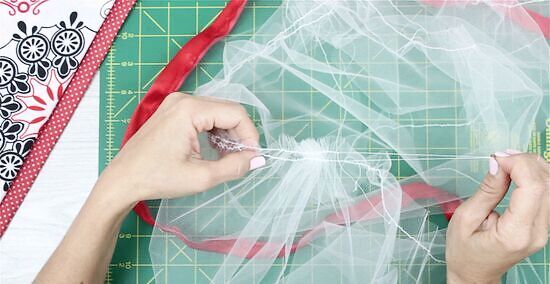
Gather the top edge until it is the same size as the middle tier. Place the middle tier into the bottom tier. Find the bobbin threads from your 2 rows of stitching, then pull on them to gather the fabric. Keep pulling until the gathering edge matches the circumference of the middle tier. Knot and cut the excess thread. Cut the excess thread first to make it easier to manage. Tie the threads together, then trim the rest off.
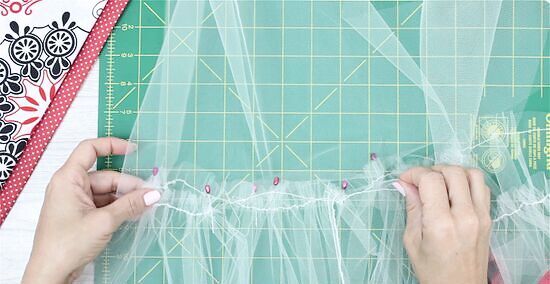
Sew the bottom and middle tiers together using a 1/2-inch (1.3-cm) seam. Double-check to make sure that the right sides of the tiers are facing each other first. Since the tiers are already tucked inside each other, all you have to do is pin and sew along the top edge with a straight stitch and a 1/2-inch (1.3-cm) seam allowance. Remember to backstitch and to take the pins out when you are done!
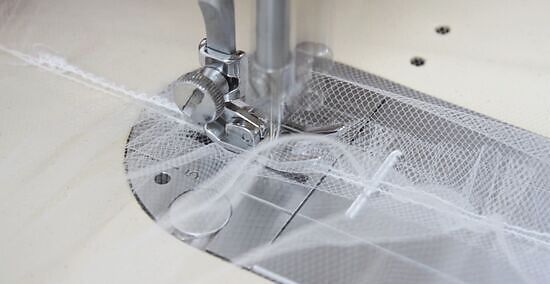
Fold the seam against the middle tier and topstitch it down. Fold the seam against the middle tier. Secure it with sewing pins, then sew across it with a zigzag stitch. This will give you a cleaner finish as well as prevent the seam from scratching you.
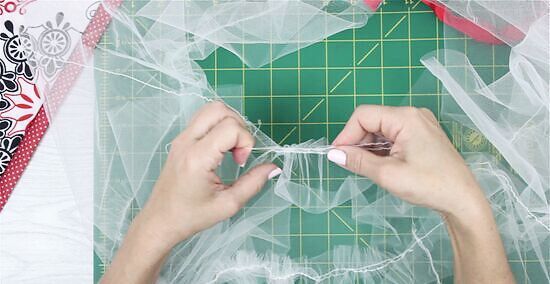
Repeat the process with the middle and top tiers. Sew 2 rows across the top edge of the middle tier. Gather the top edge until it is the same circumference as the top tier. Pin and sew the 2 tiers together with a 1/2-inch (1.3-cm) seam allowance and a straight stitch. Fold the seam against the top tier and topstitch it down with a zigzag stitch. The top tier isn't sewn together into a ring yet. You will have to coil the top tier into a ring and tuck it inside the middle tier to check the size.
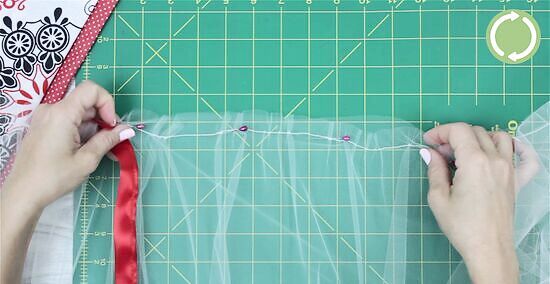
Repeat the entire process if you want a 2-layered petticoat. This includes all of the measuring, cutting, gathering, and sewing. When you are done, tuck 1 petticoat into the other with the wrong sides facing in. Sew along the top edge of the petticoat using a straight stitch or a zigzag stitch to hold them together. You are sewing the petticoats with the wrong sides facing in so that you have a clean finish on the inside and outside of the petticoat. For a more colorful petticoat, consider using different colors for each layer.
Finishing the Petticoat
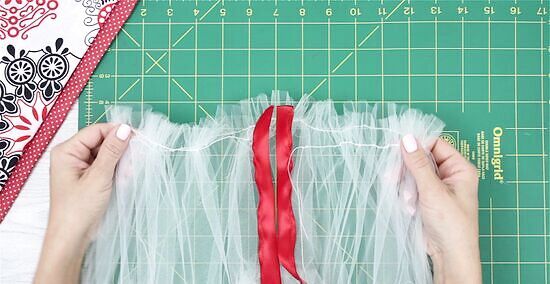
Gather the top edge of the top tier to your waist measurement. Use the same process as you did for the bottom and middle tiers. Sew 2 rows of stitching, then gather them until the top edges matches your waist measurement. Cut the excess thread off, knot it, then trim it close to the fabric.
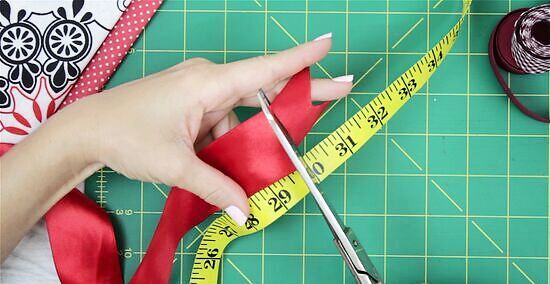
Cut a piece of twill tape 3 to 4 inches (7.6 to 10.2 cm) longer than your waist size. Choose a 1 to 2-inch (2.5 to 5.1-cm) wide twill tape that matches the color of your petticoat. Cut it 3 to 4 inches (7.6 to 10.2 cm) longer than your waist measurement. You need this extra length so that you will have room for the overlap and hook closures. For a nicer finish, use satin ribbon instead.
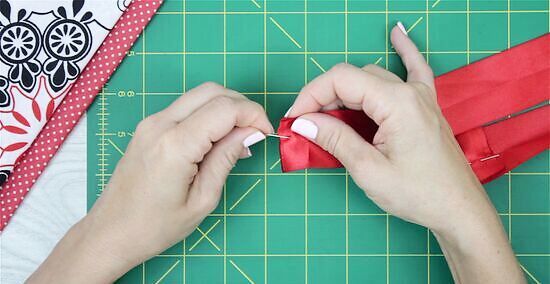
Hem the ends of the twill tape by ⁄4 inch (0.64 cm). Fold the narrow ends of your twill tape by ⁄4 inch (0.64 cm). Press them with an iron, then sew them down using a straight stitch.
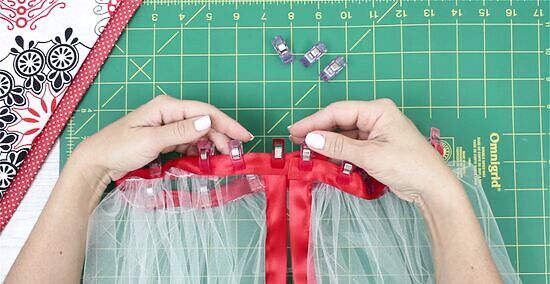
Fold and pin the twill tape over the top edge of your petticoat. Make sure that the left end of the twill tape aligns with the left edge of the petticoat. The right edge of the twill needs to extend past the right edge of the petticoat.
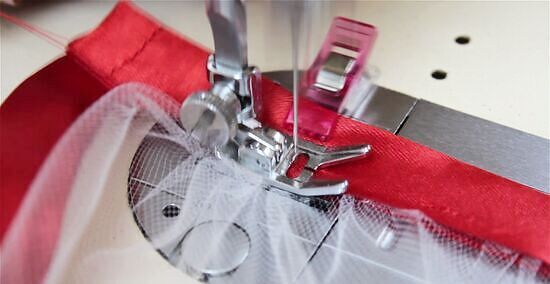
Sew the twill tape down. Start at the left end of the twill tape and finish on the right. You are sewing past the edge of the petticoat because you want to sew the rest of the twill tape waistband down. Sew as close to the edge of the twill tape as possible. Remember to backstitch and to take out the pins.
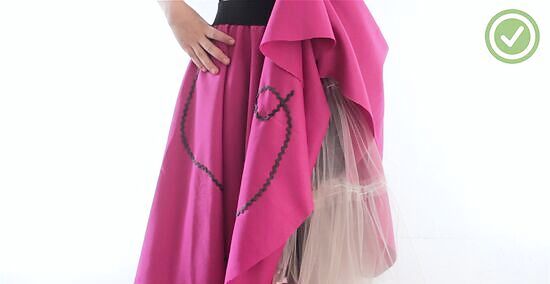
Add some hooks and eyes. Add a hook to the underside of the left end of the waistband. Add eyes to the top of the right side of the waistband. The first eye should align with the right edge of the petticoat. If you have enough room, you can add more hooks along the excess, overhanging waistband. Keep the additional eyes 1 inch (2.5 cm) apart. You only need 1 hook, just like on a bra. Sew the hooks and eyes on by hand through the loops at the ends. Alternatively, you can use snaps instead.


Comments
0 comment