views
Folding a Simple Money Pouch
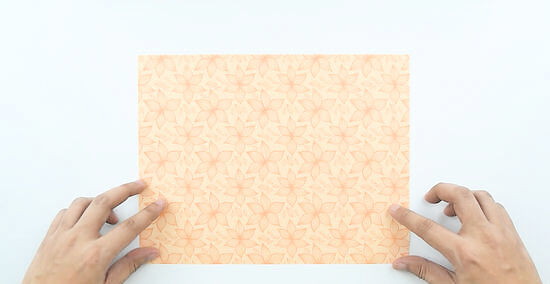
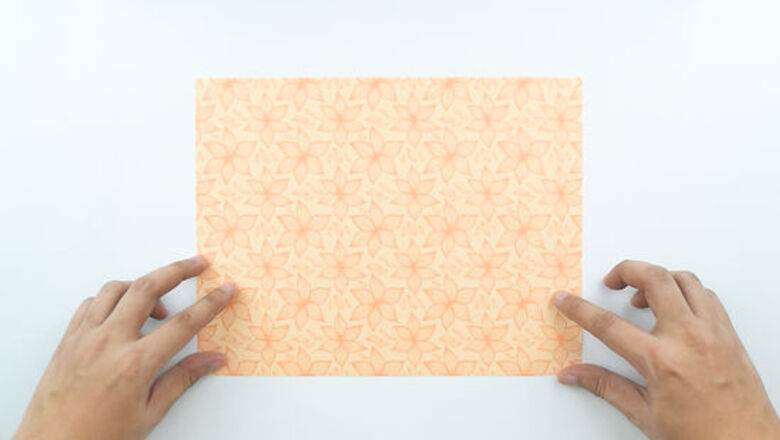
Start with a piece of 8 1⁄2 by 11-inch (22 by 28-cm) paper. Double-sided scrapbooking paper will work the best, but you can use other paper too. If the paper is too big, you should cut it down to 8 ⁄2 by 11 inches (22 by 28 cm). If you are using double-sided scrapbooking, make sure that the side you want to be on the outside is facing down.
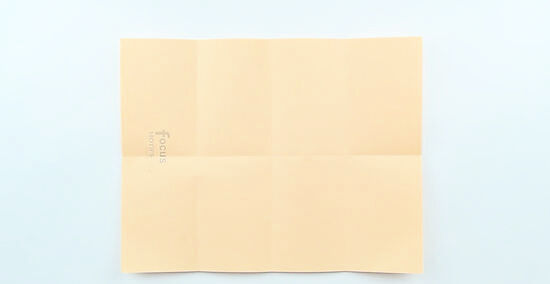
Fold the paper into eighths. Begin by folding the paper in half widthwise to make a crease. Unfold the paper, then fold both of the edges to the middle. Crease the edges, then unfold them. Fold the paper lengthwise, crease it, then unfold it.
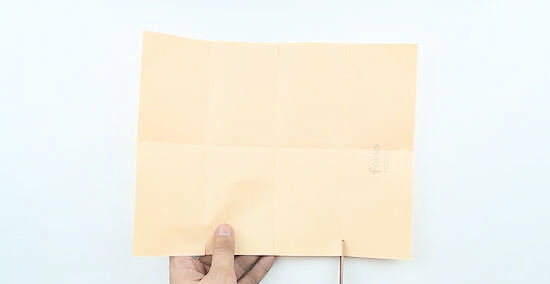
Cut 1/2-inch (1.25-cm) slits into the lengthwise creases. Rotate the paper so that you have a center horizontal crease and 3 vertical creases. Cut 1/2-inch (1.25-cm) slits into the top and bottom vertical creases.
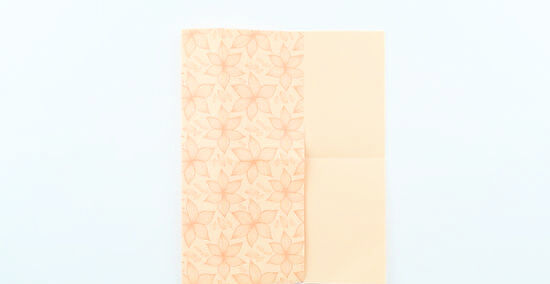
Fold the left edge towards the last vertical crease. Keep the paper oriented with the 3 vertical creases and 1 horizontal crease. Take the left edge of the paper, and bring it towards the last vertical crease.
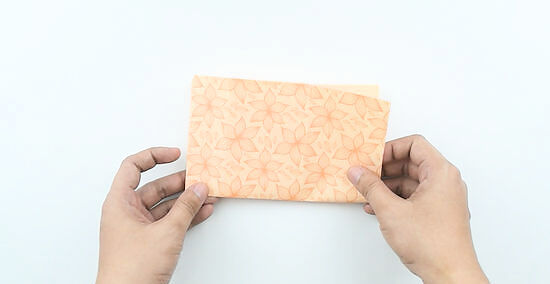
Fold the paper in half widthwise. Sharpen the crease on the left side of the paper first. Next, bring the top and bottom narrow edges together, and sharpen the crease with your fingernail.
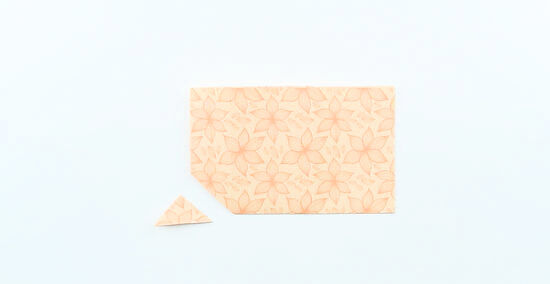
Cut off the bottom-left corner. Make sure that your paper is properly oriented first. There should be a solid fold along the bottom edge, and 2 folded edges along the left side. The right side should have 2 layers of paper, and the top should have 4 layers. Once the paper is oriented, cut the bottom-left corner off. How much you cut off of the bottom corner is up to you. Anywhere between 1 ⁄2 and 2 inches (3.8 and 5.1 cm) would be good, however.
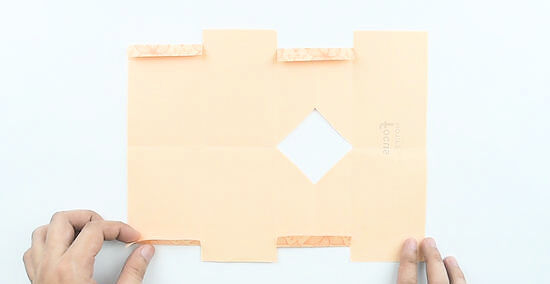
Unfold the paper, then fold down every other flap. When you unfold the paper, you'll have a diamond-shaped hole. Rotate the paper so that the hole is on the right side. Starting on the left side of the paper, fold down every 1/2-inch (1.25-cm) flap created by the 1/2-inch (1.25-cm) slits that you cut earlier. You need to fold the top and bottom flaps.
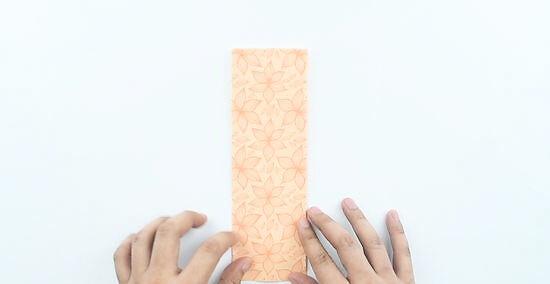
Create a gatefold in the paper, then fold the paper in half. Fold the left and right side edges towards the center vertical crease to create a gatefold. Next, hold the paper in half along the center vertical crease to create a skinny rectangle. Sharpen the creases with your fingernail to make them nice and neat.
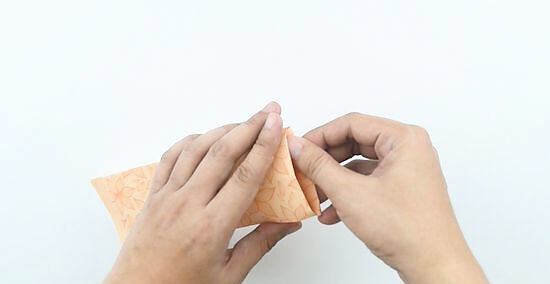
Tuck the flaps into the wallet. Flip the wallet over so that you can see the diamond-shaped hole. Fold the remaining side flaps down. Crease them with your fingernail, then tuck them into the wallet. At this point, you can secure the flaps with a glue stick or a strip of double-sided tape.
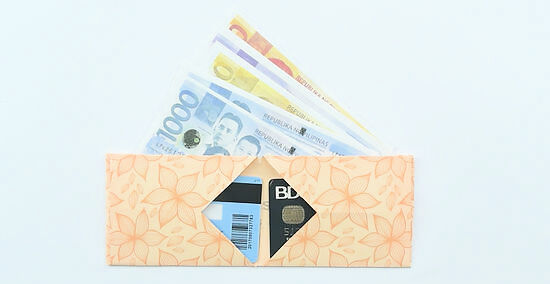
Fold the wallet in half and use it. Flip the wallet so that the diamond shape is facing you. Fold the narrow ends of the wallet together so that the triangle is enclosed inside the wallet. Sharpen the crease, then unfold the wallet. Slide your credit cards and gift cards into the wallet through the diamond-shaped hole. You can also fold paper money a few times, and tuck it inside too.
Folding an Origami-Style Wallet
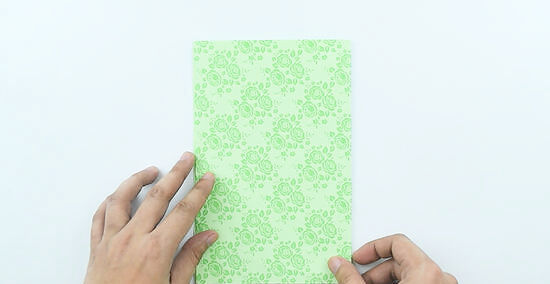
Fold an 8 1⁄2 by 11-inch (22 by 28-cm) sheet of paper in half widthwise. Despite the name, this wallet does not use origami paper, but rather standard printer paper. Fold the paper in half widthwise or hamburger style. You can use colored printer paper, but avoid cardstock, as it is too thick.
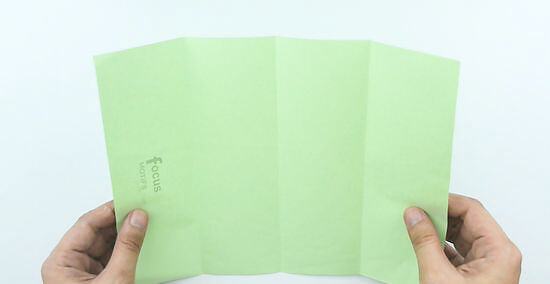
Unfold the paper, flip it over, and create a gatefold. Open the paper back up so that it is a rectangle again. Flip the paper over, so that you can see the back. Fold the left and right narrow edges towards the crease running down the middle of the paper. This is known as a "gatefold."
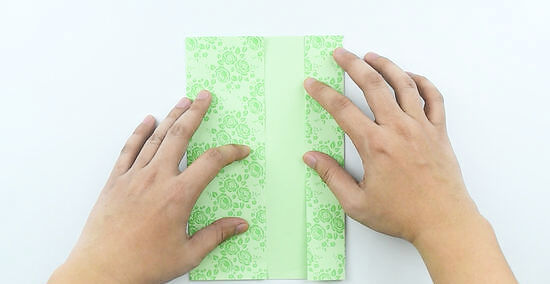
Fold the right side edge inside the right flap. Open up the right side of the paper to reveal a new crease. Fold the right side edge towards this new crease, then fold the flap back down, just like it used to be. At the end of this step, the left flap will still reach the center crease, but the right flap will only reach it half way.
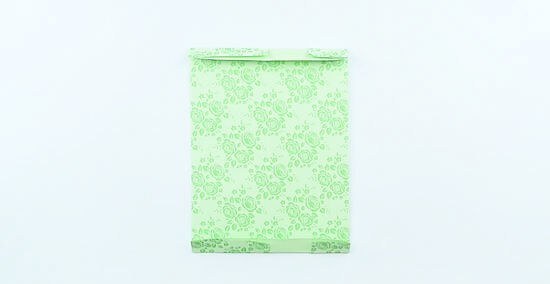
Flip the paper over, then fold the top and bottom edge up by 1/2-inch (1.3-cm). Flip the paper over so that you can see the smooth front first. Make sure that the central fold line is oriented vertically. Next, fold the top and bottom edges down by 1/2 to 1 inch 1/2-inch (1.3 to 2.5-cm). This will determine the length of your wallet. Paper money varies in size from country to country. Check the wallet against your own money. The wallet should be longer than your money.
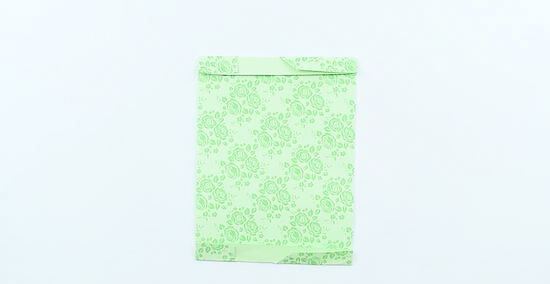
Fold down the top and bottom corners of the wider flap. The top and bottom folded edges have a narrow flap and a wide flap. Take the corner of the wide flap along the top edge of the paper, and fold it down. Repeat with the wide flap along the bottom edge of the paper. You are folding the corners all the way down to the rest of the paper. They will create 45-degree angles.
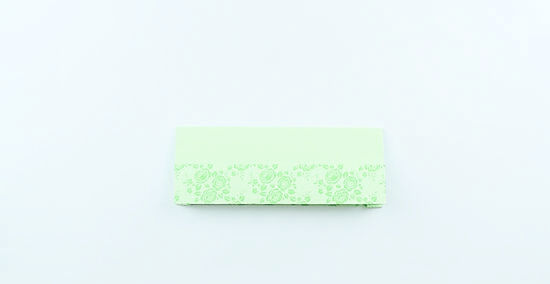
Fold the wallet along the center fold line. Make sure that you are folding it so that the folded top and bottom edges are on the inside. You will get a rectangle that is smooth on 1 side, and has a pocket on the other.
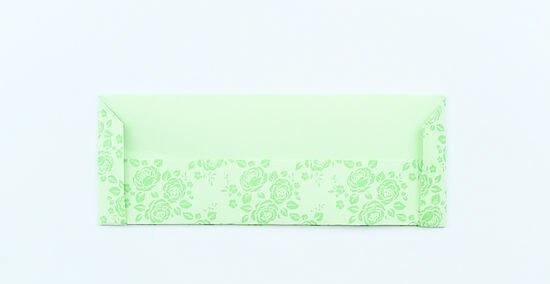
Tuck the edges of the wallet into the folded flaps. Turn the wallet so that the side with the pocket is facing you. Bring the flaps with the folded corners to the front. Slide the edges of the pocket side of the wallet into these flaps.
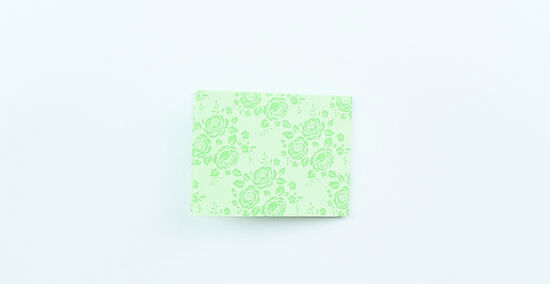
Fold the wallet in half widthwise to close it. Make sure that the pocket side of the wallet is facing you. Bring the 2 narrow edges together, and flatten the wallet to fold it. Run your fingernail up and down along the crease to sharpen it.
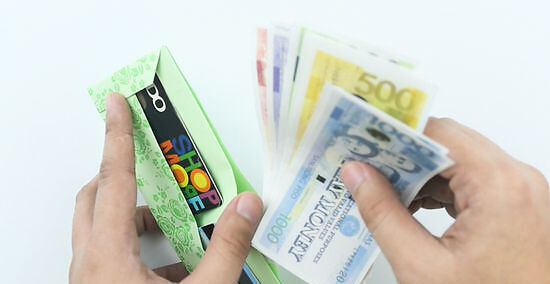
Tuck your money and credit cards into the wallet. Use the small pocket to hold small items, such as gift cards or credit cards. Use the large pocket along the top edge of the wallet to hold paper bills. If you want to "lock" the wallet while it's shut, tuck the front panel into the flap on the back panel.
Creating a Bitcoin Wallet
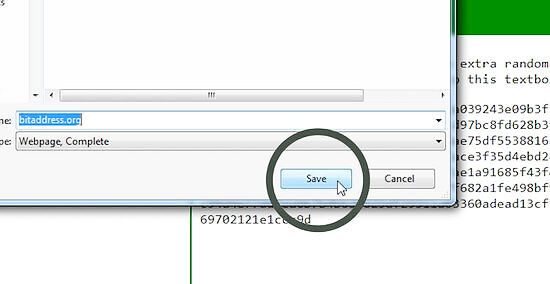
Visit https://www.bitaddress.org and save it to your desktop. Bitaddress.org is a website that generates codes for bitcoin wallets. How you save the webpage depends on the browser that you are using. In general, you'll have to click on "File" at the top of the webpage, then select "Save As" from the dropdown menu. Choose your desktop as the save location.
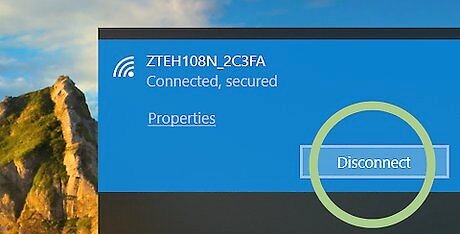
Disconnect your internet. How you disconnect from the internet depends on your computer. In most cases, there should be a WiFi option in the bottom corner of your screen. If you click on that, you can disconnect the internet from there. Disconnecting from the internet is what helps make this method more secure. This way, no one can view your information and access it.
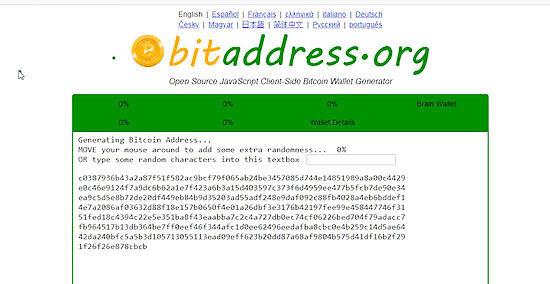
Open the website that you downloaded onto your desktop. Find the icon for the BitAddress.org website that you saved onto your desktop. Click on the icon to open it. You should still be disconnected from the internet at this time.
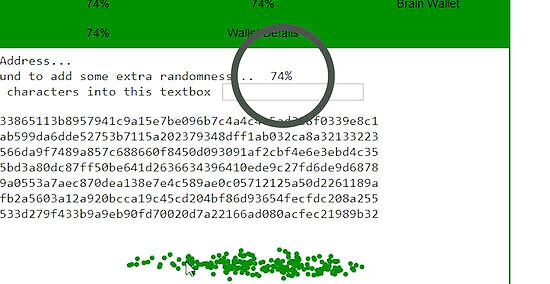
Move your mouse around to generate a random code. As soon as you open the file, you'll be able to generate a random code. Move your mouse around on the screen. This will create a code. There will be a percentage number on the screen displaying your progress. You are done and ready for the next step once that hits 100%. The screen will change automatically to the next one as soon as you hit 100%.
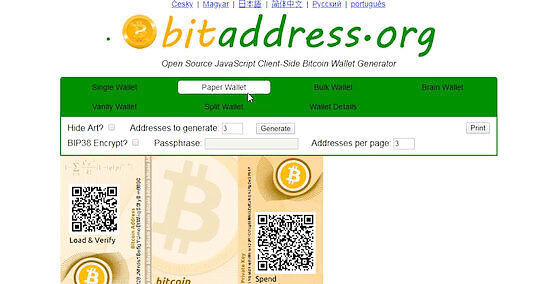
Select the "Paper Wallet" option. As soon as you reach 100% randomness, the screen will change and take you to the next page. You will see 2 QR codes with a colored bar above them. Inside the bar are several options: Single Wallet, Paper Wallet, Bulk Wallet, etc. Click on "Paper Wallet."
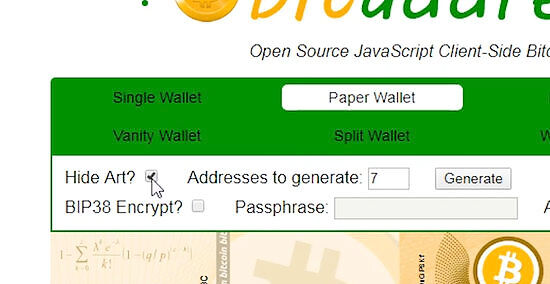
Select how many wallets you want and whether you want to keep the art. Once you click on "Paper Wallet," you will be taken to a new screen. This screen will display 3 colored rectangles. These rectangles are your paper bitcoin wallets. Above these rectangles, you'll see a menu with options and check boxes. Tick off the boxes that interest you: The "Hide Art?" option will remove the colored rectangles and leave behind just the QR codes. This is great if you don't care about aesthetics and want to save ink. The "Addresses to Generate" option has a space that you can fill out with a number. This will allow you to choose how many "wallets" you want to print out. The "BIP38 Encrypt?" option allows you to add an additional level of security which requires a password. Be sure to add a password into the "Passphrase" space. The "Addresses per page" allows you to choose how many wallets to print per page. For example, if you want 3 wallets, you can print all 3 on 1 page.
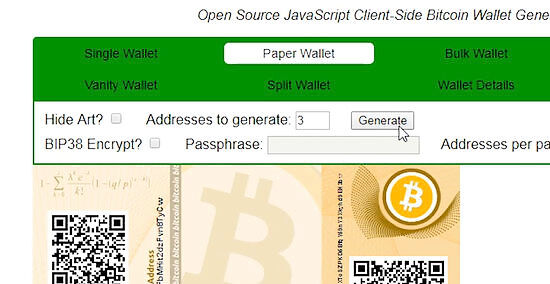
Select "Generate" to create your paper wallet(s). This will refresh your information. For example, the default is 3 wallets with artwork and no BIP38 encryption. If you changed that information to 1 wallet with BIP38 encryption and no art, then hit "Generate," the page will refresh to display this new information.
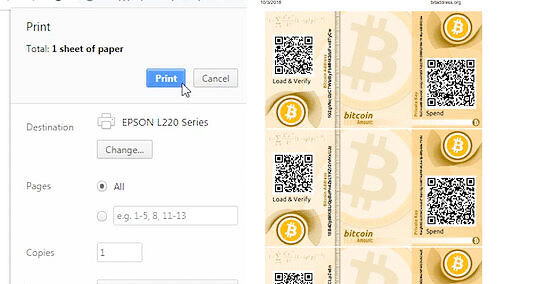
Print the file, then reconnect to the internet. The print option is in the same menu where you selected the artwork, encryption, number of wallets, etc. When you click on this, you'll get taken to the print menu. Select the options you want, then hit "print." Once the paper is out of the printer, you can close the webpage and reconnect to the internet. The print menu includes options like paper layout, color vs. black and white, number of pages, etc.
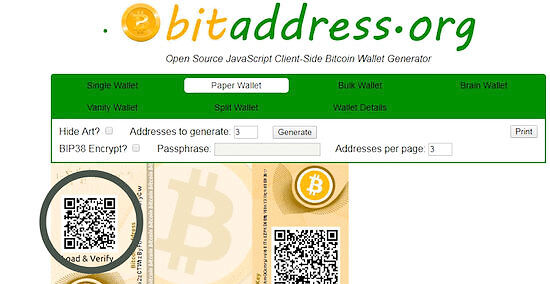
Scan the Public Address QR code using your bitcoin app. Once the wallet has been printed, it is ready to use. If you have not already, download the bitcoin app onto your phone. Use the app to scan the public address QR code. From there, you should be able to deposit funds into your wallet. If you printed out multiple wallets, cut them apart with scissors.








Comments
0 comment