views
Creating Grosgrain Ribbon Flowers
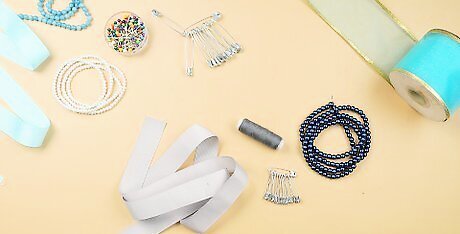
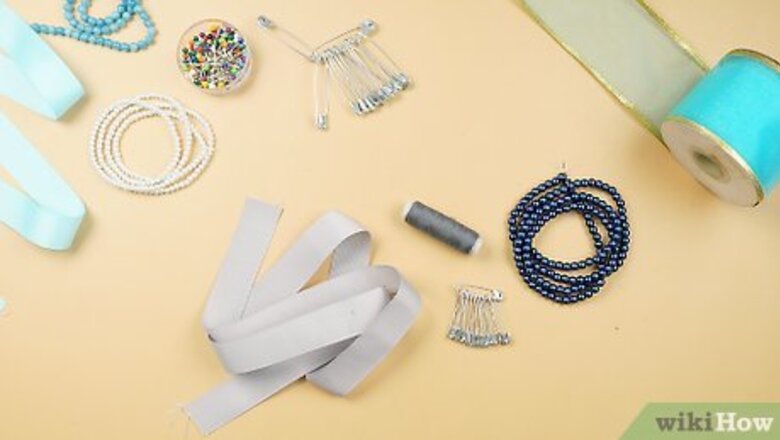
Gather your materials. Check the dollar store before you purchase your materials online or an arts and crafts store. Make sure you know exactly how many flowers you will need in order to budget how much material you will need to purchase. Grosgrain is a heavy ribbon with a corded texture that is usually made of rayon or cloth silk. To create grosgrain ribbon flowers you will need: 22 inches of ¾ inch wide grosgrain ribbon. Grosgrain ribbon comes in a variety of colours. ⅛ inch pearls or beads. The number of beads will vary depending on their diameter. Thread to match the colour of the grosgrain ribbon. Brooch pin or barrette and hot glue (optional)
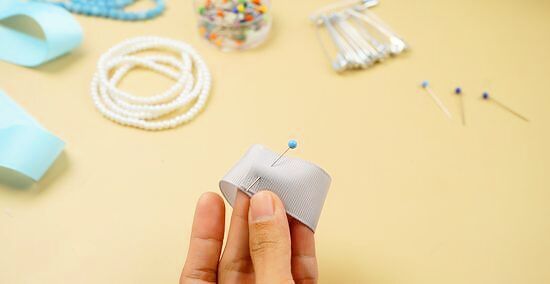
Cut and fold your ribbon to create your flower. Cut 4 pieces of ribbon that each measure 5 ½ inches long. Create a loop with each piece by folding with the ends meeting in the center. The loop will measure 2 ½ inches long while there will be a ¼ inch overlap of ribbon at the center.
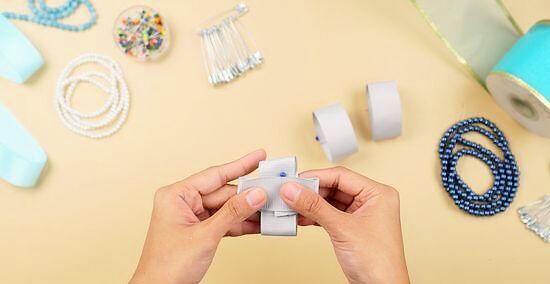
Create the flower petals using pins. Hold each loop in place with a pin and create two crosses by pinning two pieces of ribbon at their center and repeat with the two remaining pieces of ribbon.
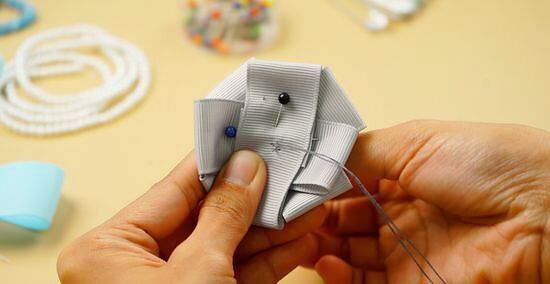
Place the crosses together at a 45 degree angle. Stitch the four pieces of ribbon together with matching coloured thread. The eight loops should look like eight petals once you’ve stitched the two crosses together. Your stitching should resemble a box at the center point at which the two crosses come together. The box makes sure that the loops do not come loose and your flower remains secure.
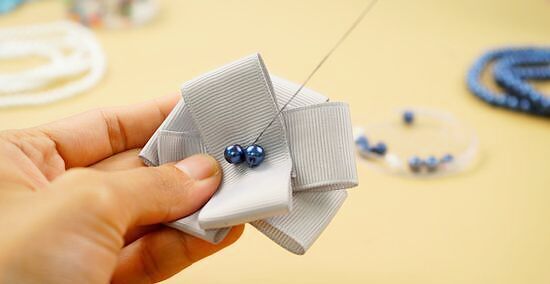
Stitch your beads or pearls to create the center of your flower. Ensure that the bead hole won’t be visible as you loop the thread through it. Begin at the center and continue outward to create a circle of beads. Stitch another circle around the first. This will use twice as many beads. You only need to penetrate the first layer of ribbon as you stitch your beads or pearl. The number of beads and pearls will vary depending on the diameter of the beads or pearls but generally you will be using about 5 - 7.
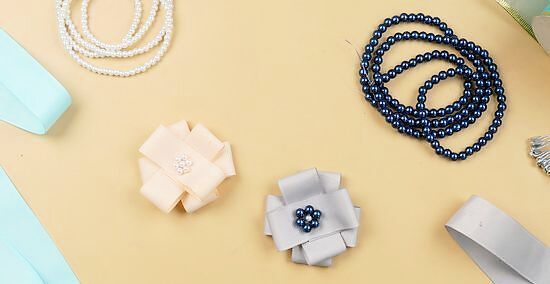
Stitch the flower onto clothes or use it as a brooch or barrette (optional). If you are using the flower as a brooch or barrette, simply use a glue gun to add a clasping barrette pin to the back of the flower, opposite the pearls or beads.
Creating a Rolling Flower
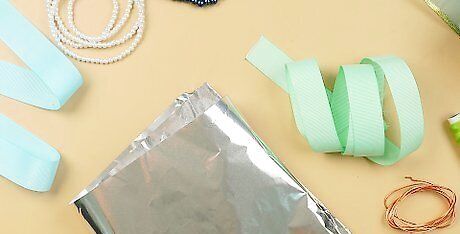
Gather your materials. Choose your prefered colour of ribbon from your arts and craft store or fabric store. You will also need a sewing machine, scissors, a wire and foil paper. Choose wire that is very flexible.
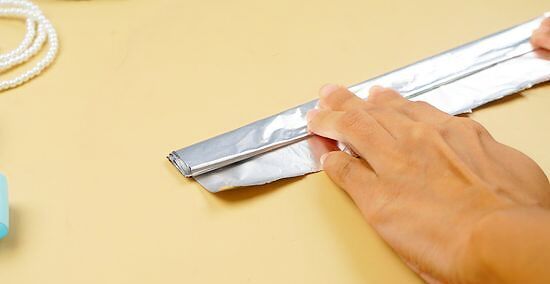
Create a strong but flexible band using the foil paper wrapped over wire. Fold the foil paper horizontally several times over a piece of wire. Create a band about 1.5 - 2 cms thick. You need the band to be thick enough so that it holds it shape as you spiral out to create your flower.
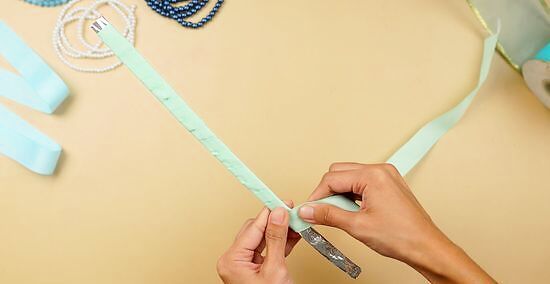
Wrap the band in your ribbon. Wrap the band vertically by holding one end of the ribbon at one of the band with your thumb and pulling the length of the ribbon up and around the band. Repeat the process until the entire band is covered and the ribbon overlaps about ⅓ of its width each time you loop it around the band. The band should now look like it is scaled by the ribbon. Keep the wrap as tight as you can.
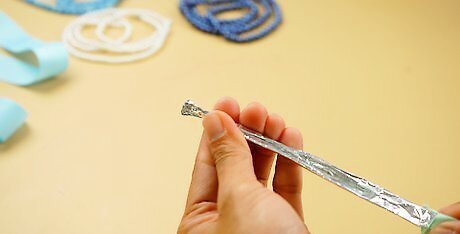
Remove the paper but leave the wire. Gently slide the paper off the wire and the wrapping by pinching one end of the wrap and wire with one hand and pinching only the foil paper with the other hand. Sew the side you are pinching closed once you have removed the paper completely. Make sure that the ribbon is tight and none of the scales are loose making the wire visible.
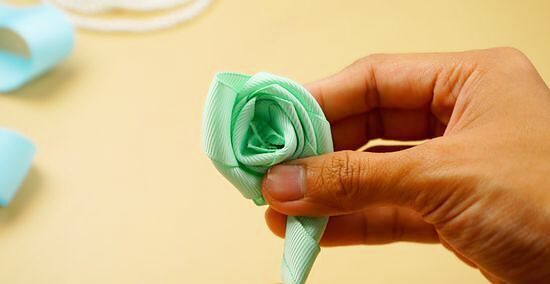
Use the open end of the ribbon as the center of your flower and roll. Keeping the ribbon tight, roll the ribbon as tightly as possible as you keep the open side at the center. Be sure to gently but firmly pull the length of the ribbon each time you create a new layer of the spiral. Pinch the center to keep the spiral tight with each new layer.
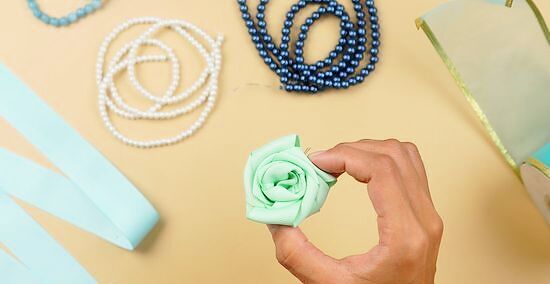
Sew the final end to keep the flower closed. Create a subtle stitch to secure the end of the ribbon onto the rest of the spiraled bloom. You may only stitch the bottom of the final scale or outer layer of the spiral to keep it inconspicuous. Once secure, you may also play with the petals to spread them out along the wire to create the appearance of a more open bloom. You may use a hot glue gun instead of stitching to keep the flower together.
Creating a Ribbon Rose
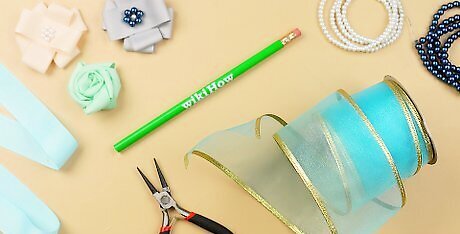
Gather your materials. Choose your prefered colour of 1 ½ inch wide wire edge ribbon from an arts and crafts store. You will also need a pencil and needle-nose pliers.
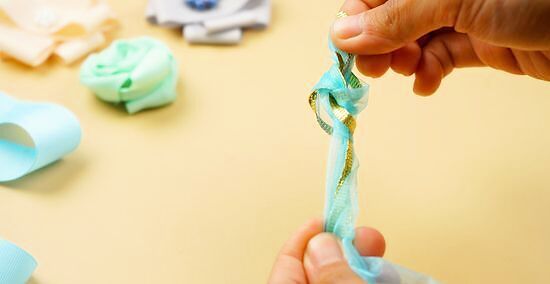
Create a knot and gather the ribbon. Tie a simple knot at one end of the ribbon. Gather the ribbon so that it becomes ruffled along the wire. Gather the ribbon by pinching one end of the wire and pulling the other end of the wire as you move the material of the ribbon toward where the knot is, which is the pinched end. Use your fingers to create more of a ruffle as you keep the material of the ribbon tightly gathered along the wire and fluffed out in a ruffle as you move away from the wire.
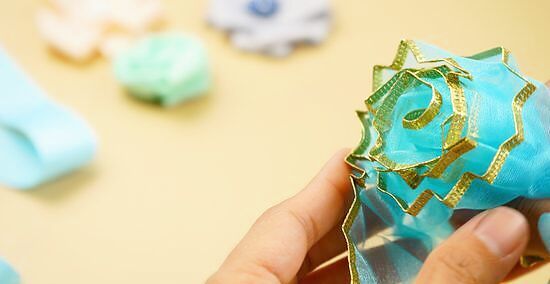
Use the pencil to roll the ribbon. Create a tight center around the pencil as you roll the ribbon around it. Start just after the knot and keep the knot below the roll and alongside the pencil. Once secure, remove the pencil but continue to create the rest of the rose by rolling the rest of the gathered ribbon around the center that you have created with the pencil.
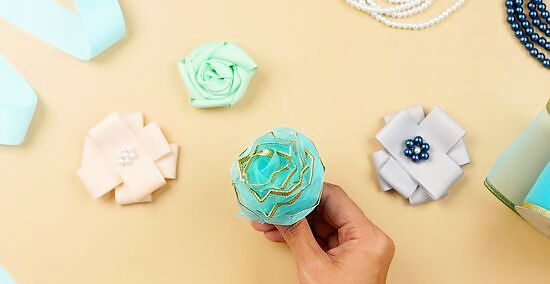
Tighten and form to your preference. Secure the rose by wrapping the pulled wire around the base of the flower as tightly as you can. You should wrap the wire above the knot. Use needle-nose pliers to grasp the center of your creation as you tighten and secure the layers by twisting the wire. Use your fingers to enliven the petals by flattening and spreading the material of the ribbon to your preference.



Comments
0 comment