views
Making Dough Ornaments
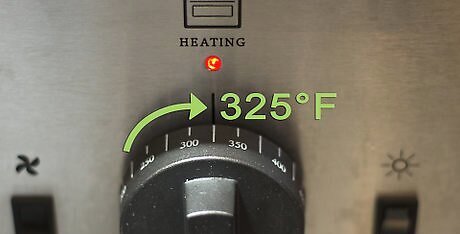
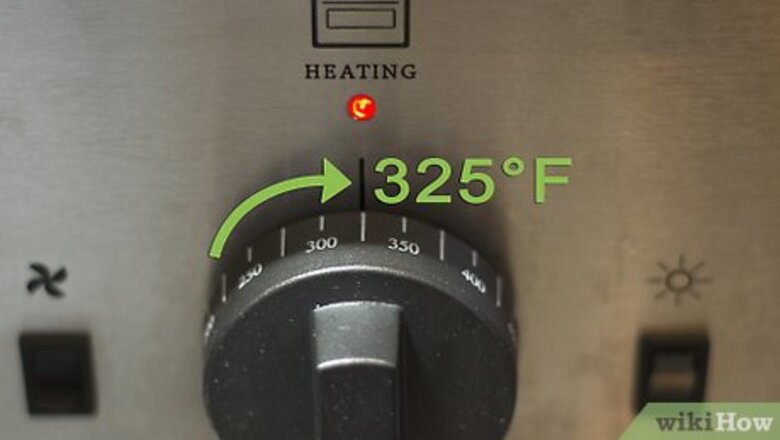
Preheat your oven to 325 °F (163 °C). Dough ornaments are cute, easy decorations that you’ll make using a few ingredients and your oven. To start, simply preheat the oven to 325 °F (163 °C), letting it heat up while you prepare the dough. Remember that these ornaments are decorative and are not edible.
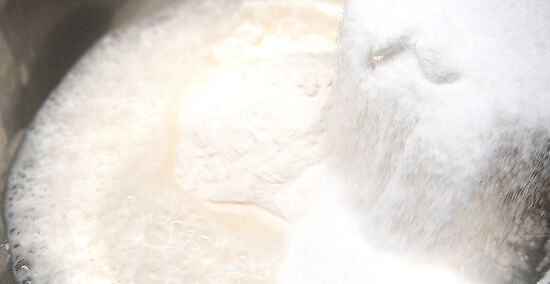
Mix the flour, salt and water, then knead the dough. Pour 4 cups (512 g) of flour and 1 cup (300 g) of salt into a large mixing bowl. Stir them well, then gradually add 1 ½ cups (354 g) of warm water, continuing to stir with a spoon. As the mixture gets thicker, start kneading it with your hands. The dough is ready once it’s soft and pliable.
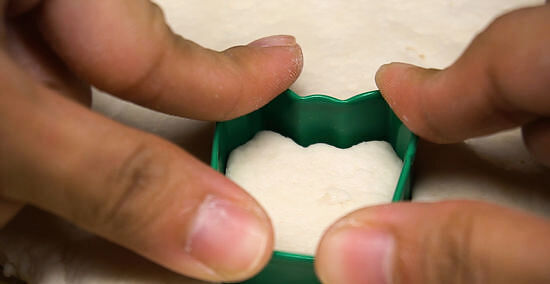
Roll out the dough with a rolling pin and cut it with cookie cutters. Take the dough out of the bowl and use a rolling pin to spread it out on a floured surface. Roll it until it’s about ⁄8 inch (0.32 cm) thick, then use Christmas cookie cutters to create the shapes you want. If you want, you can add fun textures with a garlic press or other utensils.Tip: You can make classic shapes with cookie cutters, like Christmas trees, snowflakes, Santa hats, or design your own shapes with a knife.
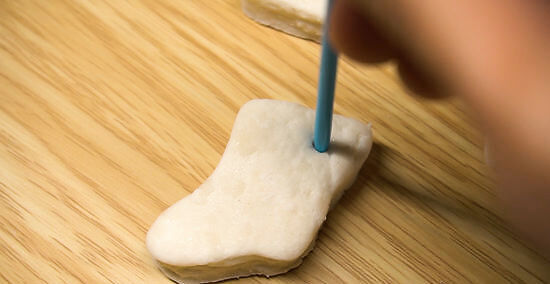
Dig holes into the top of each cookie with a toothpick. Place your ornaments on the cookie sheet, leaving about 1 inch (2.5 cm) of space between each one. Use a toothpick to carve a small hole at the top of each cookie, just wide enough to thread a piece of string through.
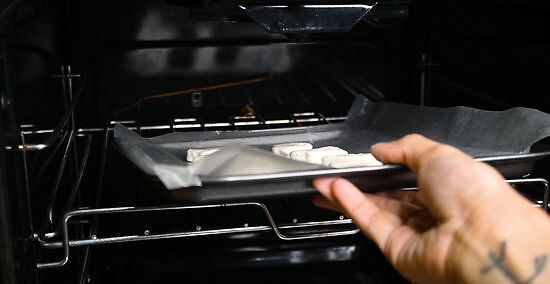
Bake the cookies for about an hour, or until they’re hard. Once your oven is hot enough, use oven mitts to place the baking sheet inside. Let the ornaments bake until they harden, which should take around an hour. When they’re done, take the sheet out and use a spatula to move the cookies onto a cooling rack. Let them cool for about 10 minutes.
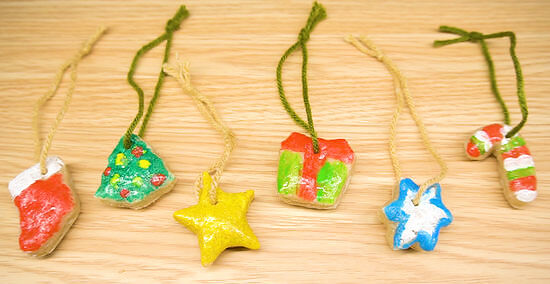
Tie on string and paint the ornaments to finish. Slide a piece of string through the hole and make a large loop, then tie it at the top. Use acrylic paints and regular paint brushes to decorate each ornament. Let them dry as instructed on the paint bottles and seal them with spray varnish to preserve them. You can also hang the ornaments with unbent paper clips. You can keep the ornaments for as long as they stay in one piece!
Creating Simple Felt Ornaments

Draw the pattern you want onto stiff paper. You can make a felt ornament in just about any shape you want! Come up with your own or search online for pre-made templates. Start by either printing out the template or sketching the design onto stiff cardstock paper. Sketch the outline of the shape, then decide if you want any other decorations on the front. Sketch those to the side of the shape so you can cut them out separately.Tip: Try making simple shapes, like a Christmas tree, flower, snowman, or gift, until you get the hang of it.
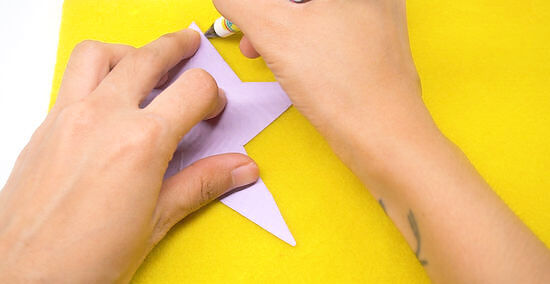
Trace the shapes onto felt and cut them out. Place your cardstock cutouts or template onto your felt and trace around them. Use sharp scissors to carefully cut them out. You’ll need to cut out 2 copies of the ornament’s main body. You’ll sew both cutouts together and stuff them to make the ornament. If you’re making a Christmas tree, for example, you’d cut out 2 felt copies of the tree, but only 1 for any mini felt ornaments you want to place on top.
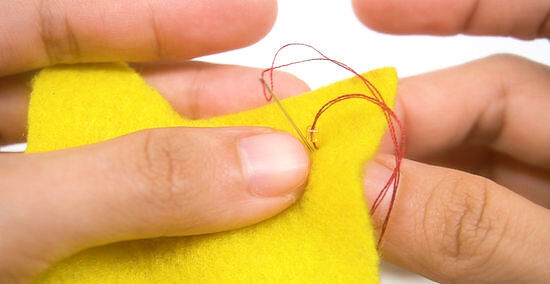
Stitch on any embellishments or extra pieces. If you’re placing felt decorations on the front of your ornament, or other embellishments like buttons or beads, stitch them on the front now. You can make the stitches small and use the same color thread as the felt to help them blend in, or use larger stitches in a fun, bright color for a more playful look. You can also use hot glue to attach the decorations, although they’re more likely to fall off.
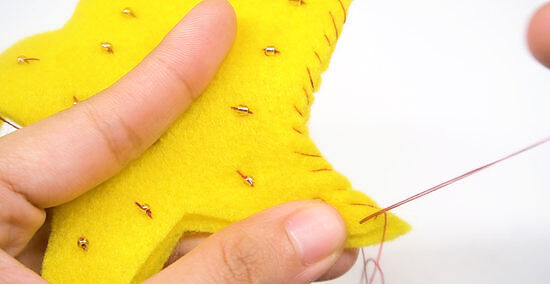
Sew the main part of the ornament together. Use a hot glue or a needle and thread to attach the two copies of the main ornament body. Sew them together almost all the way around, leaving an opening about 2 inches (5.1 cm) wide to insert the stuffing.
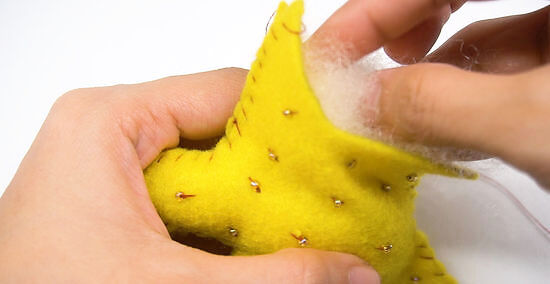
Stuff the ornament with stuffing, then stitch it closed. Fill the ornament with cotton or polyester stuffing, just enough to make it puff out without undoing the stitches. Stitch or glue the ornament closed, then hole-punch a hole in the top to thread your string through. Tie it in a loop and hang it up on your tree!
Decorating Ornament Bulbs
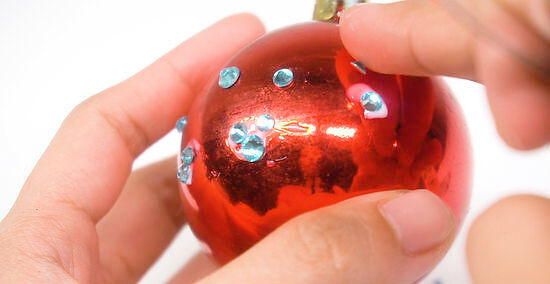
Bedazzle ornaments for a shiny, modern style. Plain, colored ornament bulbs or baubles can be repurposed with bright, shiny sequins and rhinestones! You can stick on self-adhesive jewels in pretty snowflake patterns, or glue on strands of overlapping sequin ribbon to cover the whole bulb. If you can’t find a gold belt buckle, you can always cut one out of gold construction paper or cardstock.Tip: Make sure the colors of the sequins match the bulb and your overall look. A blue bulb would look great with a white-sequined snowflake, while a purple bulb might look better with a few sequin polka dots or stripes.
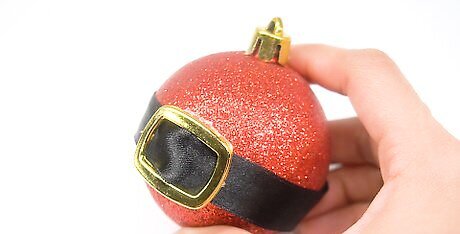
Make a Santa belt buckle on a red ornament for a playful flair. Buy a mini gold belt buckle at a craft or clothing store and feed a strip of black felt through it until the buckle is in the center. Hot glue it onto your ball, cutting the felt so that the ends don’t overlap. You could use phrases like “Ho ho ho,” “Merry Christmas,” “Holly Jolly,” “Joy,” or more.

Paint pictures or short phrases on plain-colored bulbs. If you’re looking to jazz up a few plain, colored balls, use acrylic paint to decorate them with Christmas-y pictures or short phrases. Sketch it out with pencils first, then go over it in paint using a thin brush. Let the paint dry, then cover it with a glaze paint for a shiny finish.
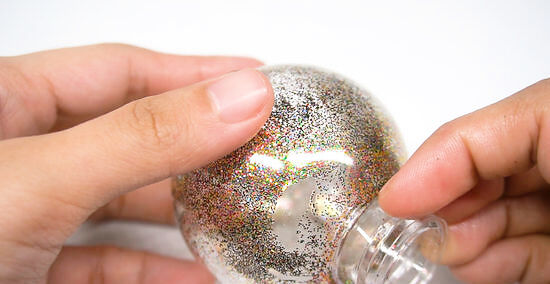
Pour glitter or multi-colored sprinkles into clear bulbs for a fun DIY. Remove the top of a clear ornament and pour about 1 tsp (5 mL) of clear varnish into it, using a funnel or a plastic bag with a hole in one corner. Swirl it around so that it coats the whole interior, then let it drain upside down into a plastic cup for about 30 minutes. Then, pour in just enough sprinkles or glitter to cover the inside of the ornament. Swirl them around gently, let them dry, and place the top back on to finish. If you pour in too many sprinkles or too much glitter, simply pour out the excess or use it for another ornament.
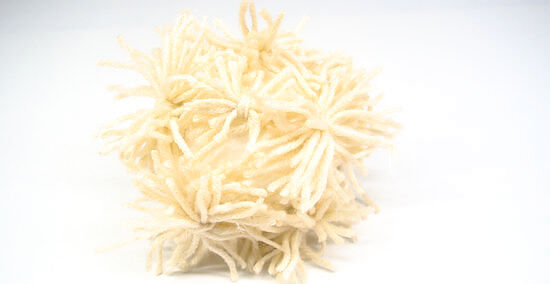
Make mini pom-pom ornaments with styrofoam balls. You can make a cute, colorful faux-ornament by getting a few small styrofoam balls and covering them with bright pom-poms! Use hot glue to stick them onto the ball, making sure to cover the whole surface. To hang it up, poke a pin in the top and tie on a length of colorful ribbon. You can use multi-colored pom-poms or just 1 or 2 Christmas-y colors. If you don’t have hot glue, you can use small pins. Stick a pin through each pom-pom, then secure it to the styrofoam.


Comments
0 comment