

Improving Network Performance

Update your devices. Computers, smartphones, tablets, and consoles all need to be updated periodically, and failing to do so can result in a drop in Internet speed. Make sure that your items are up-to-date. Most items will alert you when an update is available. Avoiding updates is not recommended.

Minimize the number of running services. When you have a slow Internet connection, you generally can't run more than one bandwidth-heavy service (e.g., Netflix, an online video game, YouTube, etc.) at a time; however, running several smaller bandwidth-using items can also be detrimental to your Internet's speed. Focus on one program at a time for optimal speed. When using smartphones or consoles, be sure to exit an app completely rather than just minimizing it. If the app is running in the background, it can still cause your Internet speed to decrease.
Shut off other Internet-connected items. While closing bandwidth-heavy programs on your computer will help improve your browser's performance, your Internet will continue to be slow if several other computers/smartphones/entertainment sources are actively connected to your network. You can diminish the number of other items with which you have to share your Internet by turning them off temporarily. Placing Internet-connected items in Airplane Mode will also fix this problem.
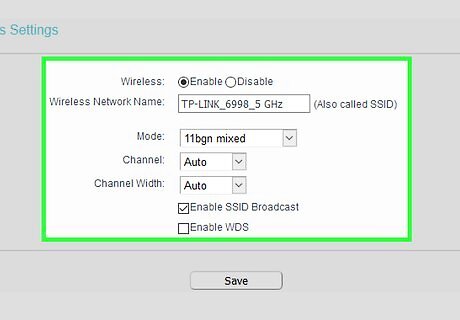
Change your router channel. Many modern routers include two bands: a 2.4 GHz band, which is the standard for wireless communication, and a 5 GHz band, which accommodates faster downloads and results in less interference. If your router has a 5 GHz band, switching to it will prevent interference from other Internet-connected items and nearby wireless connections. You can usually switch to the 5 GHz band from within your item's Wi-Fi settings. Each router will have a different name for the 5 GHz band, so check your router's manual or online documentation. Not all routers have 5 GHz bands. If your router only has the standard 2.4 GHz band, skip this step. Since 5 GHz bands have less range than do 2.4 GHz bands, doing this will often require you to keep your Internet-connected items within 10 to 15 feet of the router.

Use Ethernet instead of wireless. Wi-Fi is convenient, but it can also cause plenty of problems due to connection issues. If you want to get the most consistency out of your Internet connection, plug your computer (or console) into your router or modem with an Ethernet cable. Mac users will need a USB-C Ethernet adapter in order to do this; you cannot connect a smartphone or tablet via Ethernet. Much of the time, users who are frustrated by slow Internet are more annoyed with the inconsistency (e.g., some pages loading while others take too long) than with the speed itself. Using an Ethernet cable will address this problem. The fastest possible speed that you can get from your plan can be achieved by connecting an item (e.g., a computer) directly to the modem (not the router) via an Ethernet cable. This will limit Internet access to include only the wired item.
Scan your computer for viruses. Viruses can cause anything from your computer to your entire Internet connection to slow down. Using antivirus software to scan and repair your computer where needed will eliminate problematic programs.
Optimizing Your Browser

Use a fast web browser. If you're still using Internet Explorer or an outdated version of Safari, you're bound to be disappointed even on a fast Internet connection when browsing the Web. Instead, make sure that you're using one of the following web browsers: Chrome and Firefox are incredibly fast web browsers for both computers running the Windows and macOS operating systems. Microsoft Edge is a minimal but relatively fast web browser for Windows 10 users. Safari 12 remains the fastest choice for Mac users.

Remove unwanted add-ons, extensions, and plugins. Though many plugins and add-ons can make your browsing experience more efficient, others make it difficult to perform instant page loads. You can cut down on your web browser's add-ons in order to increase speed by doing the following: Chrome — Open Chrome, click ⋮, select More tools, click Extensions, click REMOVE under an extension, click Remove when prompted, and repeat with other extensions. Firefox — Open Firefox, click ☰, click Add-ons, click Remove to the right of an extension, and repeat with other extensions. Edge — Open Edge, click ⋯, click Extensions, click the gear icon to the right of an extension, and click Uninstall. Click Ok when prompted, then repeat for other extensions. Safari — Open Safari, click Safari, click Preferences..., click the Extensions tab, select an extension's name, and click Uninstall. Confirm the uninstallation when prompted, then repeat for other extensions.
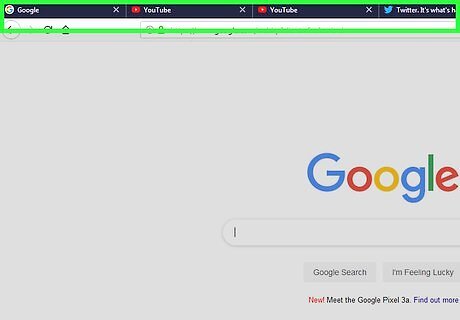
Avoid using more than a few tabs at once. Opening multiple tabs won't necessarily harm your Internet connection, but it will eventually slow down your web browser. Pairing a slow web browser with slow Internet is a recipe for frustration, so keep your currently open tabs limited to five or fewer.

Don't open more than one browser window at a time. Sticking to one browser (e.g., Chrome) at a time will ensure that your Internet isn't straining to support the content of two web browsers at once. This is especially important if you have a bandwidth-heavy service, such as YouTube, open in one web browser.

Stream only when not performing other tasks. It can be tempting to watch Netflix or play a track from YouTube while working in a different window, but doing so will result in slower overall Internet speeds.
Changing Windows DNS Settings
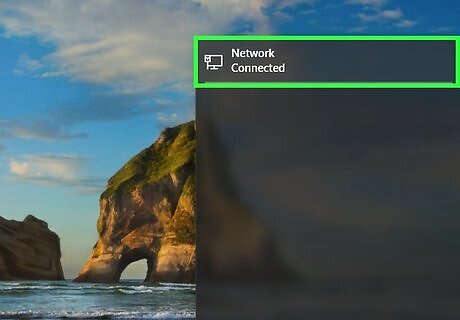
Make sure that you're connected to the Internet. In order to change your DNS settings, your computer must be connected to the Internet.
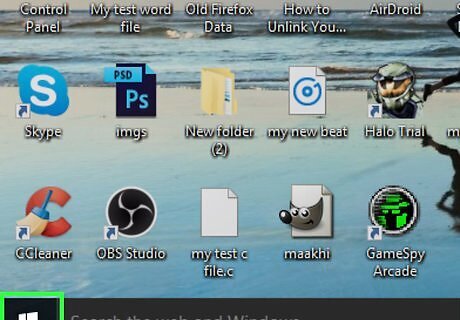
Open Start Windows Start. Click the Windows logo in the bottom-left corner of the screen. This will open the Start menu.
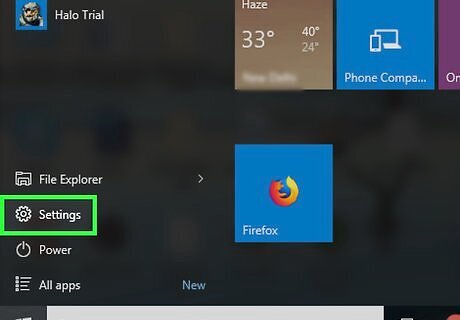
Open Settings Windows Settings. Click the gear-shaped icon in the bottom-left corner of the Start menu.
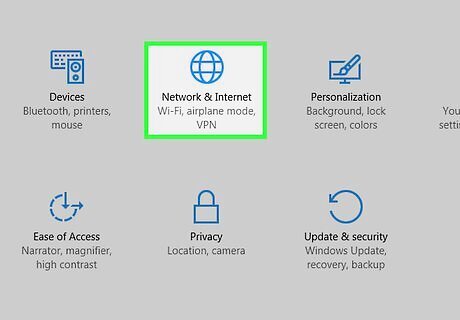
Click Windows Network Network & Internet. This globe-shaped icon is in the middle of the Settings window.

Click Change adapter options. It's below the "Change your network settings" heading near the top of the page.

Select your current network. Double-click the Wi-Fi (or Ethernet if you're using a wired connection) option with your network's name. A pop-up window will open.
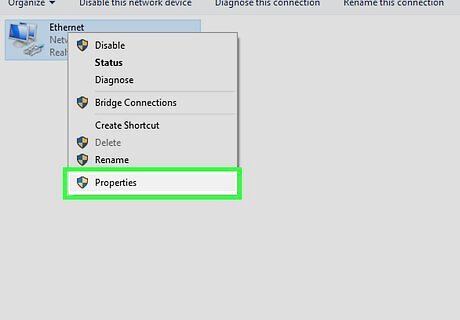
Click Properties. It's in the lower-left side of the pop-up window. Another window will open.
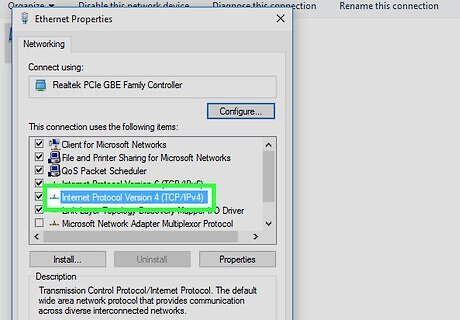
Select Internet Protocol Version 4 (TCP/IPv4) or Internet Protocol Version 6 (TCP/IPv6). This is a line of text in the middle of the window.
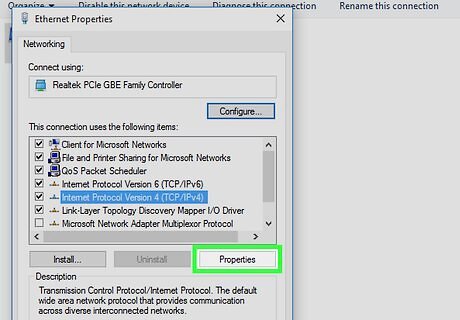
Click Properties. It's a button near the bottom of the window. The "Properties" will open.

Check the "Use the following DNS server addresses" box. You'll find this box near the bottom of the window. Checking this box opens the two text boxes at the bottom of the window.

Enter DNS addresses. Both Google and OpenDNS offer free addresses, so pick one of the following combinations: Google — For IPv4: Enter 8.8.8.8 in the "Preferred DNS server" text box, then enter 8.8.4.4 in the "Alternate DNS server" text box. For IPv6: Enter 2001:4860:4860::8888 in the "Preferred DNS server" text box, then enter 2001:4860:4860::8844 in the "Alternate DNS server" text box. OpenDNS — For IPv4: Enter 208.67.222.222 in the "Preferred DNS server" text box, then enter 208.67.220.220 in the "Alternate DNS server" text box. For IPv6: Enter 2620:0:ccc::2 in the "Preferred DNS server" text box, then enter 2620:0:ccd::2 in the "Alternative DNS server" text box.
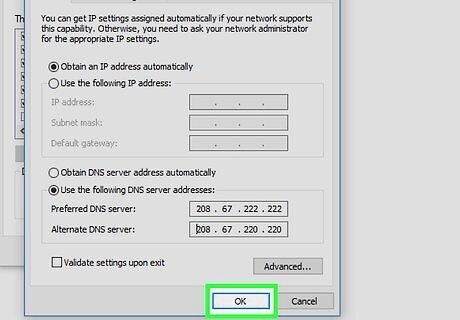
Save your changes. Click OK at the bottom of the first "Properties" window, click Close at the bottom of the second "Properties" window, and click Close on the "Status" window.
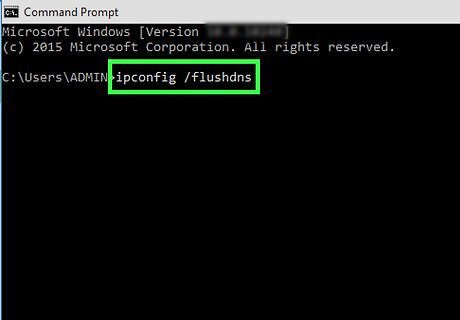
Flush your computer's DNS cache. You can do this by typing ipconfig /flushdns into Command Prompt and pressing ↵ Enter. Flushing the DNS cache will help resolve any website loading errors you might run into when you next open your browser.
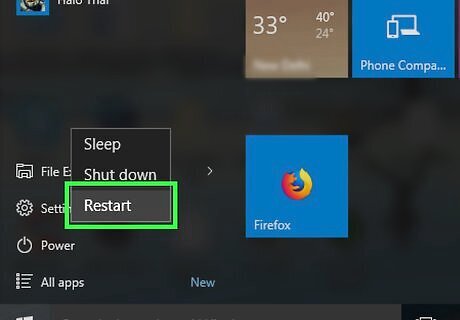
Restart your computer. Click Start Windows Start, click Power Windows Power, and click Restart in the pop-up menu. Your new DNS settings will be applied upon opening your browser when your computer finishes restarting. You may notice some initial slow-down when visiting some sites; this is because the DNS library has to repopulate via the new DNS addresses.
Changing Mac DNS Settings
Make sure that you're connected to the Internet. In order to change your DNS settings, your computer must be connected to the Internet.

Open the Apple menu Mac Apple. Click the Apple logo in the top-left corner of the screen. A drop-down menu will appear.

Click System Preferences…. It's near the top of the drop-down menu.
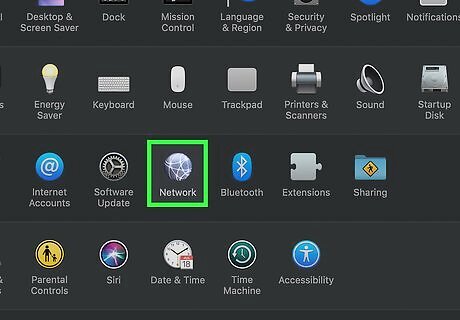
Click Network. This globe-shaped icon is in the System Preferences window.
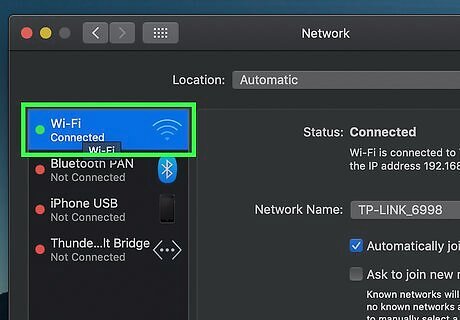
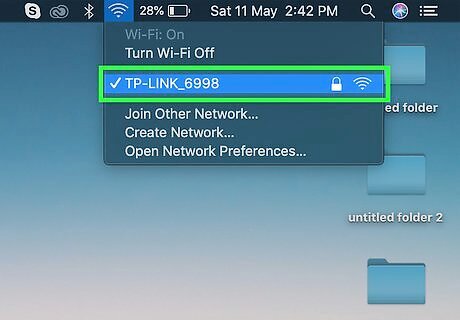
Select your Internet connection. On the left side of the window, click the Wi-Fi connection to which your Mac is currently connected. If you're using Ethernet, click Ethernet here instead.

Click Advanced…. It's in the lower-right side of the window. Doing so opens a pop-up window.

Click the DNS tab. You'll find this option at the top of the pop-up window.
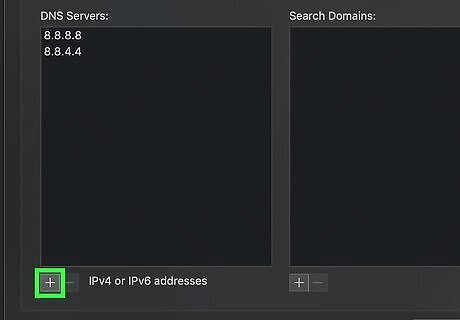
Click +. It's in the lower-left side of the window. Doing so creates a text field in the "DNS Servers" column.

Enter the primary DNS address. Type in the address for a primary DNS server. Both Google and OpenDNS have free servers that you can use here: Google — Enter 8.8.8.8 here. OpenDNS — Enter 208.67.222.222 here.
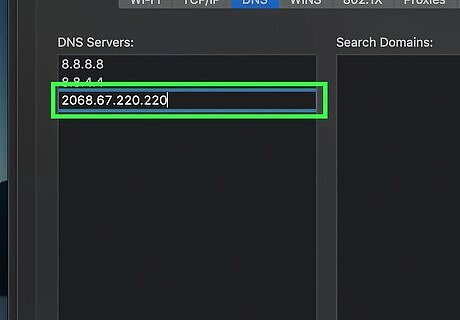
Enter the alternate DNS address. Click + again, then enter one of the following addresses: Google — Enter 8.8.4.4 here. OpenDNS — Enter 208.67.220.220 here.

Click OK. It's at the bottom of the window. This will save your settings and close the "Advanced" pop-up window.

Click Apply. You'll find this option at the bottom of the window. Your settings will be applied to your Internet connection from now on.

Flush your Mac's DNS cache. You can do this by typing sudo killall -HUP mDNSResponder;say DNS cache has been flushed into Terminal and pressing ↵ Enter. Flushing the DNS cache will help resolve any website loading errors you might run into when you next open your browser.

Restart your Mac. Click the Apple menu Mac Apple, click Restart..., and click Restart when prompted. Your new DNS settings will be applied upon opening your browser when your computer finishes restarting. You may notice some initial slow-down when visiting some sites; this is because the DNS library has to repopulate via the new DNS addresses.


Comments
0 comment