views
Connecting the PlayStation 2
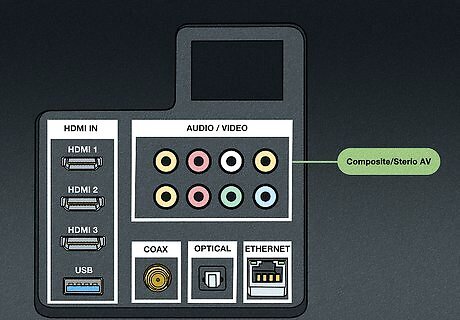
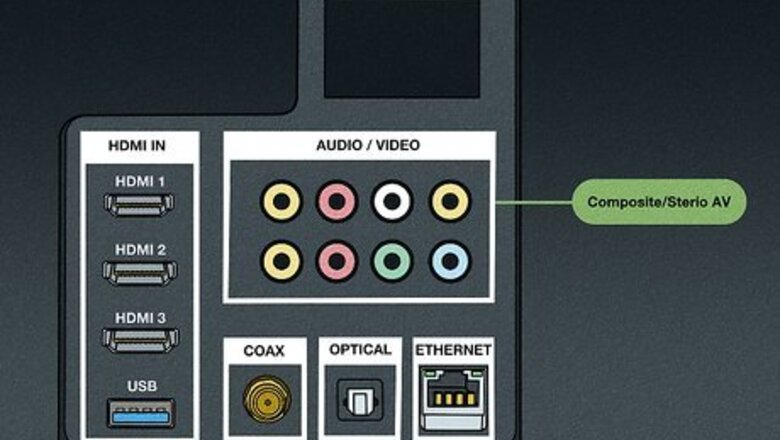
Examine your TV inputs. There are several ways that you can connect your PlayStation 2 to your TV or receiver, depending on the inputs available. Different inputs will provide different levels of image quality. Inputs are typically found on the back of the TV, though they may be found on the side or the front as well. Composite/Stereo AV - This is the most common way to connect a PlayStation 2 to a TV, receiver, or VCR. Composite cables have three plugs: Yellow (Video) and Red and White (Audio). This cable comes packaged with all new PlayStation 2 models. Newer HDTVs may not support this connection. Component/YCbCr - This is the best way to connect a PlayStation 2 to modern TVs, as most HDTVs have these inputs. Component cables also provide the best possible picture quality for the PlayStation 2. Component cables have five plugs: Red, Blue and Green (Video) and Red and White (Audio). Component cables do not come packaged with the PlayStation 2. If purchasing a component cable, make sure that it is PlayStation 2 compatible with the PlayStation 2 plug on one end. S-Video - This input is not very common on newer TVs. It will provide a better picture than composite cables, but not as good as component cables. The S-Video plug is typically yellow and has pins instead of a standard AV plug. The PlayStation 2 S-Video cable has the S-Video plug as well as the Red and White audio plugs. RF - This is the worst way to connect a PlayStation 2 to a TV or VCR, as it has the blurriest picture quality. RF connects through the TV or VCR's coaxial input (the same input you would use for an old cable box or antenna). Avoid this method of connection unless you have no other options.
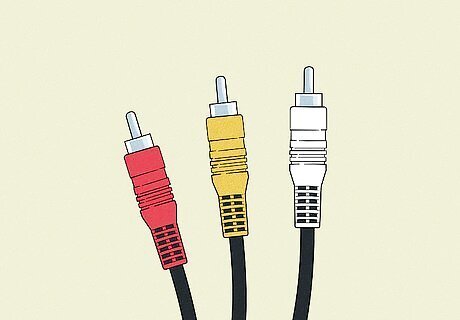
Obtain the correct cable. If you bought your PlayStation 2 new, there should be a composite cable packed in the box. If you need a different cable, you'll have to order it from Sony or buy one online at a store like Amazon. Make sure that you get the PlayStation 2 version of the cable you want to use, as the PlayStation 2 requires a special plug on one end of the cable. PlayStation 2 video cables will work for all PlayStation 2 models.
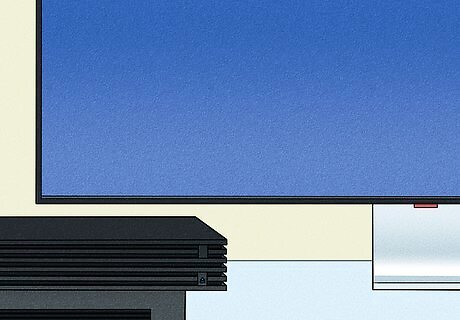
Place the PlayStation 2 near the TV or receiver. Make sure you place it in a location that has plenty of open area so that the PlayStation 2 doesn't collect too much heat. Avoid stacking it above or below other electronic devices. If you have the stand, you can setup your PlayStation 2 vertically so that it takes up less space. Make sure that it's close enough so that the video and the power cables don't have to stretch to reach the TV and outlet.
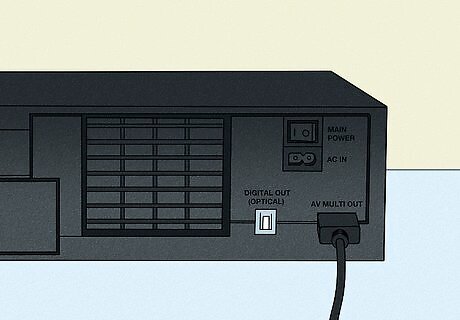
Connect the video cable to the back of the PlayStation 2. All PlayStation 2 video cables connect to the same port on the back of the PlayStation 2. The video port is located in the bottom-right corner of back of the fat PlayStation 2s, and on the right side of the back of the slim PlayStation 2s, next to the power connector. The port is labeled "AV MULTI OUT".
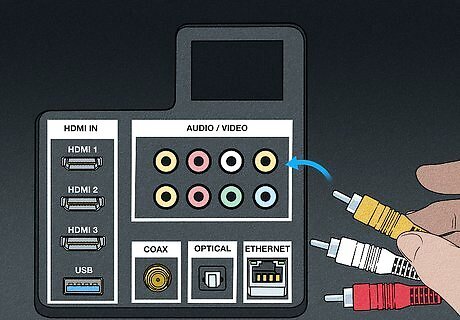
Connect the other end of the video cable to your TV. Make note of the input that you are connecting to, as this will allow you to find the correct input when you turn on your TV. Match the colors of the plugs with the colors on the inputs. The audio connection (Red and White) may be offset from the video inputs on the TV. If your TV only supports mono sound, just use the White audio plug. When connecting component cables, you'll likely have two Red plugs. One of these is video and the other is audio. If you lay out the component cable flat, the order of plugs should be Red, Blue, Green (Video set), White, Red (Audio set). If your TV only has component connectors, but you only have a composite cable, you may still be able to connect the two. Plug the Red and White audio cables as normal, and try plugging the Yellow plug into the Green connector. If this ends up resulting in a black-and-white image, try plugging the Yellow plug into either the Blue or the other Red connector. If you're in Europe, you may need the Euro-AV connector, which will allow you to plug the composite cable into your TV's SCART socket. This connector comes packaged with new European PS2 models.
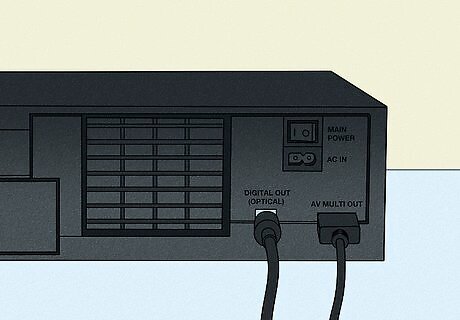
Connect the digital audio cable (optional). If you have a 5.1 surround sound system, you'll need to connect the Digital Out (Optical) audio port on the PS2 to the receiver using a TOSLINK cable. This is only required if you want 5.1 surround sound and have the necessary equipment. You can find the Digital Out (Optical) port next to the video port on the back of the PlayStation 2.
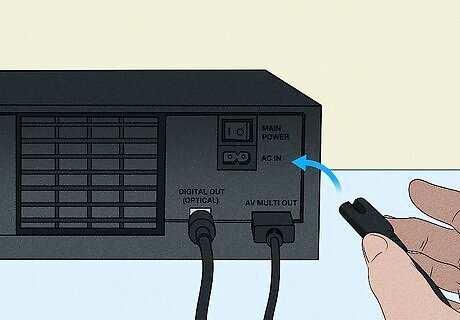
Connect the PlayStation 2 power cable. The fat PS2 and the slim PlayStation 2 have different power cables. To connect the fat PS2, plug the "figure-eight" side of the power cable into the back of the PlayStation 2, and then plug it into the wall or a power strip. For slim PS2s, connect the power cable to the yellow "DC IN" jack on the back of the PlayStation 2, connect the power brick, and then plug the entire cable into the wall or power strip. Make sure that the cable has some slack so that it isn't straining the connection.
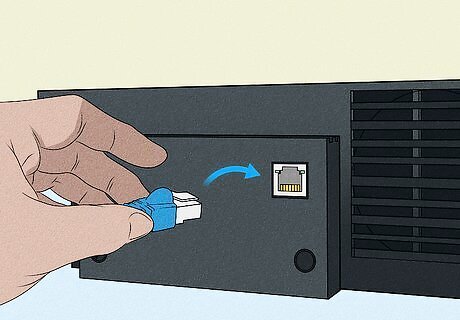
Connect an Ethernet cable (optional). Some PS2 games have online functionality, and you'll need to connect your PlayStation 2 to your home network via Ethernet to take advantage of this. The slim PS2 has a built-in Ethernet adapter, but the fat PlayStation 2 requires a network adapter add-on. You won't be setting up your network on a system level. Instead, individual games will handle the network settings when you attempt to connect. Many PS2 games that had online multiplayer no longer function online, as servers have long been shut down.
Playing Your PlayStation 2
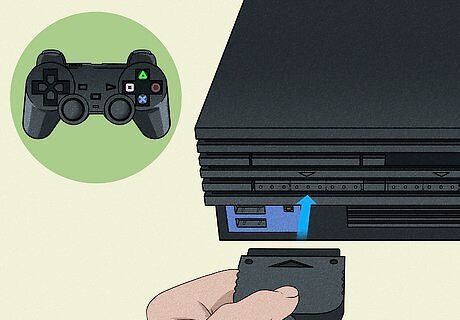
Connect a controller to the PlayStation 2. You'll need either an official PlayStation 2 controller (called a DualShock 2), or a third-party controller designed for the PS2. All new PlayStation 2 models come with a single DualShock 2 controller. You cannot use a PS1 controller regularly with your PS2, but you can use a PS1 controller while playing PS1 games.
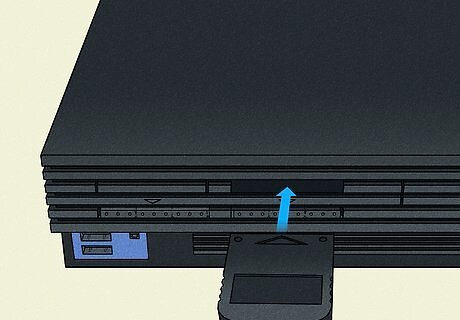
Insert a memory card (optional). If you want to be able to save your progress in games, you'll need to insert a PS2 memory card, official memory cards are 8 MB, which is enough space for lots of saved games. You can purchase unofficial larger memory cards, but these have a higher chance of failing and corrupting your saved data. However, official, larger memory cards do exist in 16 MB and 32 MB. You can store using the hard drive add-on without a memory card, but you need a memory card to install the hard drive software. You can play games without a memory card or a HDD, but your progress will be lost whenever you turn the system off or change games. Memory cards are inserted directly above the controller. Make sure that the memory card label is facing up when you insert it.
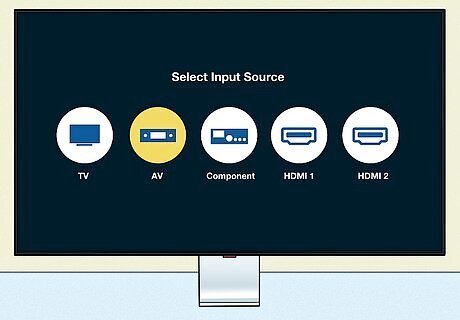
Turn your TV on to the correct input. Turn on your TV and switch it to the input that the PlayStation 2 is connected to. If you connected the PS2 to your VCR or receiver, make sure that the VCR or receiver is set to the correct input, and that your TV is set to the VCR or receiver's input.
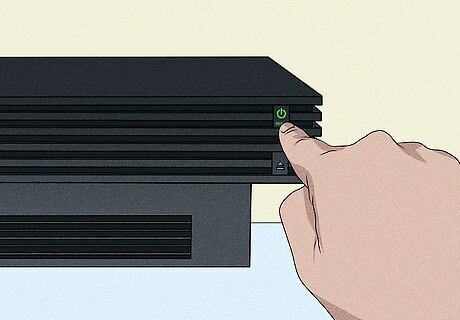
Power on the PS2.Press the power button on the front of the PlayStation 2. The light should turn green and, if the correct input is selected, you should see the PS2 opening logo animation. If there is no game inserted, you'll be taken to the PS2 system menu. If a game is inserted, it will start automatically after the boot-up animation.
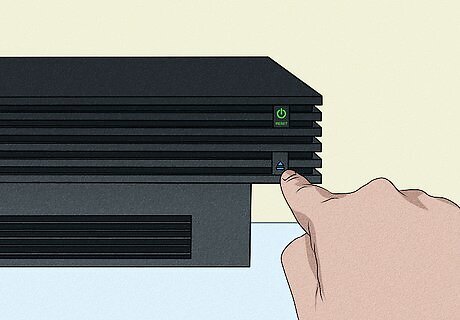
Insert a game. Press the Eject button on the front of the PlayStation 2 to either eject the tray (fat PS2) or pop open the lid (slim PS2). Place the game on the tray or place it onto the spindle. Push the slim lid closed, or push the Eject button again on the fat PlayStation 2 to close the tray. Don't eject a game while playing, or it may quit without saving. Take care not to touch the surface of the game disc when inserting or removing it. This will help prevent scratches and damage, and keep your games working longer.
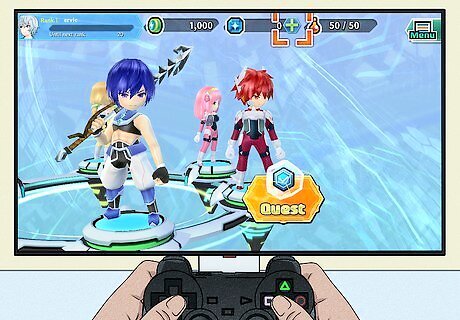
Start a game in progressive scan mode (component only).If your PlayStation 2 is connected with component cables, you may be able to enable progressive scan (480p) mode. This will result in a much clearer picture, but is only supported by certain games. Press and hold △+✕ after the PlayStation 2 Logo appears when starting a game. If the game supports progressive scan, you'll see a message from the game telling you how to enable it. There are no system settings for progressive scan.








Comments
0 comment