views
Preparing the Surface

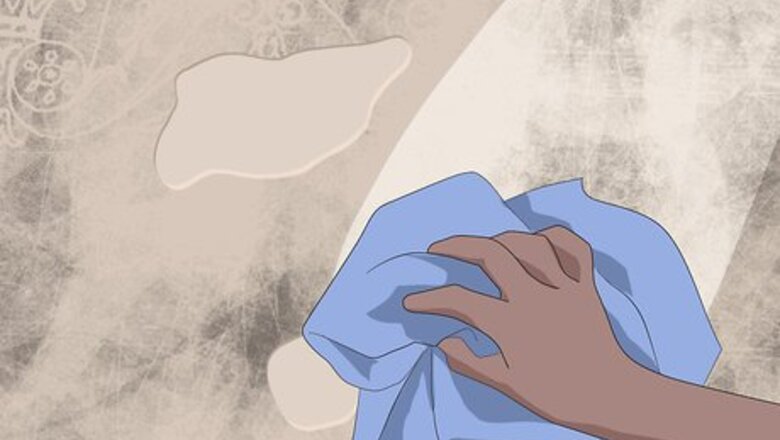
Clean the surface. Before applying any paint to a damaged wall, you need to clean the surface. If you don’t clean the surface, your paint job won’t be as effective as you want it to be. In the end, you might create textures you don’t want to create. Clean by: Removing any dust, pet hair, or other grime from the surface. For example, take a vacuum or shop-vac and vacuum up spider webs or dirt. Using a damp rag to wipe down the wall before you paint it. Making sure to use soap or vinegar to remove any substantial dirty or scum from the wall.
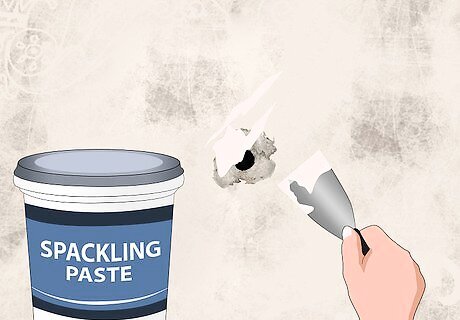
Fill in holes or major flaws. While texture can hide minor or even moderate wall flaws, some flaws require you to fix them before painting. Fortunately, you won’t have to spend too much time fixing the hole because your textured paint will hide imperfections. Either cut a new piece of drywall or use spackle to fill the hole. Use joint compound to smooth over the patch. Apply a second coat of compound, if you want. Either smooth over or leave the compound or spackle textured.
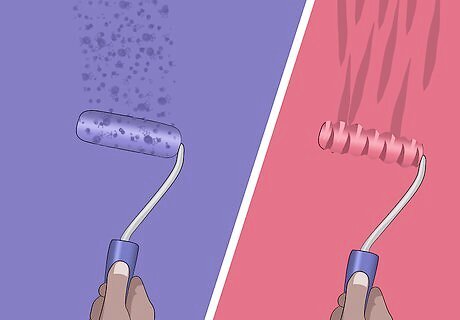
Choose a painting instrument. After you’ve cleaned the surface and fixed any major issues, you’ll need to choose how you’ll apply the paint to the wall. This is perhaps one of your most important decisions, as its perhaps the simplest way to add texture to your paint job. Decide what you want to use and: Pick a roller with the type of texture you want. You can choose a smooth roller and apply your own texture after painting or you could pick a textured roller. Textured paints have a lot of roughness that naturally hides imperfections, so they will look subtly different all over the wall. Use a brush to paint your wall. The brush will leave a light texture and you can go back later and add more. Spray your paint on and apply more texture later.
Using Textured Paint and Plaster

Use a paint that contains texture. Texture paint is one of the simplest ways to hide wall flaws. Texture paint, though, is a lot like drywall mud and may take extra time to apply. However, it should be able to hide a lot of minor flaws like dents, chips, nail holes, and more. Start by priming the wall and picking your favorite textured paint. Paint an entire wall quickly. This is important, as texture paint dries relatively fast. If one area dries before you’ve finished the wall, lines may appear where the paint dried first. Use a regular roller, brush, or a sprayer if you’re painting a large area. Use extra paint on a flawed area, to fill it in or obscure it. Apply two coats of your texture paint.
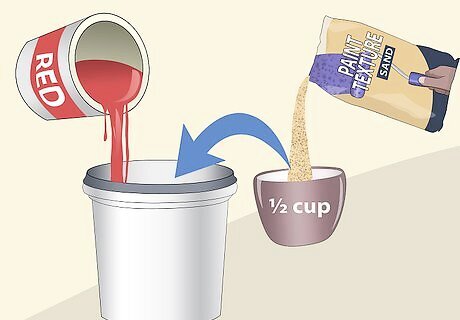
Add texture to regular paint. While texture paint may be a simple way to go, there are not many color options available. To get around this, you can purchase texture additive and combine it with your paint before applying it. In the end, you'll find that chips, nail holes, and other mild or moderate flaws will be obscured. Pick your paint color and: Pour your paint into a mixing container. Add about half a cup of additive to your paint at a time. Mix the additive in and then add more additive. Prime the wall. Paint the wall. Use extra paint around a wall flaw. This will help obscure it.
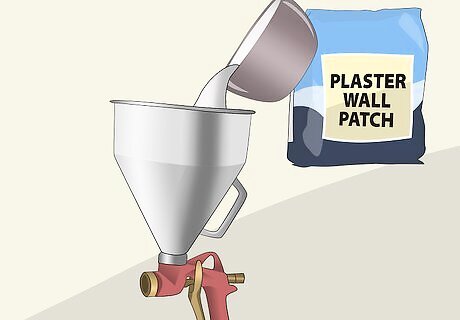
Apply an orange peel texture. Orange peel texture looks like that of an orange peel. Thus, it is a great way to hide a variety of wall flaws including larger dents, scrapes, and small or medium sized holes. To apply orange peel texture, buy or rent a hopper gun and fill it with plaster. Spray the plaster over the wall until you get your desired texture. If you need, spray extra plaster over flaws. Prime and paint the wall any color you want.
Using Traditional Paint and Adding Texture

Create texture with old paintbrushes. Old brushes can add to your existing paint brush or roller work and create a rich texture that hides minor wall flaws like scrapes and chips. In the end, you’ll likely have fun by using your brushes to add extra texture to your wall. Start by gathering different sized brushes from around your house. Wash your brushes so there is no dirt or other debris attached to them. Take your brushes and brush texture in all over your wet paint. Leave enough brush marks so the wall damage blends with your newly created texture. If you need more paint, feel free to use it. Try to complete one small section of wall at a time. For example, paint and texture one 8 foot (2.44 meter) by 10 foot (3 meter) section before moving on to another.
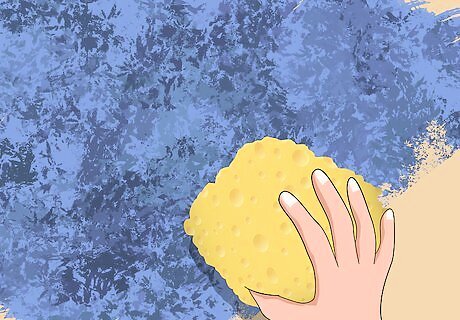
Dab sponges on your paint. By dabbing sponges on your wet paint, you’ll create a texture that will conceal wall damage or wall flaws like a poor mudding/taping job, indentations, and more. In the end, you’ll have a unique paint job that reflects your personality and taste. Start by taking sponges and lightly dabbing them on wet paint. Make sure your sponges are clean and don’t have any dirt or other debris attached. Repeat your dabbing over the entire surface of the wall. Create any pattern you want. Do some extra dabbing around wall flaws so they seem like they're just part of the overall pattern. If you need, dip the sponge into more paint so you can create a richer texture over your wall.
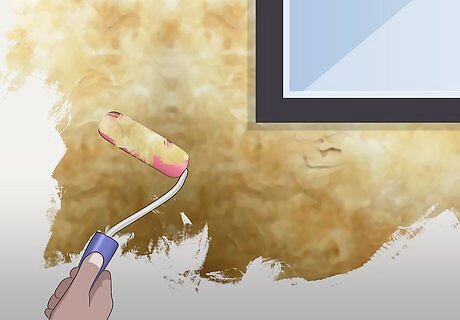
Embrace faux painting. Faux painting is a great way of concealing flawed wall by making it seem like a deliberate part of your overall design. Thus, faux painting offers a unique opportunity to use large and small wall flaws to enhance your larger paint scheme. Paint a color lightly over a bright base coat, like a white. Take a cloth and wipe down the wall unevenly. In addition, take a brush and brush some uneven lines into the paint. Do this so it mimics any pre-existing wall flaws. That way, wall flaws will seem like they're just part of the faux paint job. To add more texture, use a sponge with a darker shade and dab over the wall flaw. For example, if you’re main wall color is a cream color, use a slightly darker cream color to accent wall flaws and other textured areas. If you need to repair the wall, don’t spend a lot of effort smoothly out your putty work.


Comments
0 comment