views
- Use the Archive feature to easily hide entire conversations in Messenger.
- You can also delete individual messages from a chat.
- If you need an extra layer of privacy and security, enable end-to-end encryption and disappearing messages in the mobile app.
On a Mobile Device
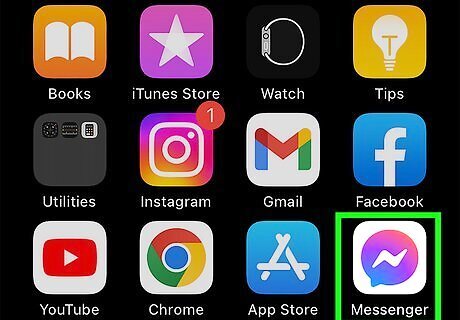
Open the Messenger app on your phone or tablet. If you don’t already have Messenger installed on your mobile device, download it from the Apple App Store on an iPhone or iPad or the Google Play Store on an Android device. Log in with your Facebook account. The Messenger app icon looks like a speech bubble with a blue to pink gradient and a white lightning bolt in the middle.
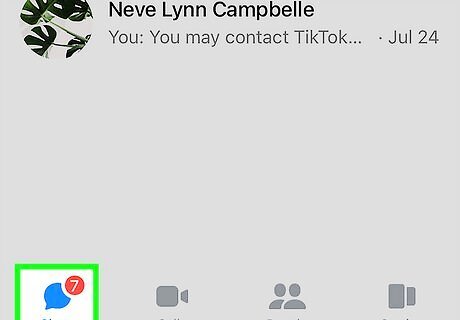
Tap the Chats tab. It looks like a speech bubble on the bottom left side of the screen.
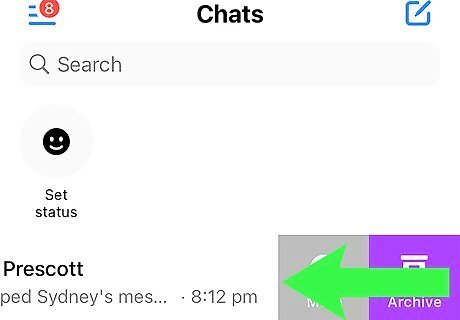
Swipe left on the conversation you want to hide. Scroll through your conversations and find the one you want to archive. Swipe left to see your options.
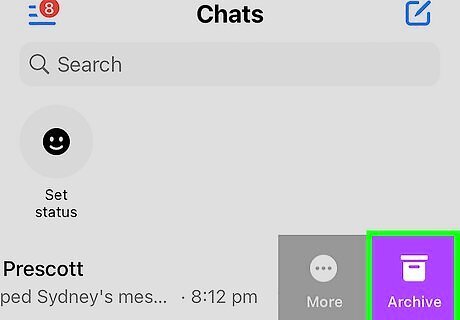
Tap the Archive button on an iPhone or iPad. If you’re using an iOS device, you’ll see the option to archive the conversation as soon as you swipe left. It’s a purple square with an image of a file box inside. Tap it to hide the conversation. The conversation will immediately disappear from your list of chats.
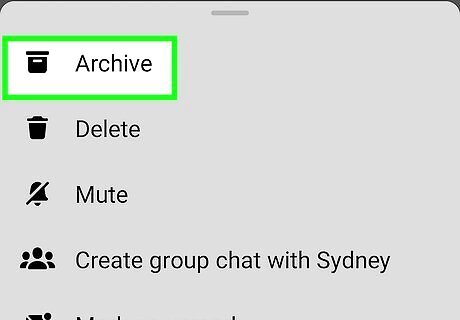
Select ☰, then tap Archive on an Android. If you’re using an Android phone or tablet, there will be one extra step. After you swipe left, tap ☰, then select Archive to hide the conversation.
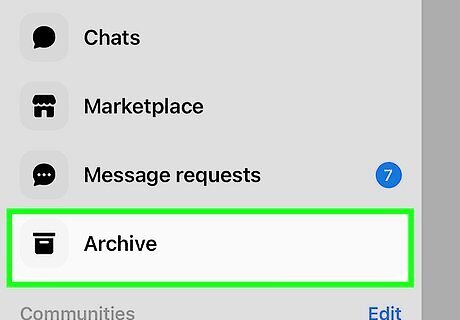
Open ☰ at the top of Chats to see your archived messages. If you want to find the conversations you archived, tap ☰ in the top left corner of the Chats screen, then select Archive from the menu. You can also find a specific archived chat by typing your contact’s name into the Search bar at the top of the Chats screen.
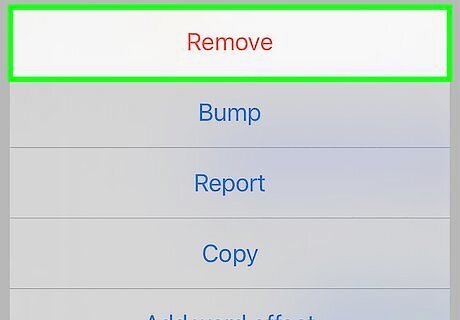
Delete messages or the whole conversation if you prefer. You can delete an individual message from a chat if you wish. This will permanently hide the message for you. If it’s a message that someone else sent, any other members of the chat will still be able to see it unless they delete it too. You can also delete the whole conversation permanently. To delete an individual message in a chat, tap and hold the message you want to delete. Select More… from the menu that pops up at the bottom of the screen, then tap Remove. Select Remove for you to confirm. You can also choose Unsend to hide a message you sent. Select Unsend for everyone to hide it from your recipient(s), or Unsend for you to hide it just on your own device. To delete the whole chat: On an iPhone or iPad, swipe left on the chat you want to delete, then tap More and select Delete. Tap Delete again to confirm your choice. On an Android device, swipe left on the chat, then tap the red Android 7 Delete icon. Tap Delete or Delete Chat to confirm your choice.
On a Computer
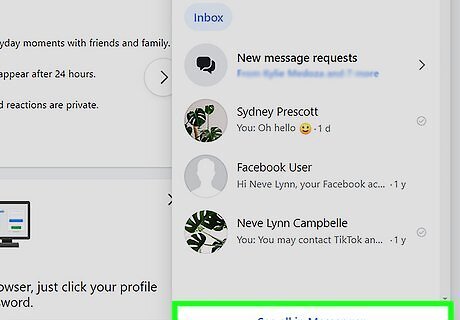
Visit your main message screen. Log on to your Facebook account if you haven’t already. Visit https://www.facebook.com/messages to see your inbox. Alternatively, click the Messenger icon (which looks like a speech bubble with a lightning bolt in it) at the top of the main Facebook page, then click See all in Messenger on the drop-down menu.
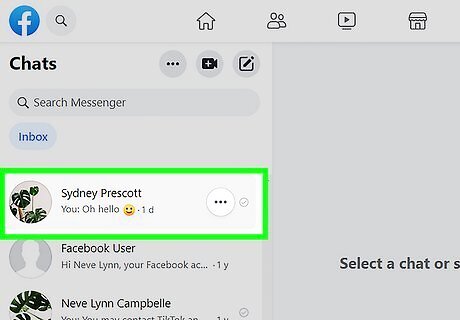
Hover over the conversation you want to archive. You’ll see a list of your chats on the left side of the Messenger window. Hover your cursor over the one you want to hide. You don’t need to click it.
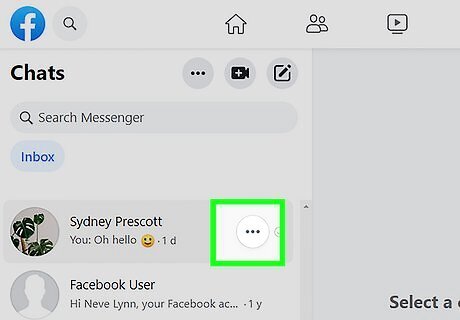
Click the ••• icon. When you hover your cursor over one of the conversations in your list, a round button with three dots in it (•••) will appear. Click on it to open a pop-up menu with several options.
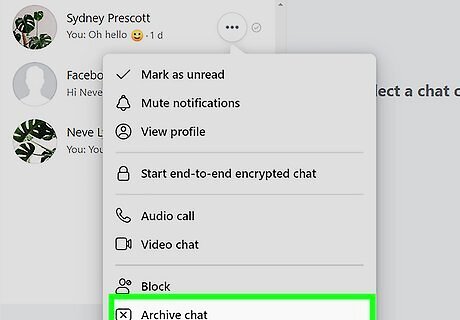
Select Archive chat. Select Archive chat from the list to move the messages to a hidden folder. If the same person contacts you again, the old messages will move back to your inbox. To find the hidden chat again, click the ••• button at the top of your list of Chats. Select Archived chats from the drop-down menu.
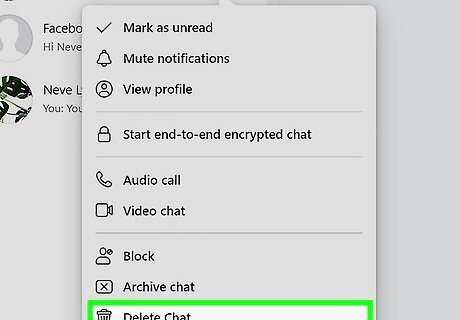
Delete an individual message to hide it from a chat. You can also permanently delete an individual message from your chat. Keep in mind that if it’s a message someone else sent, it will still show up in their chat unless they delete it as well. If you're sure you want to do this, follow these steps: Select a conversation from the Chats pane on the left side of the screen. Click on it to open it. Hover over any individual message in the conversation, then click on the ⋮ button that appears to the right of the message. Select Remove, then click Remove again in the window that pops up to confirm your choice. If it’s a message you sent, you’ll be given the option to remove the message for everyone in the chat or just for you. You can also delete the whole conversation if you like.
Using Secret Conversations (Mobile Only)
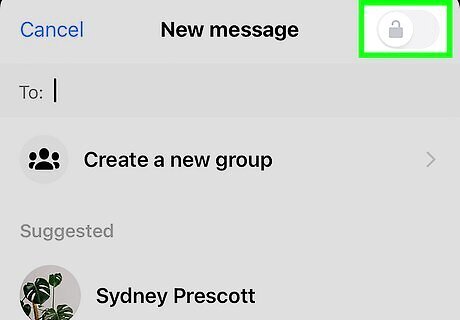
Use this option if you need extra privacy and security. The Secret Conversations feature in Facebook Messenger lets you send end-to-end encrypted messages to other users. This means that only you and your recipient can see what’s in the chat, and you’ll only be able to view the messages on devices you used to start the Secret Conversation. They won’t show up in your web browser or on other devices where you’re logged into Facebook or Facebook Messenger. You can continue an encrypted chat on another device logged into the same account, but you won’t be able to see previous messages in the conversation. Any other participants in the chat will be notified that you’re on a new device.
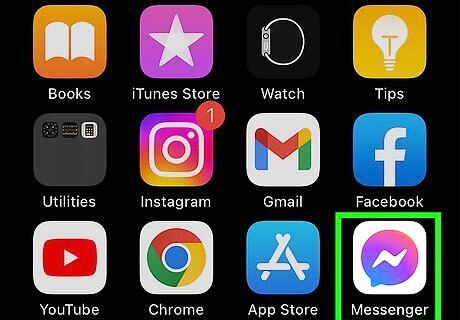
Open Facebook Messenger on your mobile device. Secret Conversations only works in the mobile Messenger app for Android and iOS devices. Launch Messenger on your iPhone, iPad, or Android device, then log in with your Facebook account if you haven’t already.
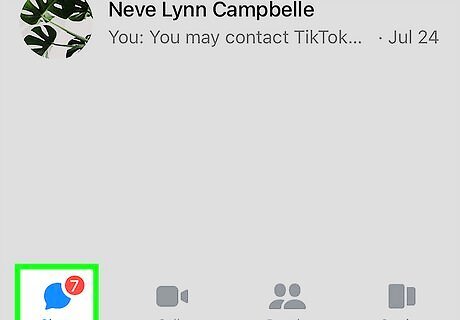
Tap the Chats tab. It looks like a speech bubble at the bottom of the Messenger screen.
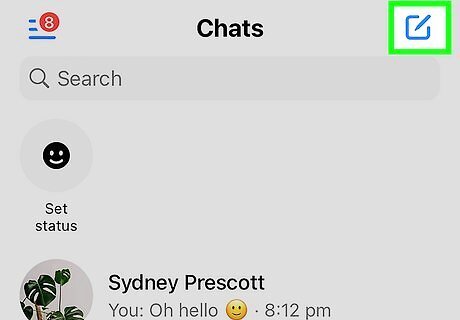
Select the Compose button. It looks like a pencil in the Android app (Android 7 Edit) or a pencil in a square in the iOS app (iPhone Quick Compose). In both cases, it’s located in the top right corner of the screen.
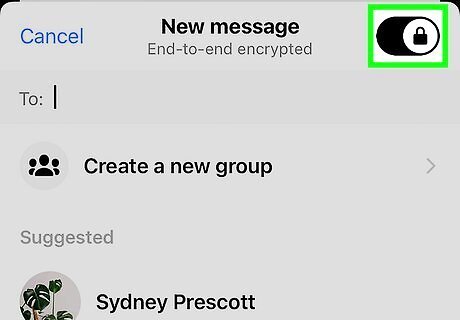
Toggle on the lock switch in the top right corner. On the next screen, you’ll see a toggle switch with a lock inside it in the top right corner. Tap it to toggle on end-to-end encryption.
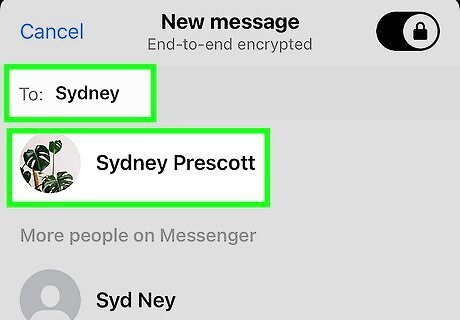
Select or type in the name of the person you want to chat with. Pick someone from your list of contacts to start chatting with them, or search for their name if you don’t see them in the list. Your conversation will be encrypted. You can also create a secret group chat by turning on encryption, then tapping Create a new group at the top of your list of contacts. Keep in mind that you won’t be able to do this with certain types of contacts, including: Business accounts Other types of professional accounts, like those used for public figures Instagram accounts that you’re contacting through Messenger People you’ve never chatted with before in Messenger
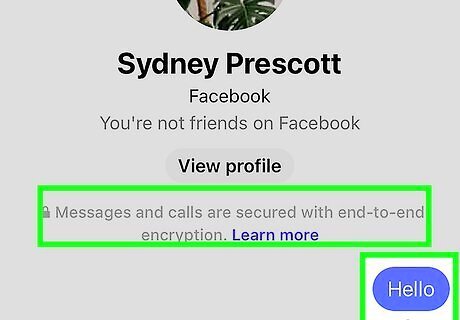
Start a Secret Conversation from a pre-existing chat if you prefer. If you’re already chatting with someone and want to switch to a private conversation, there’s a quick and easy way to do it: Tap your contact’s name at the top of the screen Scroll down to More actions and select Go to secret conversation. Your chat will now be encrypted! The encrypted chat will show up as a separate conversation from your non-encrypted chat with the same person. Any messages you exchanged previously will not be encrypted.
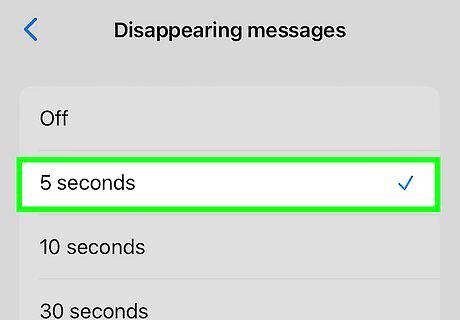
Enable disappearing messages for extra privacy. This feature is in development and may not be available for every Messenger user yet, but it’s a good way to keep your chats extra secure and private. Any message sent while it’s enabled will vanish after a selected amount of time. To turn it on: Open your encrypted chat and tap the name of your contact or group at the top of the screen. Scroll down and select Disappearing messages. Select the amount of time you want to pass before messages disappear. It can be anywhere from 5 seconds to 1 day. The message won’t disappear for your recipient until after they read it. However, it will be deleted if they don’t look at it within 14 days.
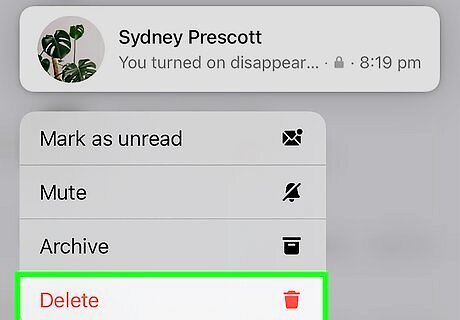
Archive or delete the encrypted chat to hide it on your device. You can delete or archive a secret chat just the way you would any other Facebook chat. If you archive the conversation, you’ll be able to view it again. If you delete it, it will be permanently removed from your device.


Comments
0 comment