views
Starting the Fade
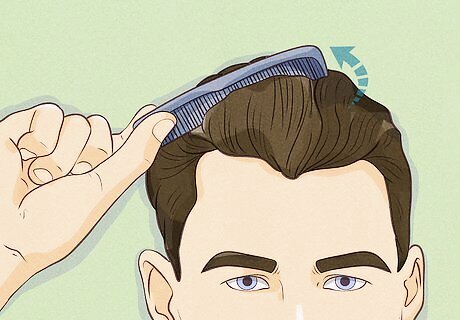
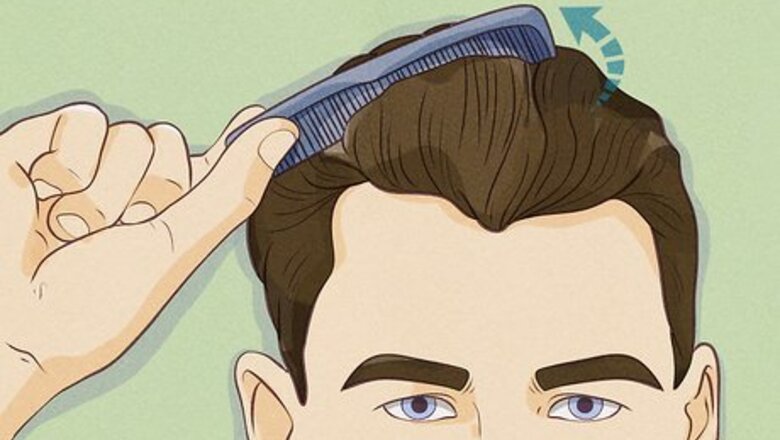
Wash and comb your hair. Styling will be easier when your hair is full and pliable. Go ahead and clean it with shampoo and conditioner, then comb your hair to remove tangles. If your hair dries and you find it tough to cut, you can dampen it again by spritzing it with a spray bottle.
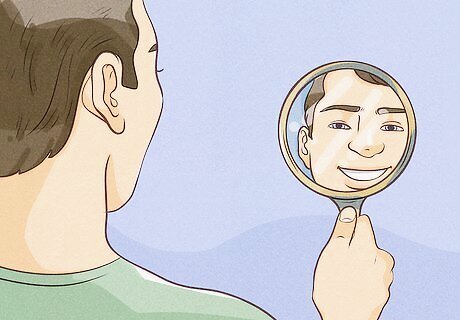
Bring a handheld mirror. Cutting your own hair is tricky at first, so it's best to ask someone to help you. However, if help isn't available, a handheld mirror can work. Hold it as you work towards the back of your head. It'll help you see what you're doing. Afterwards, you can use it to inspect the cuts you made and find any areas that need to be corrected.
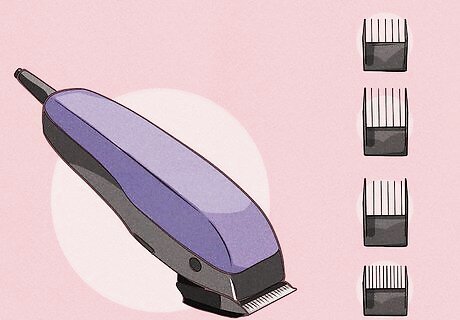
Make sure you have different clipper lengths. Adjustable electric clippers are your best tool for achieving a fade. Get ones that come with several guards because you'll need to attach the guards to your clippers when you want to cut hair at different lengths. These different lengths are what will help you achieve that gradual length transition that the fade is known for. Some clippers may also have a bracket setting. When you flip off the setting, the blades cut off about an extra ⅛ an inch (3.2 mm), making it perfect for achieving lengths between those cut by guards.
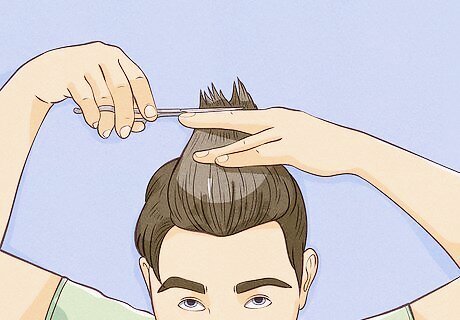
Balance the fade with the hair on top of your head. The key to a good-looking fade is balance. A fade that starts too high on your head doesn't work well with longer hair on top. It can resemble an undercut, or make your face look longer. Before you begin, determine how long you'll leave the hair up top. Don't cut the hair at the tops of the sides of your head short unless you are going for a short fade. Trimming the top of your head first may help you figure out your balance. Remember, it's better to cut your hair longer at first because you can always go back and cut it shorter, but you can't make short hair grow back quickly.
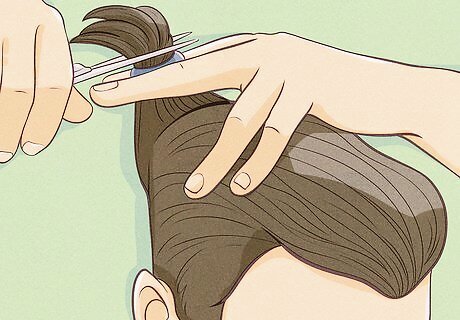
Cut long hair with scissors if necessary. The fade is a short hair style, so if you currently have long hair, you'll want to remove the bulk of it before getting started on your fade. Pull hair back into a low ponytail and secure it with an elastic or clip. Cut the ponytail below the elastic or clip. Then hold out sections of hair and cut them to the desired starting length. Base this length on your balance. If you've decided to make the top of your hair 2.5 inches (6.4 cm) high, then make sure that you don't cut your long hair any shorter than that length.
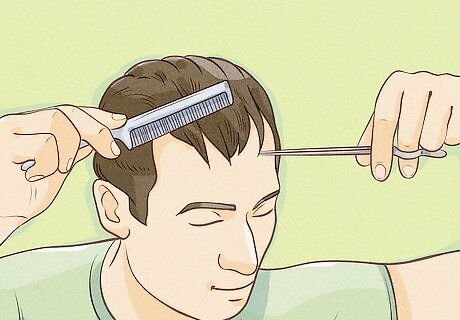
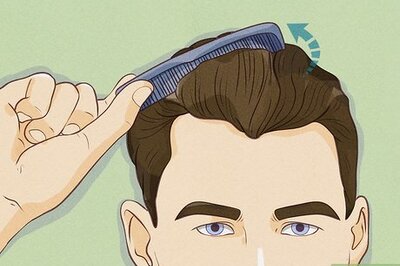
Trim the top of your head. Start with the hair on the crown (top center) of your head. Hold your comb flat and sweep it over your head to pick up hair. Use scissors to cut the hair to the desired length. Continue working until you get to rounded portion of your head. Don't cut the hair below it.
Creating the Fade
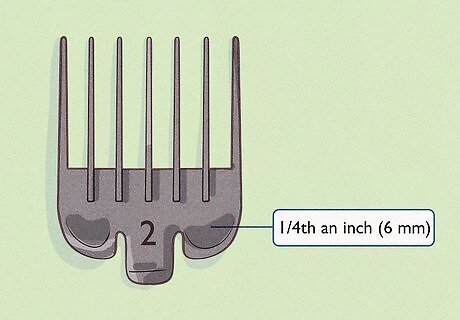
Start with a low-numbered guard. Electric clippers come with adjustable guards. The lowest-numbered guard cuts hair shortest. Use a low guard, such as a #2. The #2 guard will leave hair 1/4th an inch (6 mm) long. Another way to achieve a fade is to start with higher-numbered guards and create layers from the top down. This may help you if you keep cutting your hair too short.
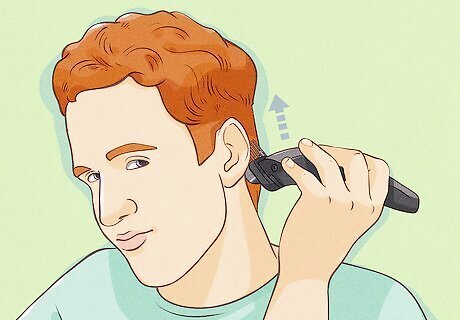
Use the clippers to cut your hair. Work on the sides and back of your head. Hold the clippers vertically. Press the clippers down and gently sweep them upwards and off your head in a scooping motion—as if you were scooping ice cream. Move slowly and gently from the bottom of your head to avoid taking off too much hair. When you are starting out, you may wish to experiment on one side first. Figure out the cutting motion and length you need to make the hair to correct rough spots.
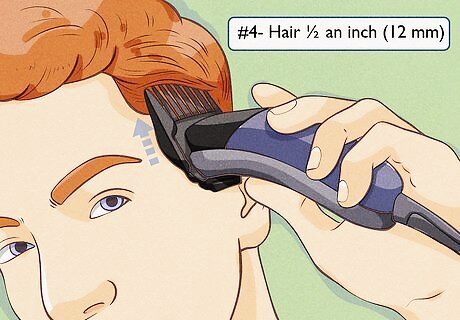
Switch to the next guard. The next highest-numbered guard will leave your hair a little longer. Try moving up a size or two. Alternatively, keep the same guard and flip on the bracket setting, if your clippers have the option. The brackets add about ⅛ an inch (3 mm) to the length of each guard. A #4, for instance, will leave your hair ½ an inch (12 mm) long.
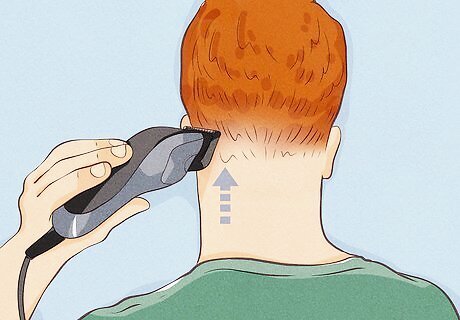
Clip your hair again. Place your clippers right above your last cut. Cut your hair the same way you did before, using the scooping motion to make short, precise cuts. Do this all the way around your head and to the other side. You'll see the beginning layers of the fade.
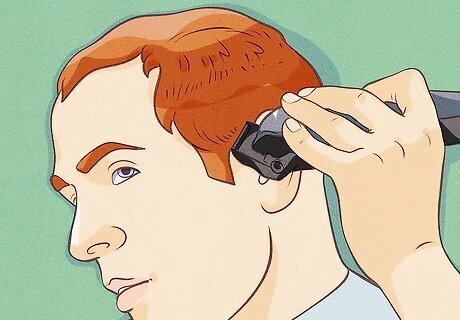
Remove layer lines in your hair. Look into a mirror and check for lines distinguishing your two cuts. To make the fade appear like a smooth, you have to blend the two cuts wherever you see a line. If your clippers come with a bracket setting, now is a perfect time to use it. Hold the clippers horizontally, start at one end of your head, and gently cut over the line.
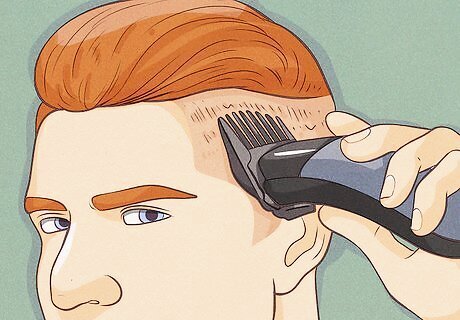
Repeat clipping with higher guards. Switch up another guard size or change the bracket setting. Cut right above the last cut to form another layer. You may have to switch the guards and bracket setting on your clippers multiple times until you reach the top of your head.
Finishing the Fade
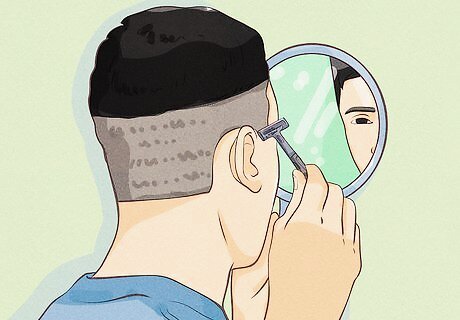
Check your hair in the mirror and make corrections. Hold up a mirror and examine all sides of your head. Look for lines left over from layering. Also, check to see if the hair length on the top of your head is balanced with the length of the fade. Go back over with the clippers to make adjustments, then finish by using trimmers or a razor to reach areas such as your neckline or near your ears. As you are learning, the haircut may not come out very well at first. You can try to correct it, or you can cut your hair short and wait for it to grow back so you can try again.
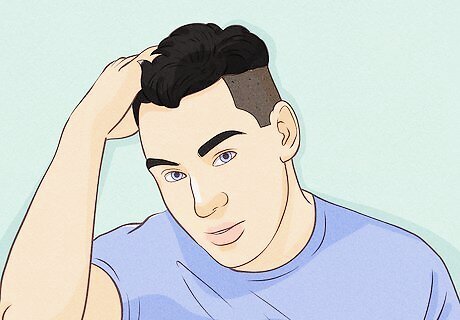
Style your hair. Once you believe you are finished clipping, you can style the hair on the top of your head using gel or another product. This is of course optional and not needed if you chose a short fade.
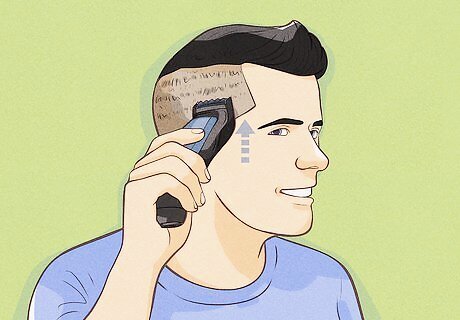
Renew the haircut every few weeks. Because a fade involves short cuts, hair growth will be noticeable. You'll see the layers start to disappear as the hair gets longer and messier. Go back and fade your hair again or have a barber trim it. A friend can not only tell you when it's time for a haircut, but can tell you where you need to make corrections after you cut your hair.





Comments
0 comment