views
Restarting Your iPad
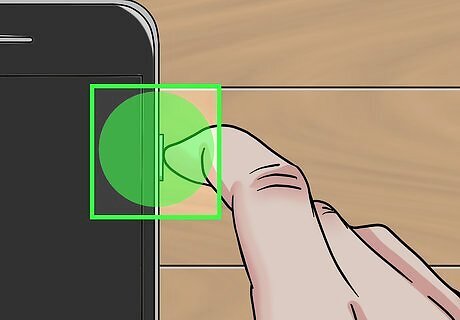
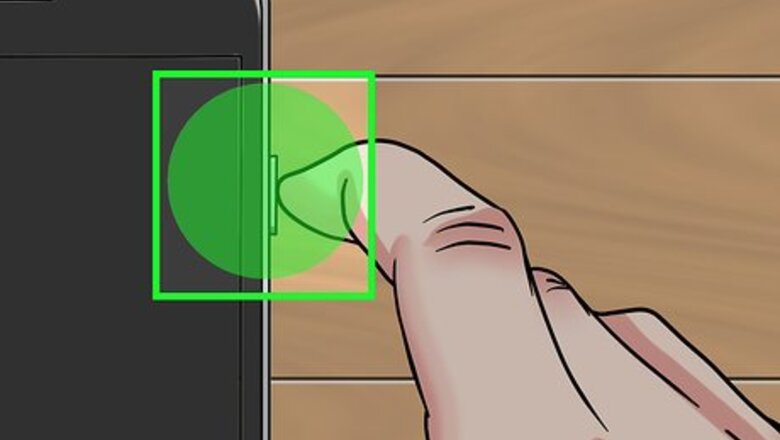
Press and hold the power button. The power button is located on the top-left side of the iPad.
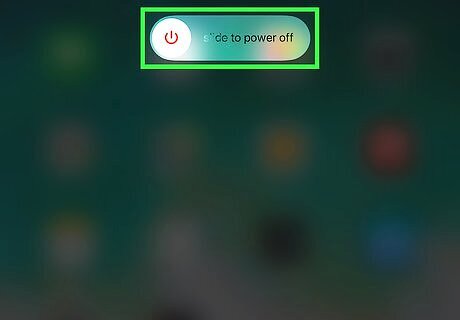
Touch and drag the power icon right. You will see a power icon in a bar at the top of the screen. Drag the power icon across the bar.
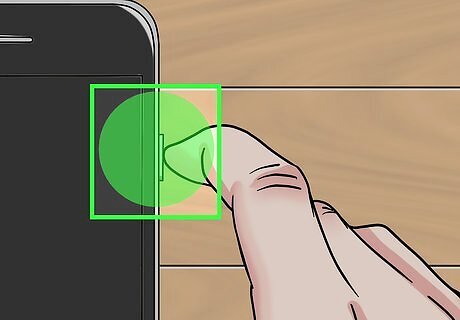
Press and hold the power button. You will eventually see a white screen with the Apple logo Mac Apple in the center.
Updating iOS
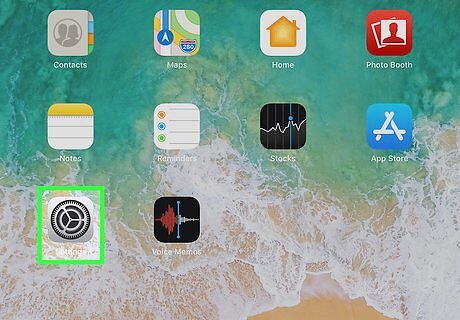
Open your iPad's Settings iPhone Settings App Icon. It's the app that has an image of a small gear inside of a larger gear.
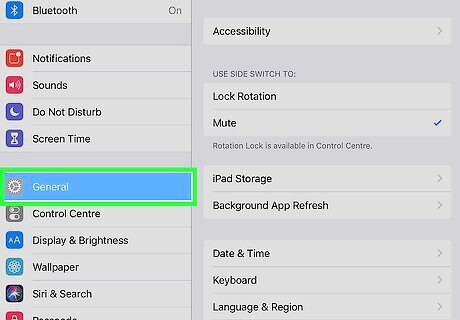
Tap General. It's next to the icon with a single gear iPhone Settings General Icon.
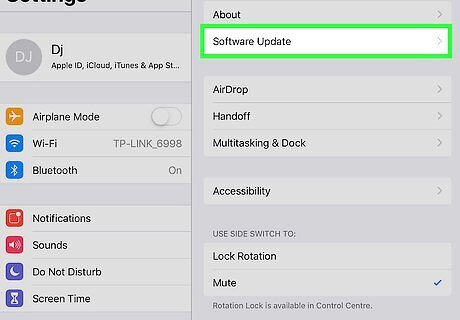
Tap Software Update. It's the second option from the top under "About."
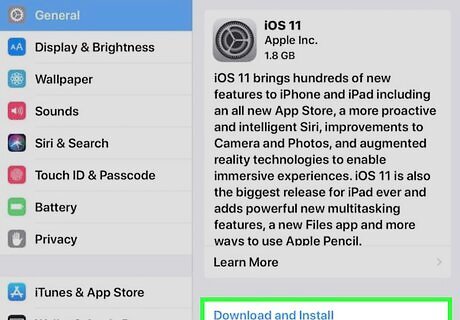
Tap Download and Install. If you don't see this option, no software update is available.
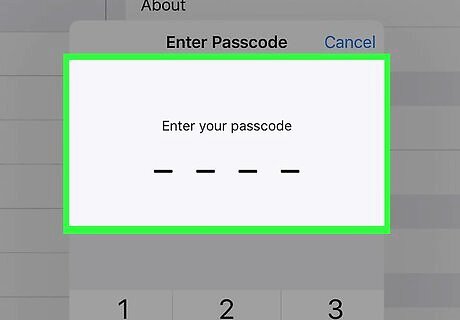
Enter your iPad's Passcode. This is the Passcode you set when you first set up your iPad. This is most likely either a 4 or 6 digit number. This will prompt a confirmation pop-up.
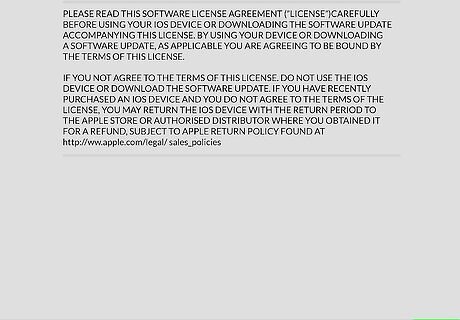
Tap Agree. It's located in the lower-right corner of the pop-up.
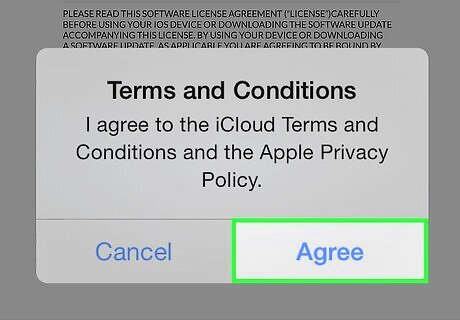
Tap Agree to confirm. The update will now begin updating. This process may take a while.
Deleting Unused Apps
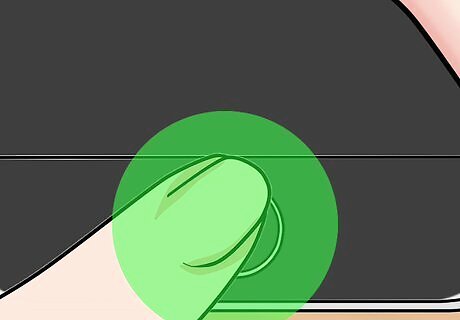
Go to your iPad's home screen. Press the circular home button at the bottom of your iPad's screen.
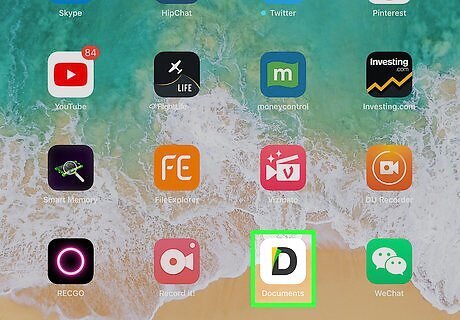
Tap and hold an app on the home screen. After a few seconds, you will see all the apps on the screen start to wiggle. You will also see an "x" icon in the upper-left corner of the apps.
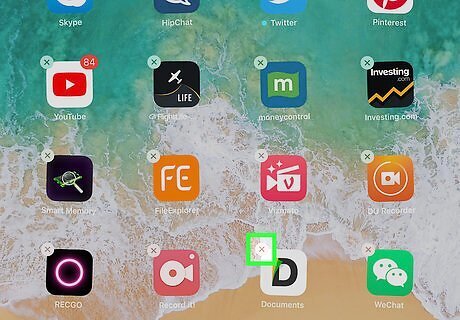
Tap the "x" icon on the apps you want to delete. The "x" is located in the upper-left corner of the app.
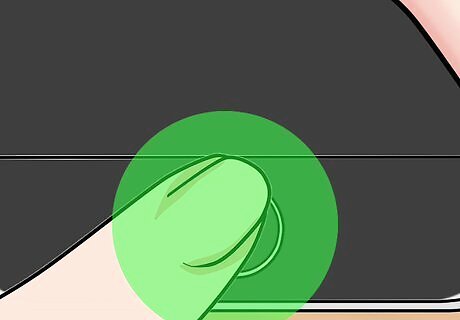
Tap the home button again. It's the circular button with a square on it below your iPad screen. Tap this button when you are finished deleting all the apps you want to delete.
Turning Off Background Refresh
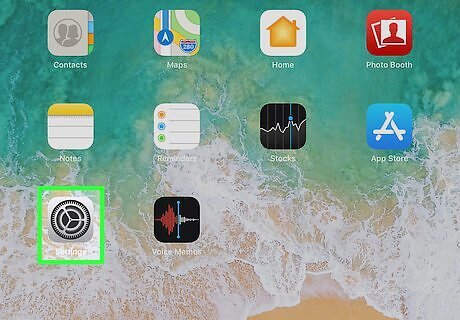
Open your iPad's Settings iPhone Settings App Icon. It's the app that has an image of a small gear inside of a larger gear.
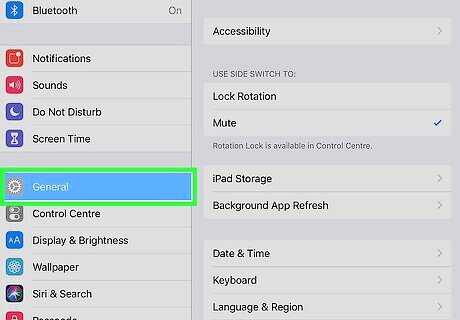
Tap General iPhone Settings General Icon. It's in the third section of options with the gray gear icon.
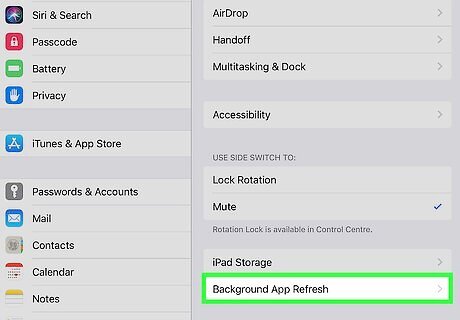
Tap Background App Refresh. It's about halfway down the General Settings menu.
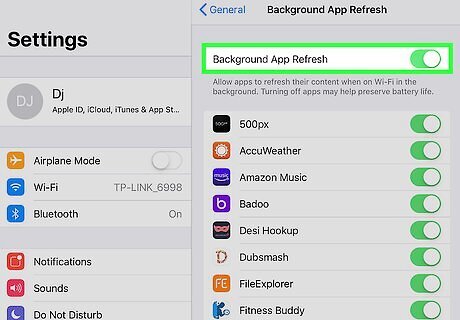
Tap Background App Refresh. It's in the bar at the top of the menu.
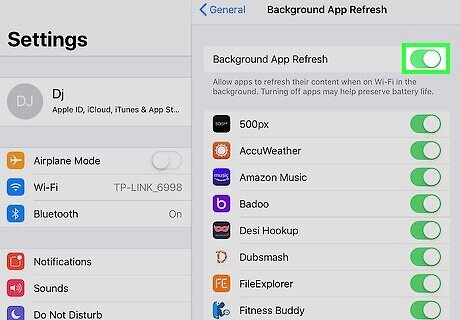
Tap the switch iPhone Switch On Icon to the 'OFF' iPhone Switch Off Icon position. The knob will move to the left and the switch will turn white. This turns off background refresh for all apps. You can also turn off background refresh for individual apps by tapping the switches for each app listed below instead.
Turning Off Location Services
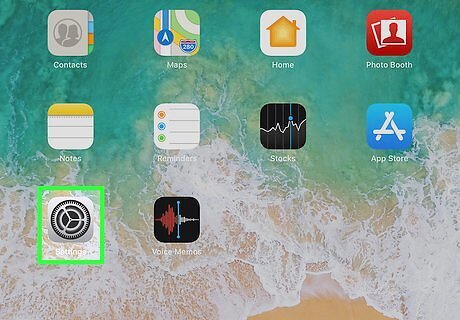
Open your iPad's Settings iPhone Settings App Icon. It's the app that has an image of a small gear inside of a larger gear.
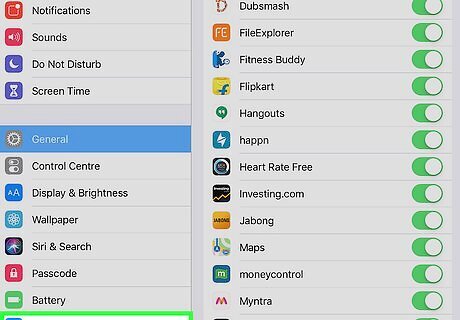
Tap Privacy. It's at the bottom of the third section of options next to a gray icon with a white hand.
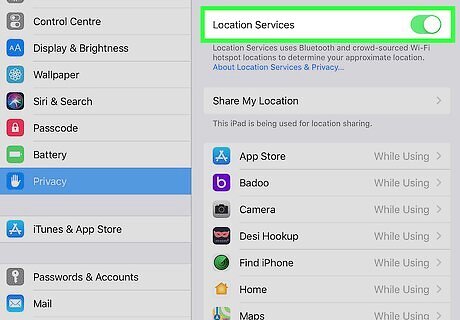
Tap Location Services. It's next to the blue icon with the white arrow that points to the upper-right corner.
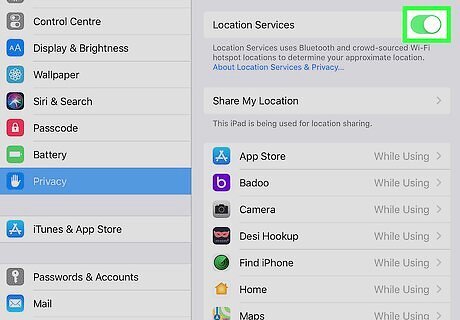
Tap the switch iPhone Switch On Icon for Location Services to the 'OFF' iPhone Switch Off Icon position. It's located in the bar at the top. Turning off location services is a good way to improve performance and extend battery life. You can also turn off location services for individual apps by tapping the apps in the Location Services menu, and then select "Never" or "While Using."
Turning Off Notifications
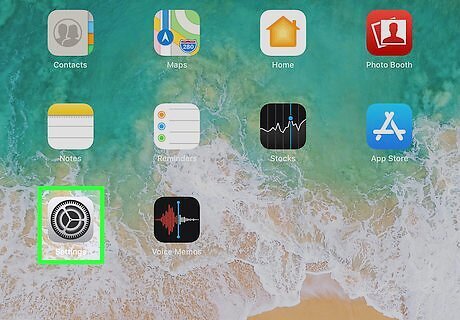
Open your iPad's Settings iPhone Settings App Icon. It's the app that has an image of a small gear inside of a larger gear.
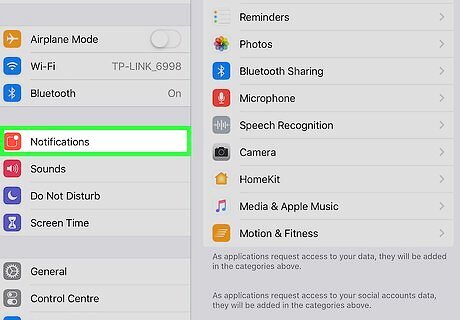
Tap Notifications. It's next to the red icon that has a white box outline with a white dot in the upper-right corner.
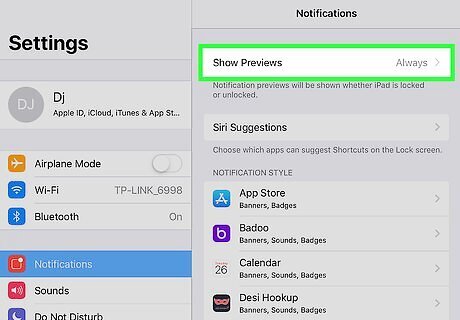
Tap Show Previews. It's in the box at the top.
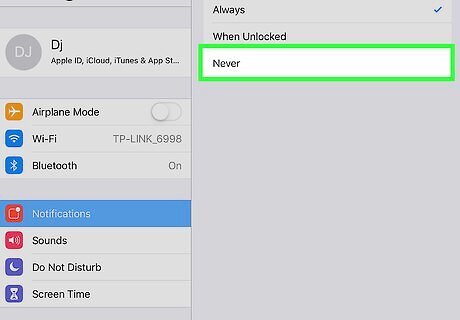
Tap Never. This will turn off notifications for all apps. You can also turn off notifications for individual apps by tapping the app in the Notifications menu, then tap the switch to 'OFF'.
Backup and Restore iPad to Factory Settings
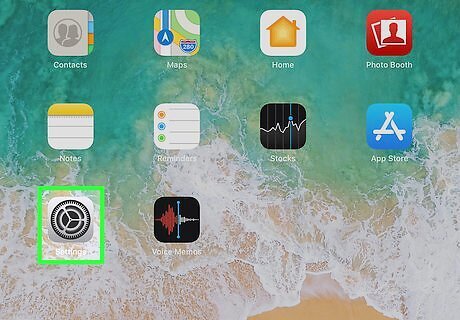
Open your iPad's Settings iPhone Settings App Icon. It's the app that has an image of a small gear inside of a larger gear.
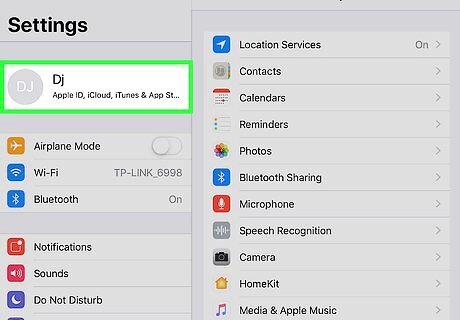
Tap your Apple ID at the top. Tap the name or profile icon of your Apple ID at the top of the Settings menu.
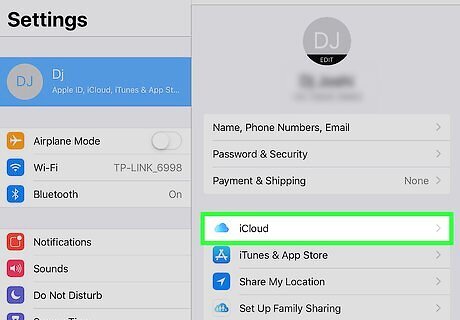
Tap iCloud. It's next to the icon of a blue cloud. Make sure you turn the switch 'ON' iPhone Switch On Icon for every application you want to back up.
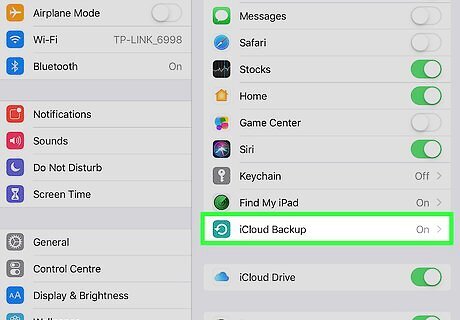
Tap iCloud Backup. It's next to the turquoise icon with a circular arrow.
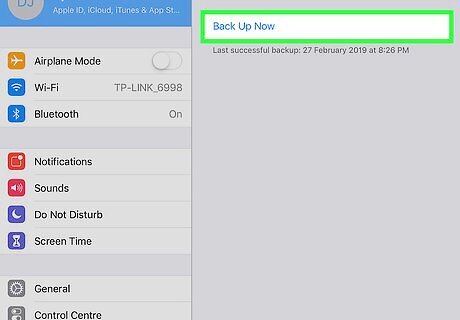
Tap Backup Now. It may take a while for all your iPad to be backed up to your iCloud storage. If you need more iCloud storage, tap "Manage Storage" at the top of the iCloud settings menu. Then tap "Change Storage Plan" and select an iCloud storage plan. Don't move on to the next step until you are confident you have backed up everything.
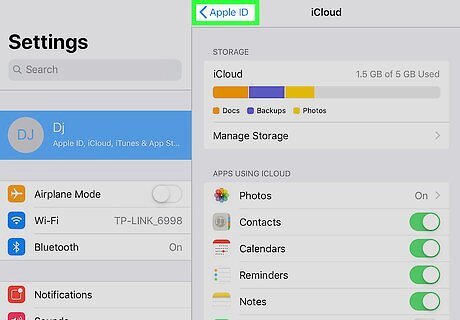
Tap Apple ID and then Settings. It's in the top-right corner of the screen. This returns you to the main Settings menu.
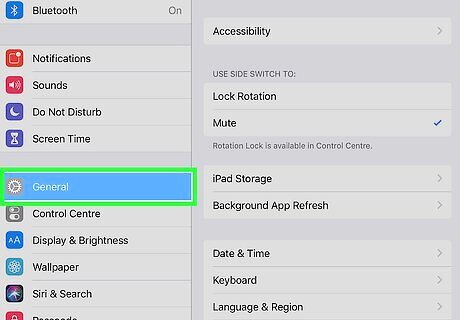
Tap General iPhone Settings General Icon. It's in the third section of options next to the icon of a gray gear.
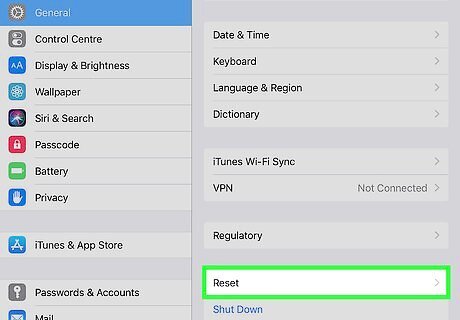
Tap Reset. It's at the bottom of the general settings menu.
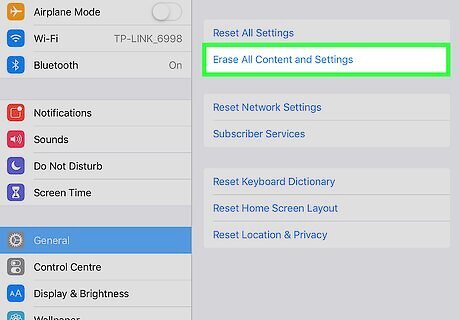
Tap Erase All Content and Settings. It's the second option on the page.
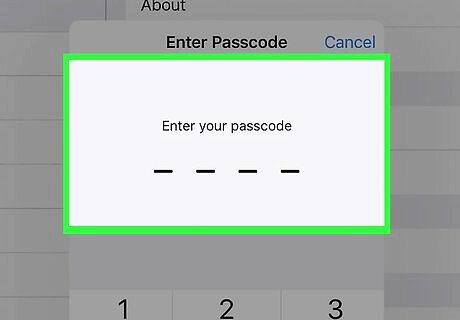
Enter your iPad's Passcode. This is the Passcode you set when you first set up your iPad. This is most likely either a 4 or 6 digit number. This will prompt a confirmation pop-up.
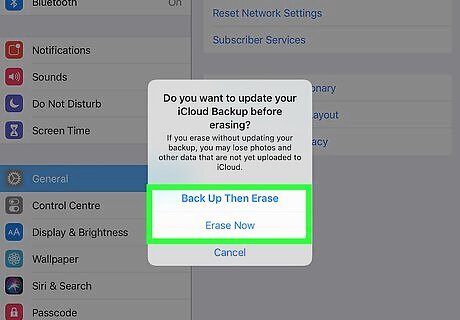
Tap Erase iPad. It's the red text in the pop-up window. This will erase all data on your iPad and power your iPad off.
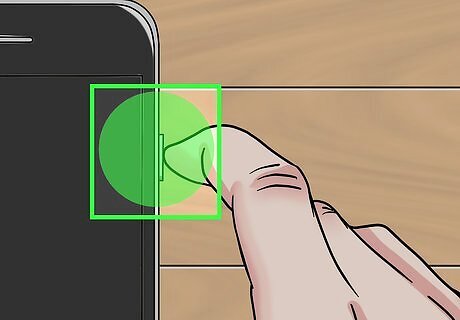
Turn on your iPad. Hold the power button is on the top-right side of the iPad. You will need to swipe left on the screen once it powers on. Once you reset your iPad to its factory settings, you will need to go through the initial setup process again.
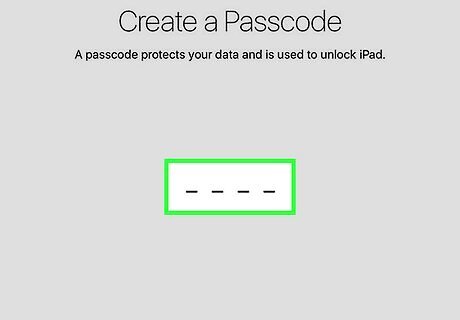
Set up your iPad. Follow the prompts to set up your iPad and select the following options: Choose a language. Choose a region. Choose a Wi-Fi network and enter our password. Enable Location Services. You can turn this off later.
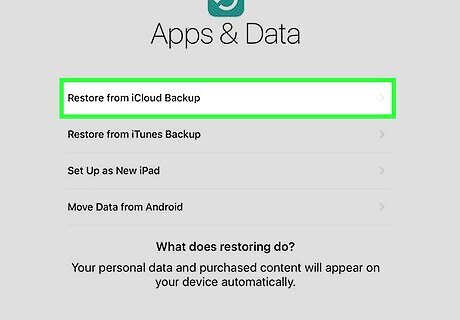
Tap Restore from iCloud Backup. When prompted, tap the option to restore your iPad from the backup you made earlier.
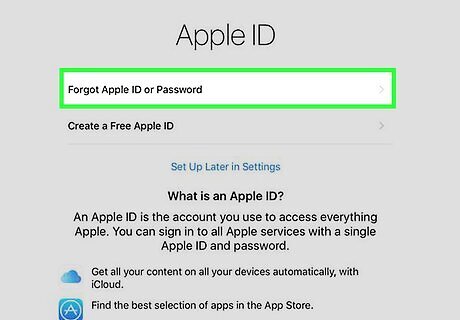
Log in with your Apple ID. Enter the email address and password for your Apple ID.
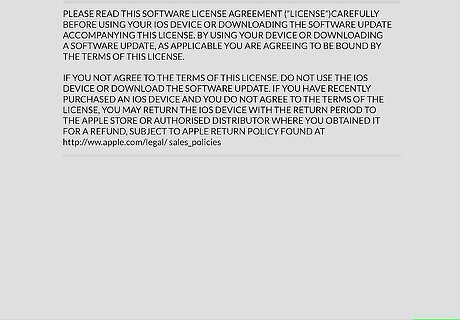
Agree to the Terms and Conditions. Tap "Agree" on the page for the Terms and Conditions and your iPad will now start restoring itself from your iCloud backup. This may take a while depending on how big your iCloud storage is.





Comments
0 comment