
Pruning Infected Fuchsias
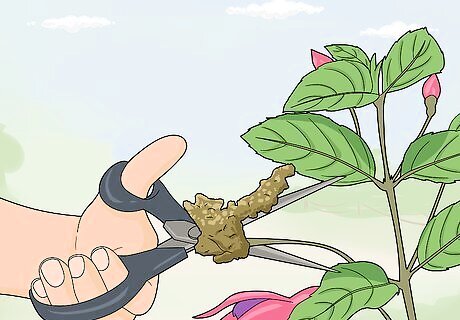
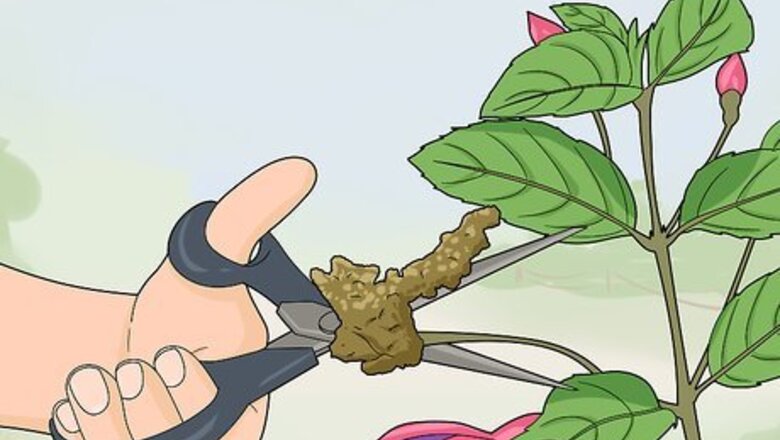
Cut off any infected areas at least 2 in (5.1 cm) below the damage. Once you find an area of your fuchsia plant that’s infected, cut off this section with plenty of room to spare to be more sure the rest of the plant won’t be infected too. Make your cut 2 nodes below the damaged part, or at least 2 in (5.1 cm) below the gall mite infection. Use clean gloves and shears to remove the infected area. A node is where the branches and leaves grow out of a stem.
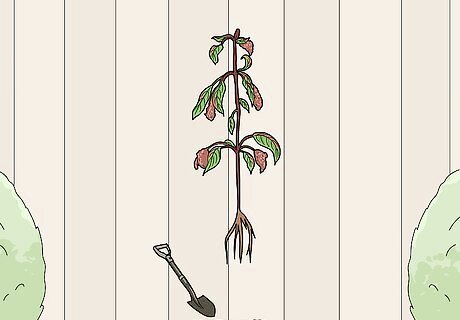
Remove the whole plant if the damage is very bad. The best way to prevent gall mites from reaching the rest of your fuchsia plants is to remove the infected plant entirely. Use a shovel to dig the entire plant out of the soil or remove the plant from its pot. Dispose of any flowers or leaves that fell off of it as well. Fuchsias are inexpensive and relatively easy to replace. If the majority of your plant is swollen and a different color, it’s best to replace the whole thing.
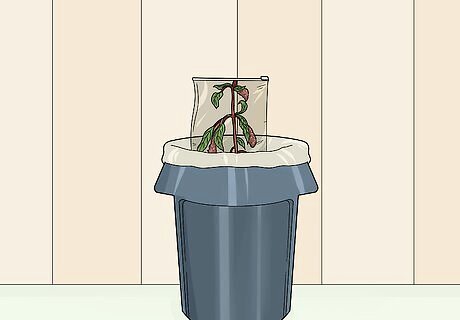
Place the infected parts in a sealed bag to dispose of them in the trash. Gall mites can spread very easily, so it’s important to put the pruned parts directly into a bag. Seal the bag tightly and throw it away in the trash to be sure it doesn’t infest anything else. Avoid composting the pruned sections because the gall mites can still spread this way.
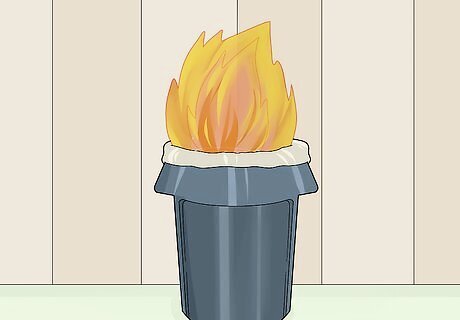
Burn the infected fuchsia sections to be sure the gall mites don’t spread. Many people prefer to burn their infected fuchsia plants instead of throwing them in the trash to be sure they’re properly destroyed. Place the pruned sections in a fire-safe container and set the plant aflame, watching it carefully until the flame is out to be sure it doesn’t cause any damage. You can also burn whole fuchsia plants that have been severely infected by gall mites, if necessary.
Using Soaps and Chemicals
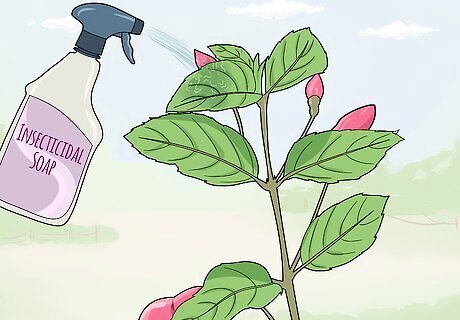
Spray the fuchsias with insecticidal soap before the buds sprout. Insecticidal soap can be found at your local garden or home improvement store and helps protect the plants from gall mites. Apply the spray during the plant’s dormant season before the buds sprout to give it the best protection. Follow the instructions on the insecticidal soap spray to be sure it works its best. These sprays cover any gall mites on the plant and make it so that they can’t breathe. Using an insecticidal soap right after you prune your plant is another good way to stop gall mites.
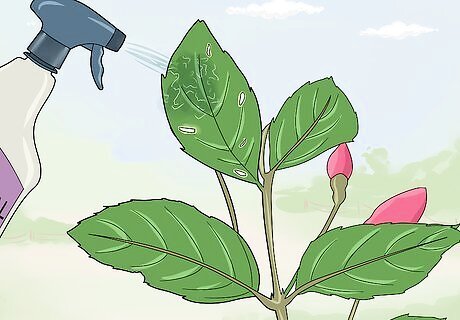
Focus on areas of the fuchsias that are hard to see. Gall mites love to hide in the plant and around areas that are hard to spot, like under leaves or in the nooks and crannies of the plant. Instead of just covering the flowers and stems with your insecticidal spray, apply it up under the leaves and around all of the stems, even if they’re tiny or hidden away. Being thorough will help prevent gall mites from taking over.
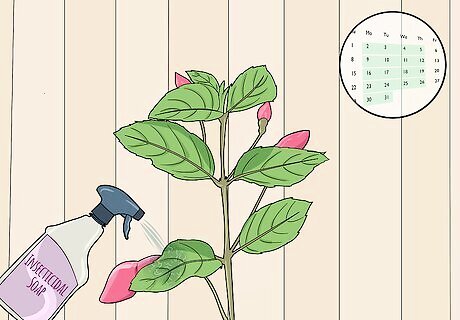
Apply the spray every week or so during the summer. Some sprays will tell you to apply it every 4 days or so to the fuchsia plants while others recommend spraying it every 7-10 days. Do 3 applications of the spray, waiting a week or so in between each application to let the insecticidal spray do its job. Applying the spray during the summer helps keep the gall mites under control if there is an infestation. Saturate the plant and soil with the spray each time you apply it.
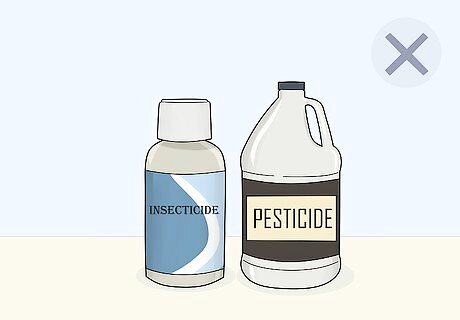
Avoid using pesticides because they don’t tend to work on gall mites. Regular chemical pesticides don’t usually have an effect on gall mites, and if they do, it’s very minimal. Many chemical insecticides or pesticides can harm organisms that feed off of the flowers, like hummingbirds, so it's better not to use them at all.
Preventing Gall Mite Damage
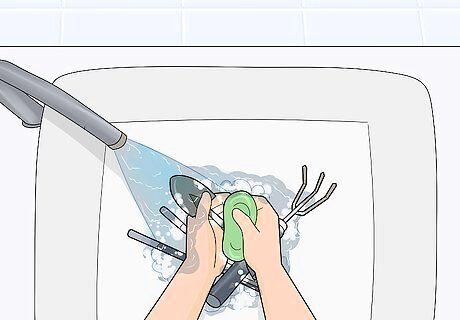
Sanitize your tools before and after working with the plants. Clean your shears, gloves, and any other tools you’re using to prune or cut the fuchsia plants using soap and water or rubbing alcohol. This helps prevent the spread of infection from one plant to another as you’re working. It’s a good idea to change your clothes before you start working with new fuchsias to be sure you don't accidentally transfer gall mites from an old fuchsia to a new one.
Quarantine new fuchsias for 2 weeks before exposing them to others. A gall mite’s life cycle lasts roughly 2-4 weeks. Once you get a brand new fuchsia plant, avoid putting it next to your others for at least 2 weeks so that it’s less likely to become infected by gall mites. Treat your other fuchsias for gall mites while your new plants are quarantined, just to be on the safe side.
Put your fuchsias outside in the cold for a few days to kill off the mites. A good freeze will help get rid of gall mites. If you have a hardy fuchsia plant that can withstand chillier temperatures, keep it outside during the winter for 2-3 days so the weather can help fight off any unwanted infections. For example, temperatures between 16 °F (−9 °C) and 24 °F (−4 °C) can help kill off gall mites. Bring your fuchsias back into warmer temperatures after a few days if possible. If your fuchsias are planted outside in colder weather, it's normal for them to die and then bloom again in the spring.
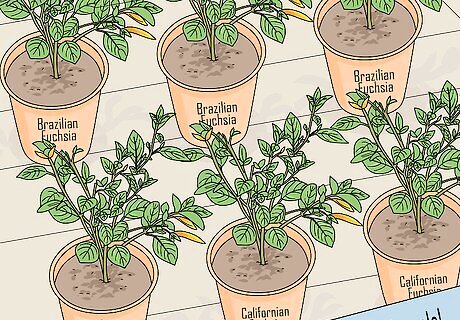
Pick a fuchsia that's gall mite-resistant so it's less likely to be infected. There are some types of fuchsias that have become immune to gall mites, like Brazilian fuchsias, which makes them somewhat easier to care for properly. While these may be difficult to find depending on your area, reach out to your local nursery or gardening store to see if they have any varieties that won’t be as affected by gall mites. Many types of Californian fuchsias have been grown to resist gall mites, too.
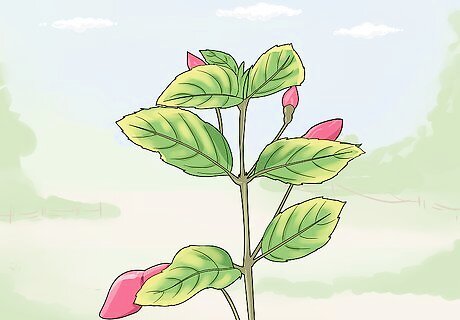
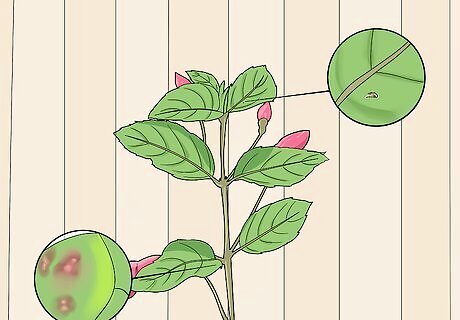
Recognizing Gall Mite Damage
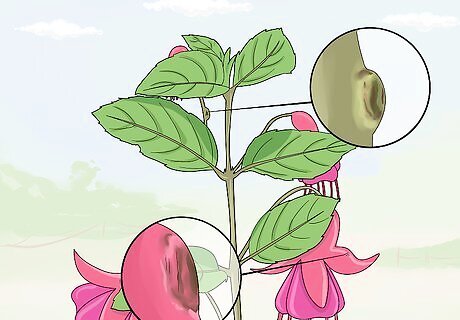
Watch for distorted or swollen areas of the flower to indicate gall mites. If you look closely at your fuchsia plants and notice any of them look swollen or have lumps where they shouldn’t, this is a sign that gall mites have infected them. Check to see if the stems or flowers look deformed to tell you that they need to be treated. Any lumps or deformed areas in your fuchsias are likely where gall mites have laid their eggs.
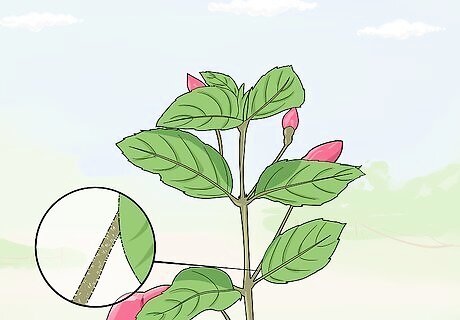
Check the leaves to see if they’ve turned red or thickened. If the plant is infected by gall mites, the edges of the leaves may turn a deep red color. The redness starts at the edges of the leaves and slowly works its way in towards the center as it thickens.
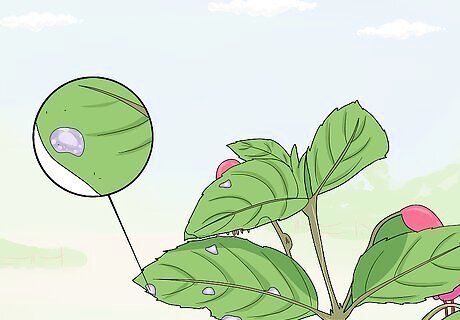
Look for hairs growing on the plant to tell if fuchsias have gall mites. If you look at your fuchsias and notice they’re starting to get hairy, this is a sign that they’re infected. The hairs will be a gray color and may cover any part of the plant, but especially the leaves and stems.
See if the plant has turned a yellow or light brown color. When the gall mites eat the sap in the plant, they leave chemicals that cause the fuchsia plant to turn a different color. If you see that the stems or leaves are turning a dark yellow or brown color, it’s time to treat the plant. Some parts of the flower may turn yellow or brown, too.
Inspect your fuchsias frequently to make sure they aren’t infected. It’s best to spot a gall mite infection early on so that it doesn’t spread and destroy your whole plant. Check your plants every few days to a week, looking carefully at their stems, flowers, and any new buds to be sure you don’t see any symptoms of gall mites. Check under the leaves and in other areas that are harder to see, too.


Comments
0 comment