views
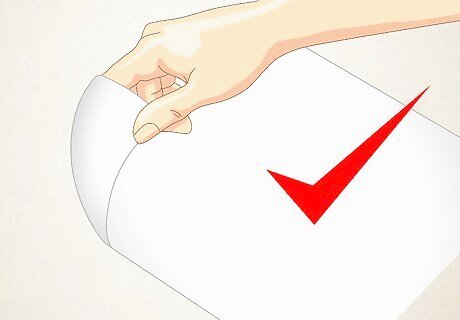
Get a fresh, clean piece of paper (any type will do).
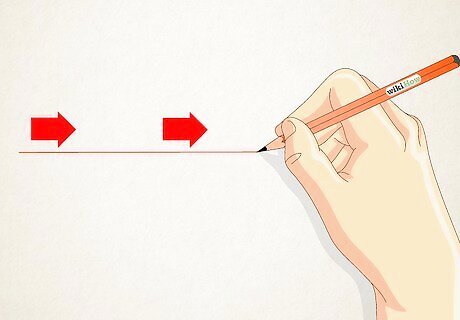
Draw a line going from the left to right side of the paper. This acts as a line of the horizon. Make sure it's straight, not diagonal or slanted! You can choose the height. If drawn correctly, in the end, you will be able to see the top of everything under the line, but you won't be able to see the top of anything above it. You can use the page both portrait and landscape.
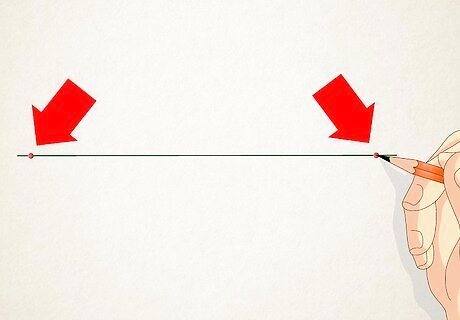
Put two dots on the line. Anywhere will do, but if you're just starting out keep them slightly far apart. Don't make them too close, or your picture will look cramped. If you want to have the "infinity" look, put the dots about 0.5 centimeter (0.2 in) away from each edge of the page. If you want to see the end in your picture, put each dot on the very edge of the page.
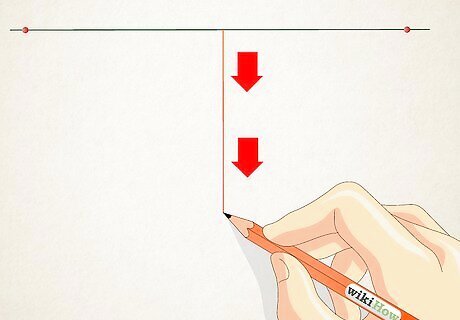
, Draw another line going straight down, somewhere in between these two dots. These will be your guide-lines.
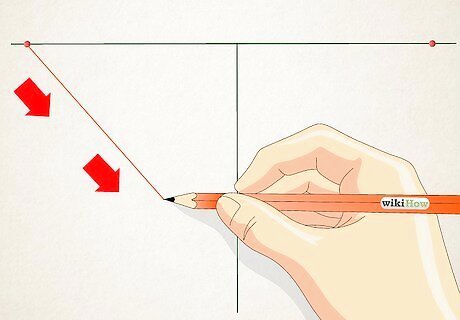
Draw two lines on each side of the previous line that you drew. Make them connect with the dots you drew from the Left side to right, right side to right. Work top to bottom when drawing.
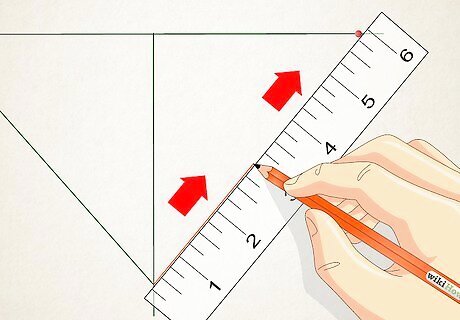
Use your ruler to put it on the line that goes down from Step 5.
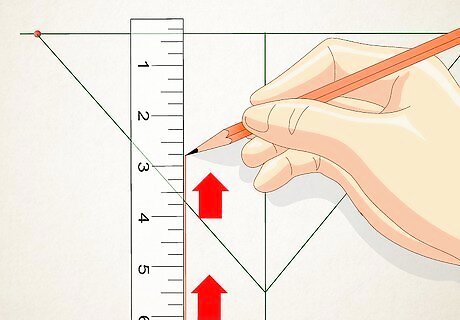
Slide the ruler over either left to right. Mark it up and down inside those left and right markings you've previously made.
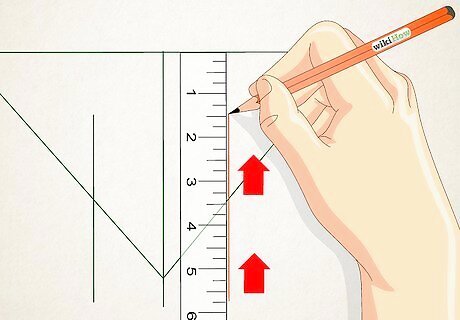
Repeat this action on the other side. It doesn't have to necessarily have to be a square.
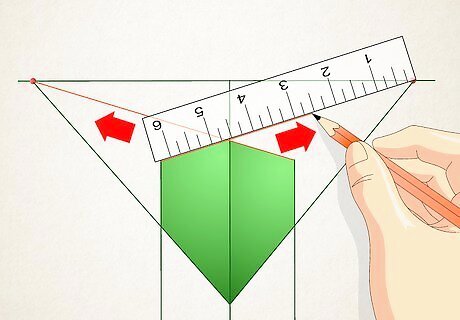
Connect those previously drawn lines (from the last step) to the dots. The line you slid on the left side goes to connect to the right dot. The line you slid to the right side goes to the left dot.
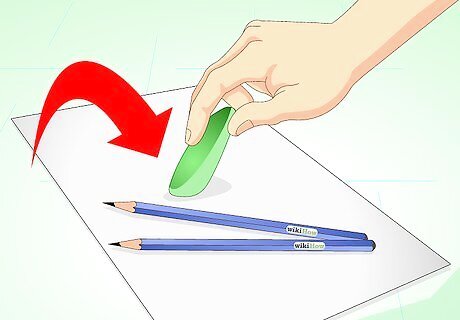
Erase the guidelines from the top. Now, perfect your picture.




Comments
0 comment