
views

Draw an ellipse (a flat circle). Leave space above and below your ellipse, since this will serve as the top of your cake and you don't want to run out of room for the strawberries or the bottom layers.
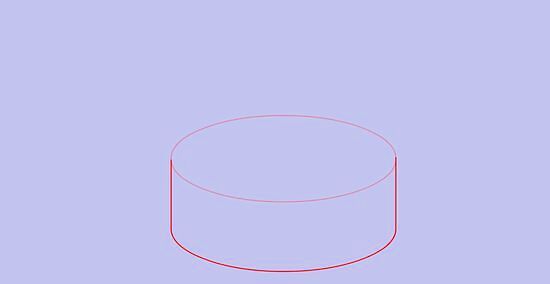
Add a line under each side of the ellipse. Connect the two lines with a curved line; this is the basic shape of the cake. It can be tall or short as you want or even shaped differently than seen here, but remember to keep all your details in proportion.
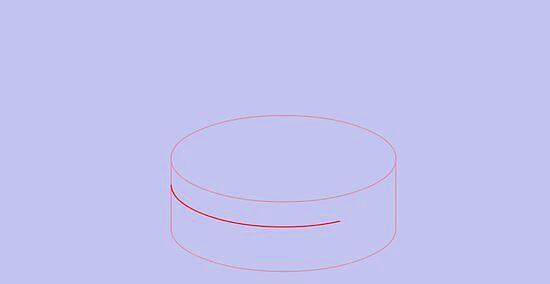
Draw a curved line about a third of the distance between the first curved line and the ellipse. This comprises the difference between the base and the filling of the cake.
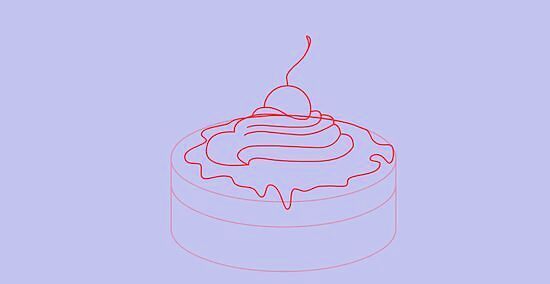
Sketch a dripping syrup shape and a misshapen bunch for the strawberries. There are no specific guidelines for drawing this part, just look at the accompanying image and try to get it as close as possible.

Outline everything with a neater line. Make more definite shapes for the strawberries, including both whole and half fruits. Again, look at the image to help you out. If you want to add frosting decorations or anything else to your cake, this is the point at which to do so.
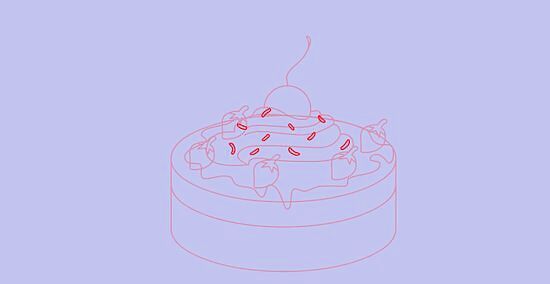
Add details for texture. Draw “seeds” on the strawberries, small holes in the filling (for a custard-like texture), and small dots on the base (for a crumbly texture).
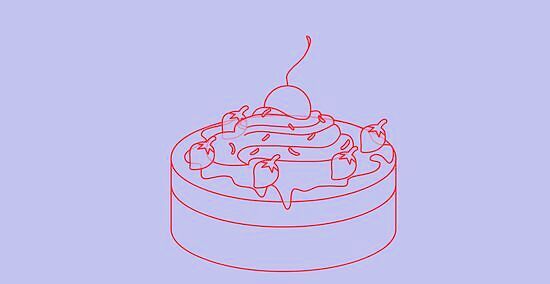
Line the drawing with black ink. Try to make a modular line (which passes alternately from thick to thin). This will make your drawing look better and more professional.
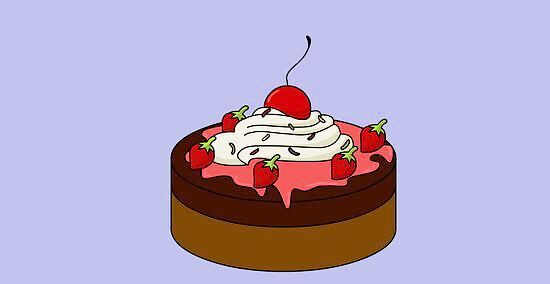
Erase the pencil from your drawing and color. Use bright colors, as shown. You're done!




Comments
0 comment