
Setting up Your Tank and Ammonia

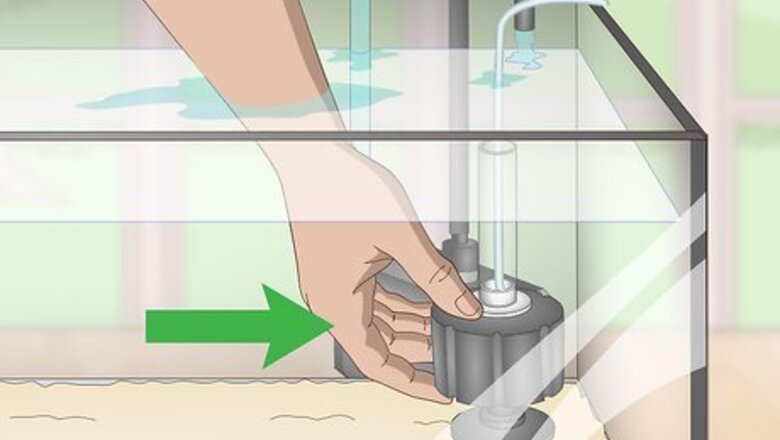
Set up your tank without fish. Before you run a fishless cycle, make sure to fill the tank with water and set up the filter. In addition, make sure it has its substrates, rocks, filters, and decorations. but do not add any fish. Always fill your tank with room temperature water. Invest in a water conditioner to de-chlorinate the water or let the water sit in the tank uncovered for 1 day before doing a fishless cycle and adding fish. If you use an under-gravel filter, make sure the powerhead or air pump is strong enough for your tank's size. For power filters, purchase one that circulates an adequate amount of water for your tank's size.

Seed your tank with supplies to increase beneficial bacteria. Seeding refers to the process of adding supplies from established tanks. Seeding your tank won't create bacteria immediately, but it will increase the speed of the bacterial growth period. Common items you can use include driftwood, gravel, decoration, and filter media. Head to the local fish store and pick up a few cups of gravel or a dirty filter pad.
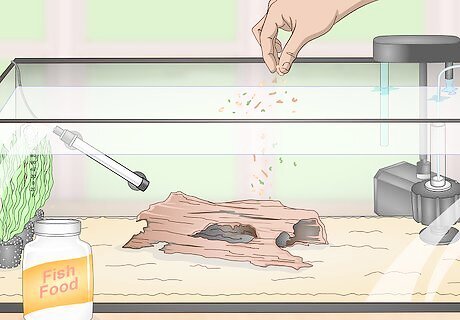
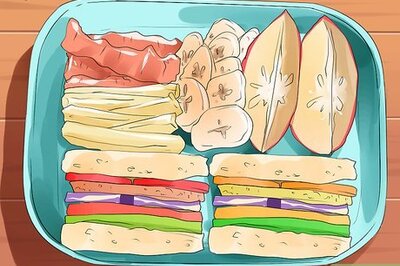
Add fish food every 12 hours to increase ammonia levels naturally. Before adding ammonia directly, consider fostering ammonia production naturally. A great way to do this is by adding some flakes of fish food into the tank—about the same amount as you would feed your fish in one serving. Repeat this every 12 hours and wait until the flakes decay and release ammonia. You can also replace fish food with a prawn wrapped into a sock. Just make sure to place it in front of the filter—as it rots, it will create ammonia.
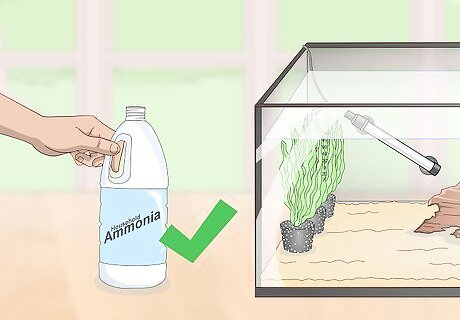
Purchase household ammonia for the most effective ammonia control. Household ammonia increases tank ammonia levels faster than natural sources. If you want to add household ammonia, purchase pure ammonia, which is sometimes called "janitorial ammonia." Make sure it doesn't have any scents, colors, or other additives. If the ammonia foams when you shake it, it means it's not pure and it's no good for your tank. Never sniff ammonia bottles, even just to get a whiff.

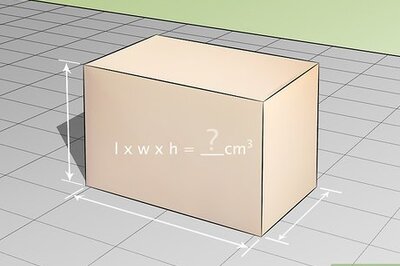
Calculate the volume of household ammonia needed to bring the tank to 2 ppm. Start by filling a 5 gallon (19 L) bucket of water with 3 to 4 drops of ammonia. Use a liquid ammonia detector and determine its levels. Continue adding ammonia drops until the detector reads 2 ppm. Once it reaches this amount, note the number of drops you used—this is your ammonia per gallon ratio. Now, multiply this number by the amount of 5 gallon (19 L) water buckets needed to fill your tank. Consider a tank that is 10 gallons (38 L). If it takes you 7 drops of ammonia to bring 5 gallons (19 L) of water to 2 ppm, you need 14 drops (2 buckets x 7 drops each) to fill your tank. 2 ppm is the most common ammonia level for tanks. However, some people choose to use a slightly higher level so they can house more fish stock. Remember that high ammonia levels can cause a cycle to stall.
Running Your Cycle
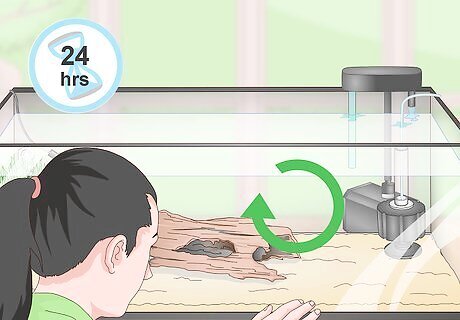
Leave the tank running for 24 hours to check for leaks. After 24 hours is up, check for any leaks and ensure that the equipment is working as it should be. Afterward, start adding ammonia to the tank. Never start a cycle with leaks present, as they will throw off your ammonia readings and destabilize the tank environment.
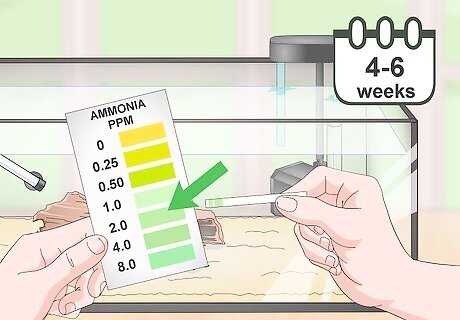
Keep the tank's ammonia levels at 2 ppm throughout the 4- to 6-week cycle. Bring your tank's ammonia levels to 2 ppm with food or household ammonia and maintain this level. Test ammonia levels every 2 to 3 days if you're using food or prawn, and daily if you're using household ammonia. Always write down the results of your water tests. Once ammonia starts to decrease due to consumption by bacteria, you will continuously bring it back to 2 ppm until bacteria levels are optimal. If possible, conduct your tests and ammonia additions at the same time daily. Keep an eye on ammonia levels and be sure they remain at 2 ppm. They should never raise past 5 ppm—this can kill nitrite-oxidizing bacteria and increase the length of the cycling process.
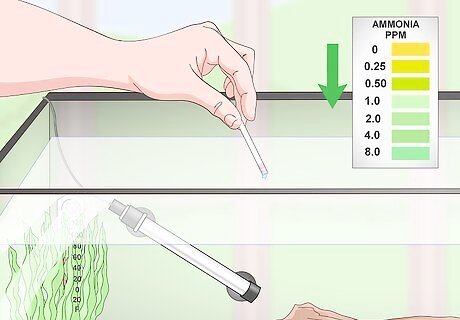
Test for nitrite when the ammonia levels start to decrease. Keep an eye on readings and wait until the ammonia reading drops—this will happen after an ammonia spike. At this point, the filter contains bacteria that break down ammonia into nitrite—known as ammonia-oxidizers—which marks the second phase of the cycle. Start testing for nitrite every other day until nitrite levels show. Always keep a cycling diary to plot the changes and patterns emerging in your cycle. Remember that as bacteria populations grow, ammonia levels will drop faster—this is normal and a sign of healthy bacteria.

Keep bringing ammonia levels to 2 ppm when nitrite levels show. Once the ammonia-oxidizers start creating nitrite levels, the bacteria population is growing. At this point, ammonia levels will start to drop more rapidly—the goal keep ammonia levels at 2 ppm as nitrite levels increase until bacterial colonies that consume both chemicals are strong enough to keep fish safe. Nitrite levels typically begin to show after 1 week or longer. Continue adding ammonia to keep levels at 2 ppm. Continue measuring ammonia and nitrite every 2 to 3 days.
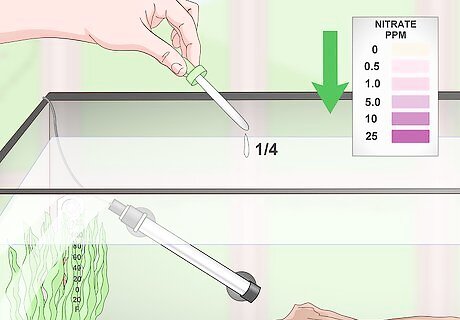
Reduce ammonia to 1/4 the initial dose after nitrite levels spike. After about 14 to 20 days, you will notice a spike in nitrite levels. This is due to the growth of nitrite-oxidizing bacteria. Not only that, ammonia levels should be dropping at a faster rate than before. At this point, reduce ammonia levels to prepare for the end of the cycle. Just don't completely remove it, as you need to please the ammonia-consuming bacteria as the nitrite bacteria develop. Continuing testing ammonia and nitrite levels every 2 to 3 days after reducing ammonia dosage. Start testing for nitrate—which contains 3 oxygen atoms as opposed to nitrite's 2—after the nitrite spike. It typically only shows after 4 to 6 weeks, but it doesn't hurt to check.

Continue the cycle until you have 0 ppm of ammonia, 0 ppm of nitrite, and a nitrate reading. Once nitrite starts to dip along with ammonia, it's a sign that your bacteria have grown and you're near the end of the cycle. At this point, nitrate—the end product of the nitrogen cycle—will start to rise. Continue adding 1/4 of the initial ammonia dosage until the bacteria are strong enough to bring the next reading to 0 ppm within 24 hours of a 2 ppm reading.
Swapping Water and Adding Fish

Test your tank with 1 ammonia dose before adding fish. Before adding your fish, add 1 dose of ammonia to bring the water to 2 ppm. Afterward, let it sit overnight and test the tank the next day—you should only detect nitrate. If your ammonia or nitrite levels are over 0 ppm, you need to continue the process of cycling and testing the water. Don't add fish until your nitrite and ammonia levels read 0 ppm.
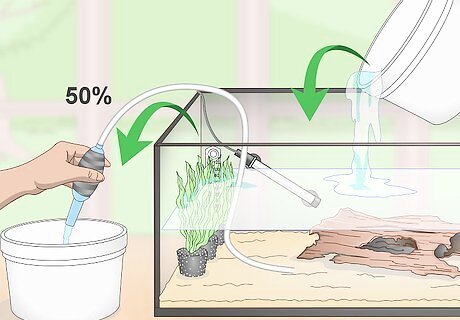
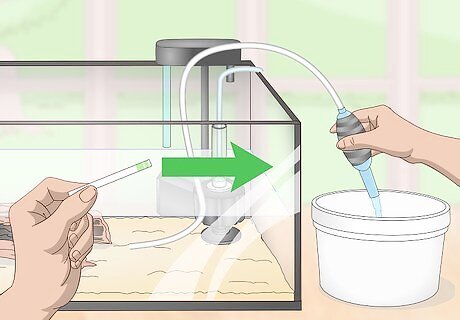
Remove 50 percent of the water and replace it with tap water. Now that your healthy bacteria are thriving, you can reduce the nitrate to similar levels found in tap water. Use a bucket to manually remove the water or use it in conjunction with a siphon to minimize the heavy lifting. After removing 50 percent of the old water, fill the tank back up with tap water. The maximum nitrate levels for tap water set by the Environmental Protection Agency (EPA) is 10 ppm. If you find anything higher than this, don't use the water. If you add cold water, make sure the temperature is right for your specific fish species.
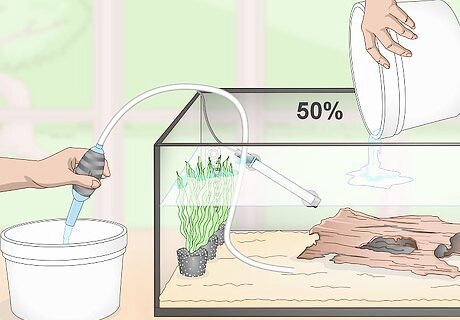
Swap another 50 percent of the aquarium water with tap water. After doing one swap, remove another 50 percent of the water with a bucket and siphon (optional). Now, top it up again with tap water. At this point, nitrate levels should be close to those in tap water, your nitrogen-fixing bacteria should be thriving, and you're ready to go! If you add cold water, make sure the temperature is right for the intended residents. Use testing strips to double check that PH, GH, and KH are normal.

Add your fish to the tank after swapping the water twice. Once the water has been swapped twice, nitrate levels will be similar to tap water levels. Now, make sure the temperature is between 75 to 80 °F (24 to 27 °C) and add your fish to the tank. Check the exact temperature recommendation for your fishes, as they can vary by species. If you're waiting to add your fish after swapping the water, continue adding ammonia to 2 ppm to keep the bacteria healthy until the fish arrive.
Test and swap your water after each fishless cycle. Every time you run a fishless cycle to prepare your tank for new fish, test your tank for healthy bacteria and swap the water to reduce nitrate levels. Although nitrate is a natural byproduct of healthy bacteria, the high levels created by fishless cycles are not healthy for fish. Use a water conditioner when swapping water.


Comments
0 comment