views
Floor and Walls
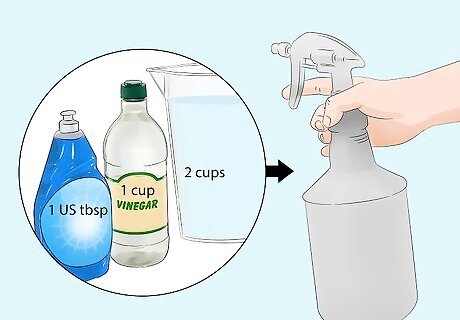
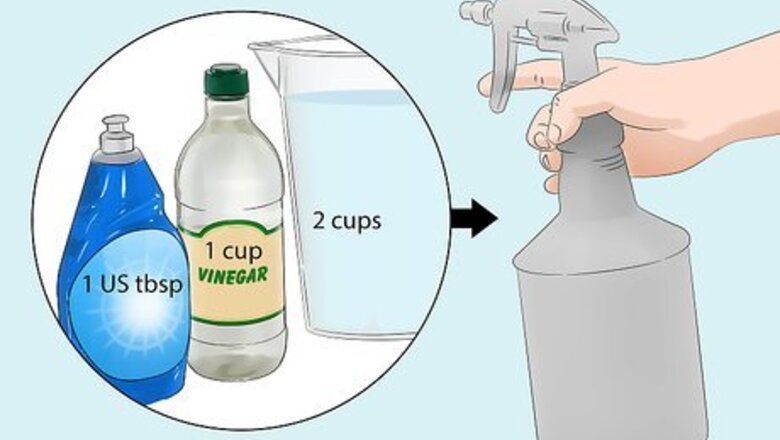
Mix dish soap, vinegar, and water for a basic all-purpose cleaning solution. Combine about 1 US tbsp (15 mL) of liquid dish detergent, 2 cups (473 mL) of water, and 1 cup (237 mL) of white vinegar in a clean spray bottle. Screw the lid on and shake the bottle a few times to mix the ingredients together. This cleaning solution works on soap scum, hard water spots, and general grime.

Combine bleach and water in a spray bottle to get rid of mold and mildew. Combine 1 cup (237 mL) of bleach with 1 gallon (3.79 L) of water in the bottle and shake it to mix the solution. Follow the same steps to use this solution as you would to use an all-purpose cleaning solution. This solution works to clean and kill mold and mildew in your RV shower, which can appear as dark brown, green, or black spots on various surfaces.

Spray the cleaning solution onto the floor and walls of your RV shower. Point the nozzle of the spray bottle inside your shower. Squeeze the trigger continuously while you move the nozzle back and forth over the walls and floor until you coat everything in an even layer of the cleaner. If it’s easier, work 1 wall at a time and finish with the floor. Let the all-purpose cleaning solution sit for a few minutes if you’re dealing with tough stains. For mold and mildew, let the bleach solution sit for up to 24 hours to kill all the spores.
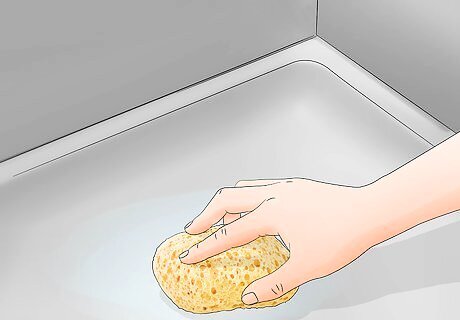
Scrub the cleaner off the surfaces with a wet sponge. Hold a clean sponge under running water or dip it in a bucket of clean water. Work from top to bottom and wipe the cleaner off each wall, then finish by wiping off the floor of the shower. Rinse the cleaning solution out of the sponge out as you work whenever it gets dirty. If you’re using a bleach solution to get rid of mold and mildew, focus your scrubbing efforts especially on the affected areas. Scrub hard-to-reach nooks and crannies with a cotton swab to remove stains or mold and mildew.
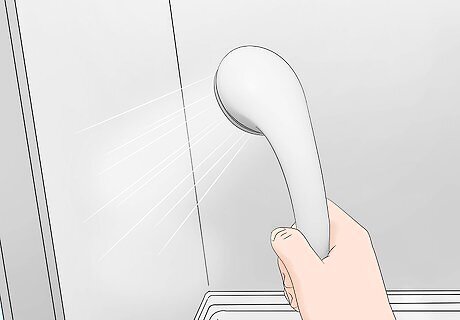
Hose down the shower using the shower head to rinse away residues. Grab the shower head and turn it on. Spray down the walls and floor thoroughly to rinse any remaining cleaning solution down the drain. If the shower head doesn’t have a hose, you can also bring a garden hose in from outside or rinse the shower out with buckets of fresh water.
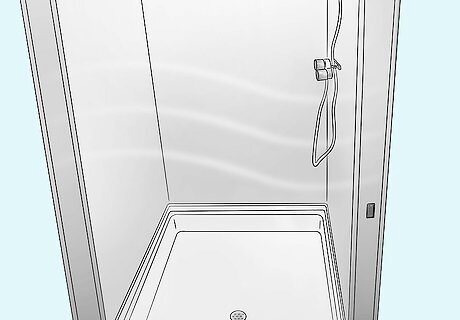
Leave your shower open to let it air dry. Open up the door to the shower to ventilate it as much as possible. Open any windows in the bathroom as well for additional air flow. If you want to speed up the drying process, wipe the walls and floors off with an old towel.
Shower Head and Fixtures
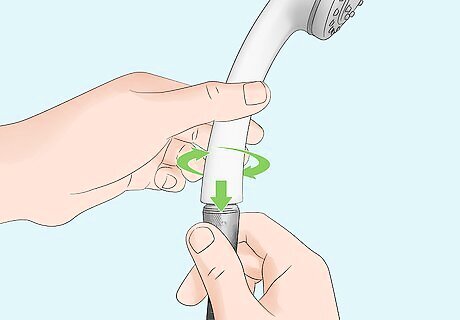
Unscrew the shower head from the hose or shower pipe. Grab the base of the shower head in 1 hand and the hose or pipe in the other. Start twisting the shower head counterclockwise and keep unscrewing it until it comes free. The shower head might have a nut at the base that holds it in place. If this is the case, loosen the nut then pull the head off.
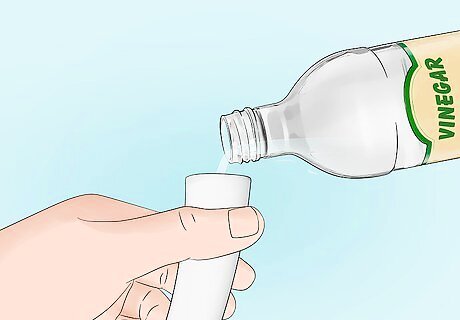
Pour white vinegar through the shower head to clean the inside. Hold the shower head vertically over a sink or a container of some kind. Slowly pour white vinegar into the hole at the base of the shower head, where it screws on to the hose or pipe. Vinegar helps get rid of any mineral deposits from hard water inside the shower head.
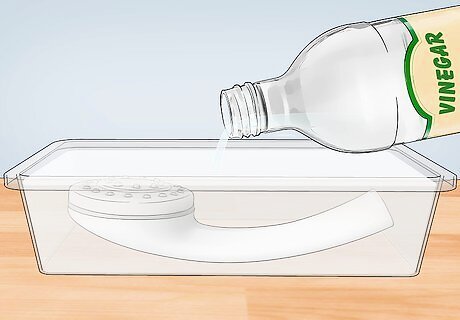
Soak the shower head in white vinegar to unclog the spray holes. Place the spray end of the shower head in a small bowl or container. Fill the bowl or container with enough white vinegar to completely submerge all the spray holes. If there are any holes that are really clogged up by mineral deposits, use a toothpick or another pointy object to scrape them out.
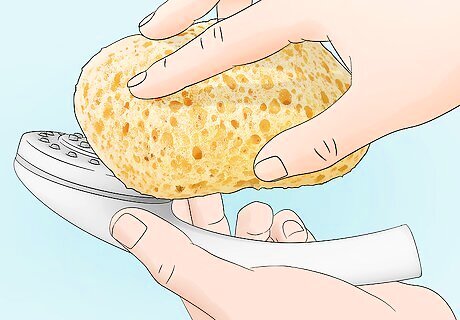
Wipe down the shower head and other fixtures with mild dish soap and water. Squeeze a few drops of dish soap onto a wet sponge or cloth. Scrub the exterior of the shower head as well as the hose or pipe and other fixtures in the shower. Use a solution of 2 parts water to 1 part vinegar if there are mineral deposits on the fixtures. Another alternative is to just wipe everything down with disinfecting wipes.
Shower Drain
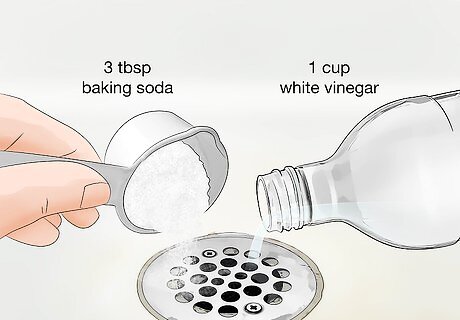
Put baking soda and vinegar down the drain to loosen clogs and grime. Pour about 3 tbsp (60 g) of baking soda down the drain and add about 1 cup (237 mL) of white vinegar. Let the mixture sit for a few hours or overnight to loosen any buildups. If you notice that your shower isn’t draining as fast as it used to, try this to clear clogs and improve the drainage. Avoid strong chemical drain cleaners, such as Drano and similar products, because it’s not good to have them sitting in your wastewater tank.
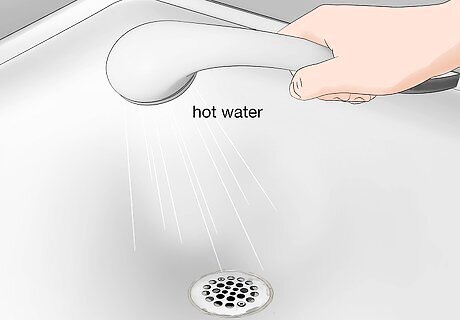
Rinse the drain out with hot water to flush it out. Grab the shower head and turn on the hot water. Aim the stream of water directly down the drain and hold it there for a minute or two to rinse the baking soda and vinegar along with any loosened gunk down the drain. If the drain still seems to be draining slowly, repeat the process with the baking soda and vinegar until the problem improves.

Pull hair and other gunk out of the drain with a wire coat hanger. Untwist and straighten out a wire coat hanger to make a long tool you can use for fishing debris out of the drain. Stick 1 end of the coat hanger down into the drain and scrape out hair and whatever else may be sitting inside the drain. You could also use needle nose pliers or another skinny, pointy utensil to do this. Just don’t use something wooden or fragile that could break. Put a shower drain screen in the drain to catch hair and other debris and prevent clogs, if it doesn’t already have one.
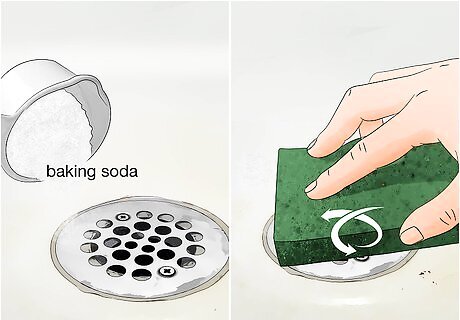
Scrub discolored drain surfaces with baking soda to whiten them. Sprinkle baking soda around the drain wherever it’s stained and discolored. Wet a dish scrubbing pad or an old toothbrush and scrub the baking soda into the stained bits to clean them. White plastic shower drains are especially prone to getting a brownish or orangish ring around them. If you want to reach down inside the drain, tape an old toothbrush to a long metal rod of some kind with duct tape or another sturdy tape.


Comments
0 comment