views
Preparing for the Job
Wear personal protective equipment. It's recommended that you wear protective eyewear to protect from metal particles, and thick leather gloves to protect your hands from heat that can build up during some processes.
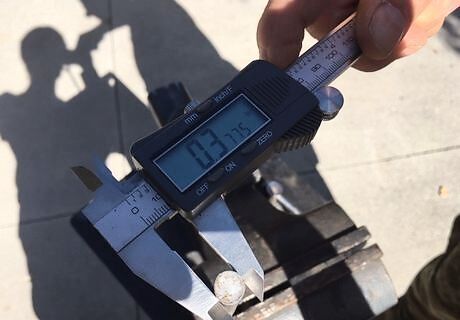
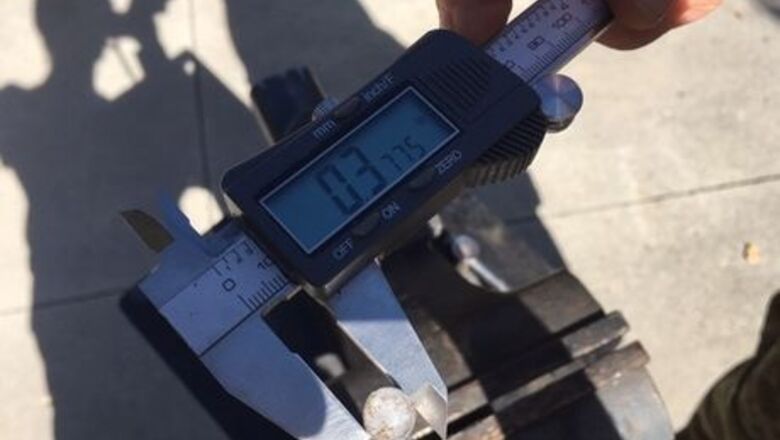
Find the diameter of the rod. You can use calipers to accurately measure the diameter of the rod. The rod diameter should be roughly the same for the entire length of the rod.
Find the thread count that corresponds to your rod diameter. Many charts exist online that will display the diameters of rods and their corresponding thread counts.
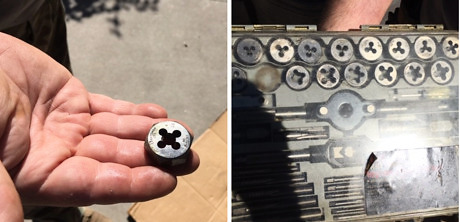
Select die from the kit that corresponds to the initial diameter of the rod. Select the die by the specified thread diameter on the die surface that corresponds to the thread count found using the table from before.
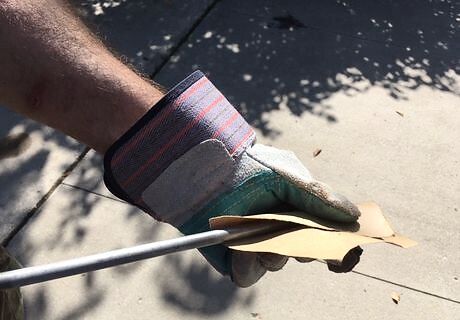
Assess the rod to ensure the end is suitable for threads. The end of the rod that will be receiving threads should be smaller than the normal diameter of the rod. The optimal diameter would be 0.005 inches to 0.010 inches less than the normal diameter of the rod. If diameter at the end to be threaded is greater than the optimal diameter, either sandpaper or a file may be used to bring the rod end to the optimal diameter. One easy way to accomplish a fast and even reduction in diameter is to put the rod into a drill motor to rapidly rotate the rod while removing material. Clamp a file in a bench vice such that the rounded portion of the rod can contact the file. Continually drive the drill motor and check the diameter intermittently as filing.Ryguy_wikiHow_Project2_ChuckUpRod 1.jpg Ryguy_wikiHow_Project2_DrillGrinding 1.jpg Ryguy_wikiHow_Project2_AfterDiameterMeasure 1.jpg If the diameter becomes less than the optimal range, efficacy will be reduced or it may become unusable.
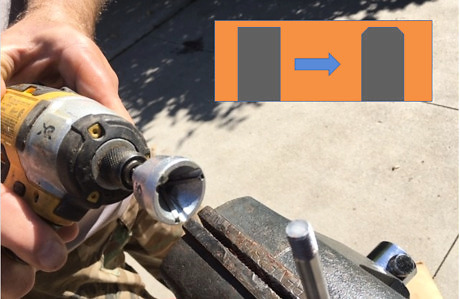
Create a chamfer on the end of the rod that will receive threads. This can be done with a chamfering bit for drills or a file.
Making the Threads with a Diet Set
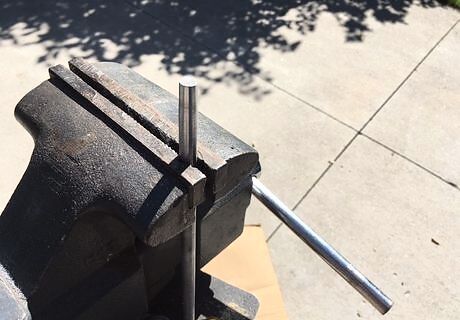
Secure the rod in a bench vice with the end that will have threads pointing toward the ceiling. Try securing rod such that the vice is close to the end of the rod. This will reduce shaking as die is threaded onto the end of the rod.
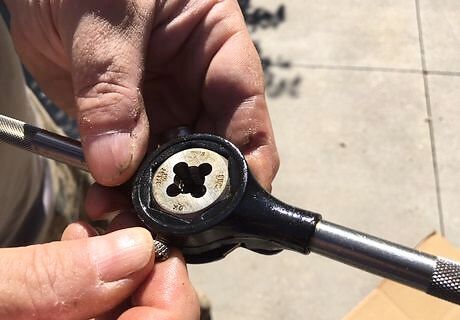
Insert the die into the stock. The die will be labeled with a bottom face and top face. Stock will be held with die pocket facing upward, and the bottom of the die will face out the bottom of the die stock. Ensure the die is firmly fastened into the stock.
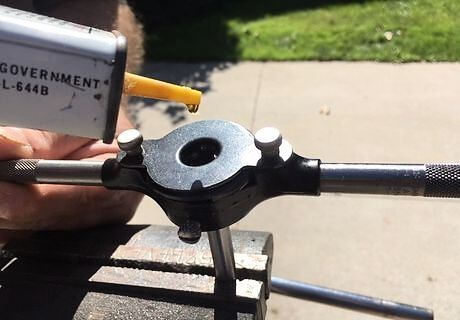
Set die stock on the end of rod and twist in direction of the desired threads to start threading the die onto the rod. Apply cutting fluid to the rod via the middle of the die to lubricate. A suitable cutting fluid for steel would be motor oil or mineral oil.
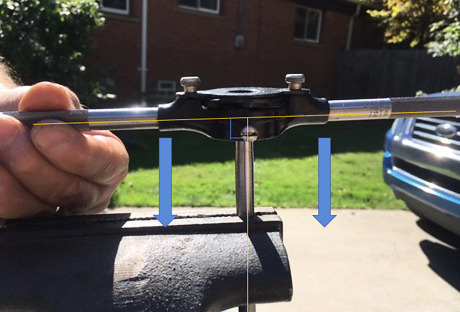
Begin cutting threads into the rod. Ensure the die is perpendicular to the rod and force is applied downward while rotating the die. Turn stock in direction of desired thread. Turn stock 1 full turn, then back off 1/2 turn to break off chips. If possible, use pressurized air to blow out the chips every turn.Ryguy_wikiHow_Project2_BeginTurnArrows 1.png As the die becomes hard to turn, apply more lubricant through the middle of the die to the rod.
Remove the die once desired thread length is achieved down the rod. Remove the die stock by twisting in the opposite direction used to create threads.
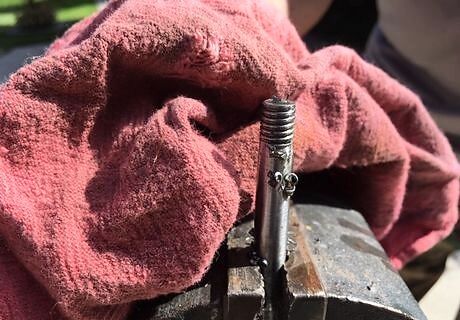
Wipe the threads and die using a cloth. Threads will most likely have metal shavings from the process that could get in the way of nuts. Removing these with a rag will increase the effectiveness.
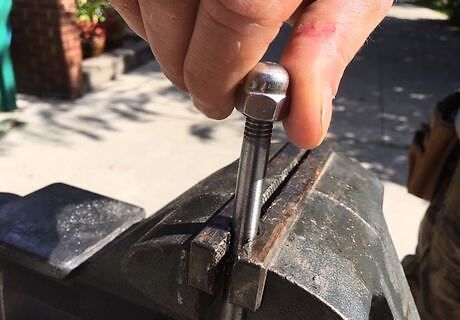
Test newly created threads. This can easily be done by trying a nut that matches the thread count you designated for the rod.


Comments
0 comment