
Designing the Ad
Open the Meta Ads Manager app on your iPhone, iPad or Android. The Meta Ads Manager icon looks like a tiny, white triangle in a blue circle. You can find it on your home screen, in an app folder or on the apps tray. If you don't have the Meta Ads Manager app, you can download it from the App Store or the Play Store.
Sign in with your Facebook account. Use the same Facebook account connected to your Instagram profile. Instagram ads are created and managed via Meta's Ads Manager. If your Instagram is not connected to Facebook, check out this article to see how you connect your accounts.
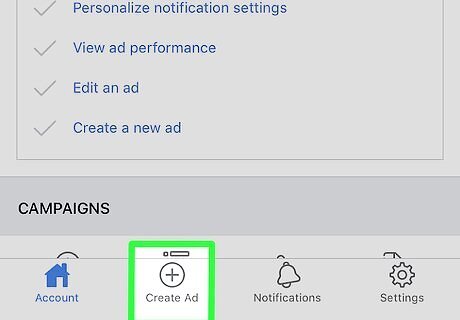
Tap the Create Ad button at the bottom. This button looks like a "+" icon in a circle on a navigation bar at the bottom of your screen. It will create a new ad campaign.
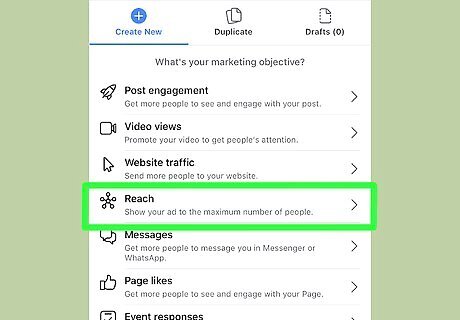
Select your ad campaign's objective. Make sure to select an objective that can run Instagram story ads. You can check which objectives are compatible with Instagram stories at https://www.facebook.com/business/help/1621419411431034.
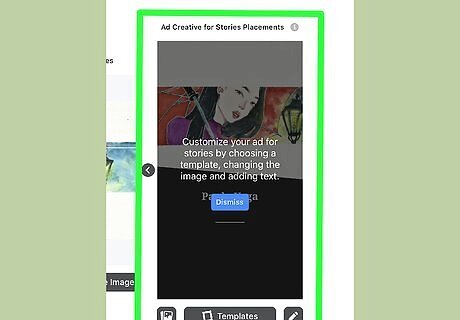
Tap the Edit Ad for Stories button. You can find this option near the top of your screen. It will open the ad editor for stories.
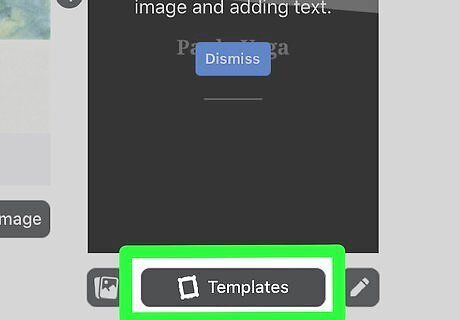
Tap Templates on the bottom-left. This button looks like a stamp icon in a circle near the bottom-left corner. It will open the available ad templates for stories.
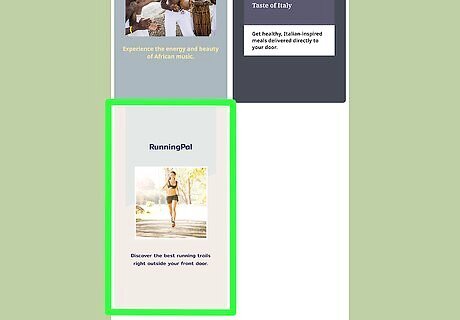
Select a template for your ad. Tap a template on the menu here to apply it to your story ad.

Tap the picture in your ad. This will open a pop-up panel, and allow you to select a different picture.
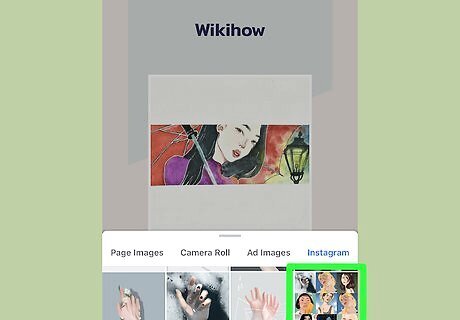
Select the picture you want to use. You can select any picture from your page images, Camera Roll, previous ad images or Instagram profile.
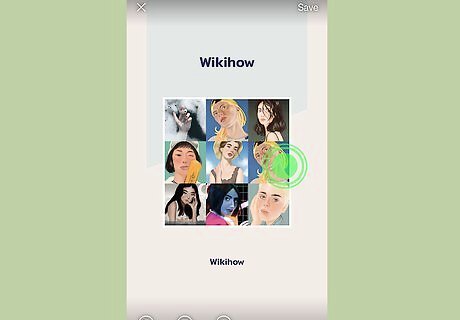
Hold down and drag the picture in your ad. You can move the picture around, and position it in the template.
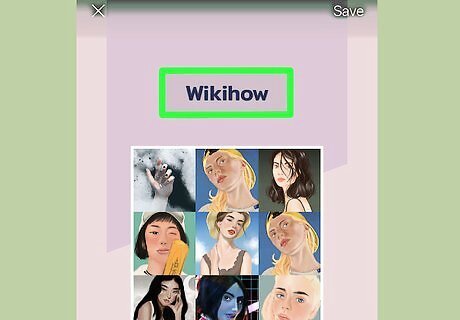
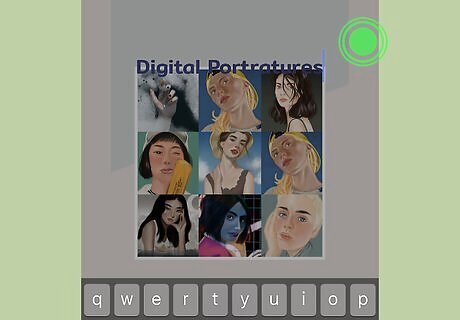
Tap the text in your ad. This will allow you to edit and format the text.
Type in your ad text. You can use a headline and a larger body text in most templates.
Tap anywhere in the background. This will save your new ad text, and allow you to format it.
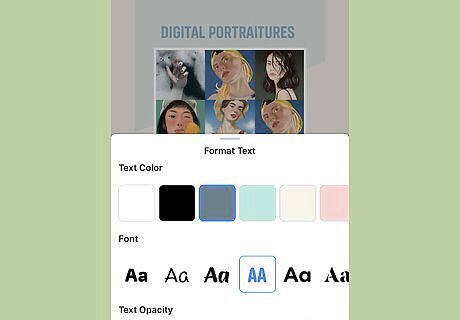
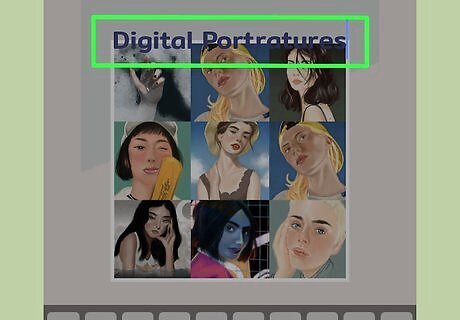
Select a color, font, and opacity in the "Format Text" panel. Just tap the color and the font you want to use with your text, and adjust the Opacity slider to your liking.
Tap the story background. This will save your ad text's new format.
Tap the background color of your ad. This will open your color options in a new pop-up panel.
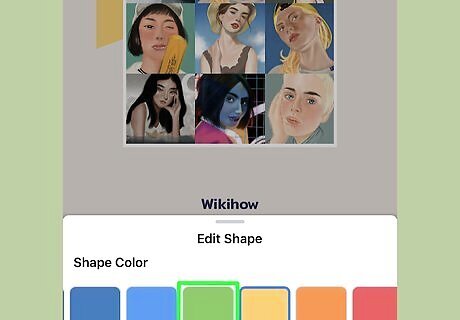
Select a background color. Just tap any color here to apply it to your ad.
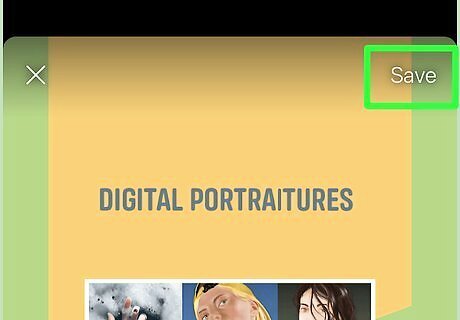
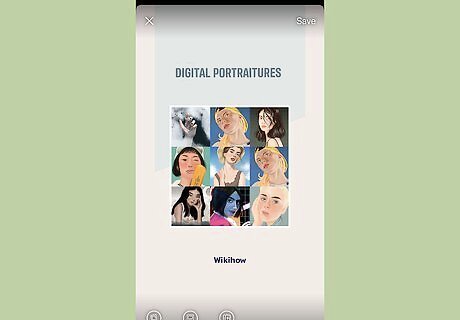
Tap Save on the top-right. This will save your ad design and go back to the ad editor page. Optionally, you can tap the Ad Preview button at the bottom, and see a preview of your story ad here.
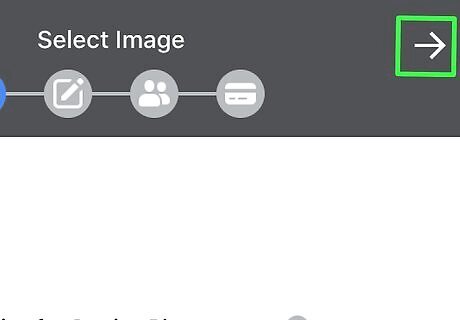
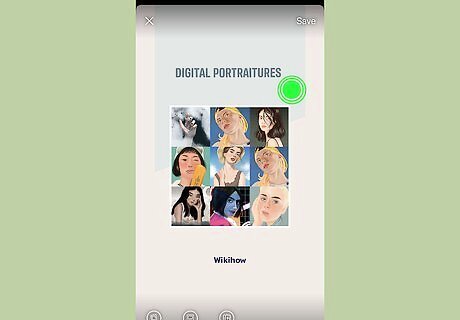
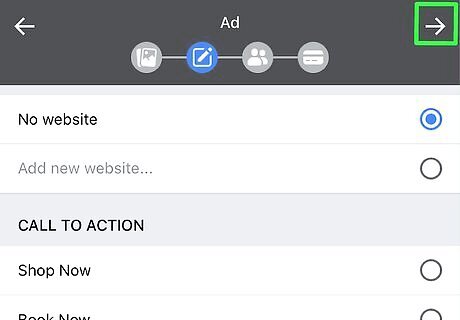
Tap the white arrow icon on the top-right. This will take you to the ad creation page, where you can now set up the ad placement.
Setting Ad Placements
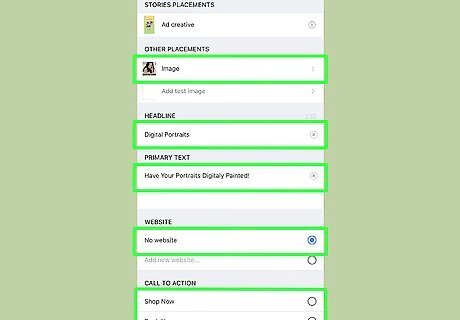
Fill out the required information for your ad objective. Each objective may require different information, such as your website or payment information. Make sure to fill out all the required information at the top.
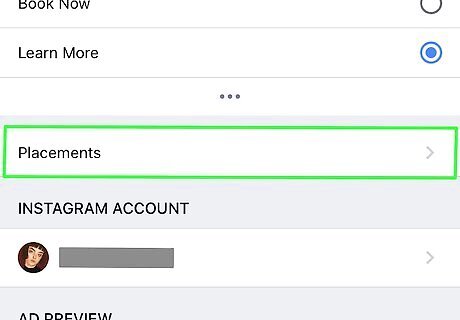
Scroll down and tap Placements. You can select where your ads show up here.
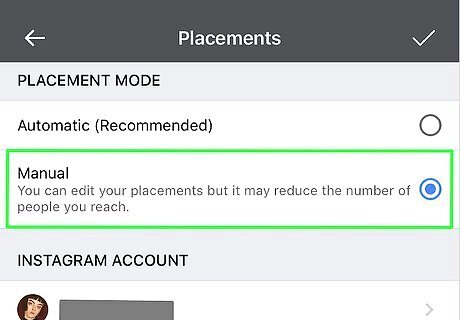
Select Manual on the Placements page. This will allow you to manually select where your ads going to be placed.
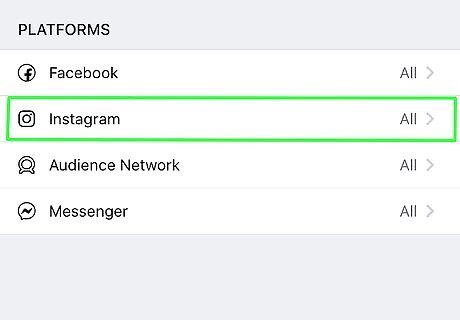
Tap Instagram under "PLATFORMS." You can find this option at the bottom of the page. It will open the placement options for Instagram.
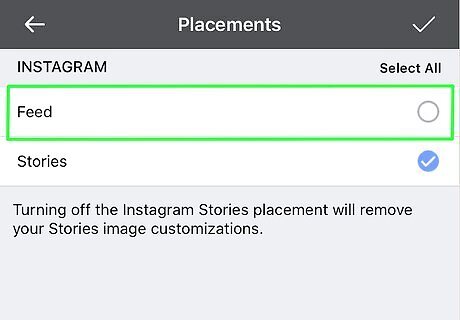
Uncheck the Feed option under "INSTAGRAM." Unless you want to create a separate ad to show up as an individual post in user feeds, make sure to uncheck this option here.
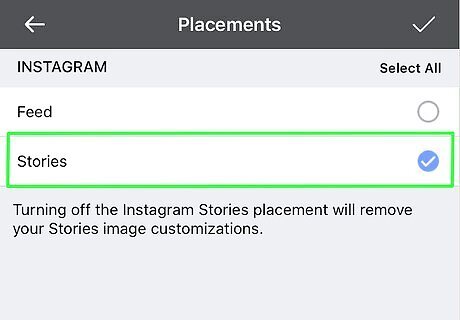
Make sure the Stories option is checked. You will see a white-on-blue checkmark next to it. This will allow you to show your ad in Instagram stories.

Tap the Windows Checked check icon on the top-right. This will confirm and save your placement preferences for Instagram.
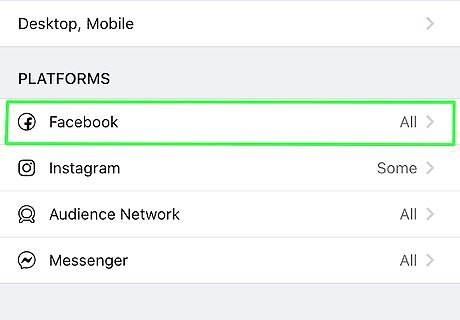
Tap Facebook under "PLATFORMS." This will open the placement options for Facebook.
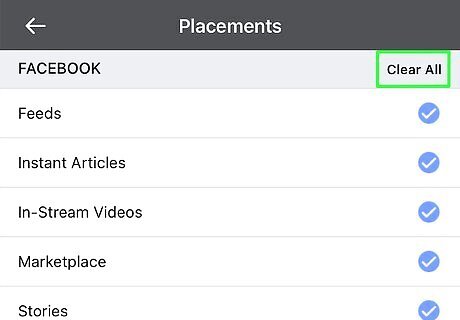
Tap Clear All on the top-right. This will uncheck all the options here, and allow you to remove your ad from Facebook. Optionally, you can check the Stories option here, and show the same story ad on Facebook stories.
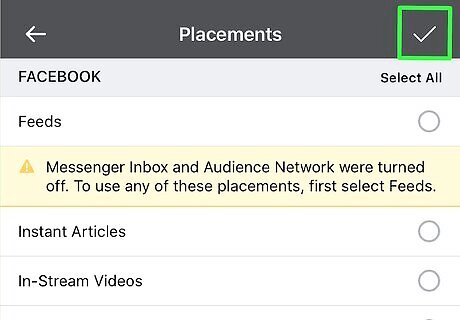
Tap the Windows Checked check icon on the top-right. This will confirm and save your placement preferences for Facebook.
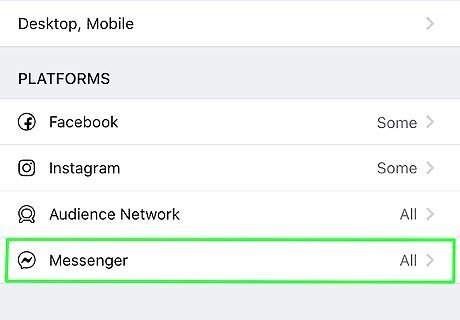
Tap Messenger at the bottom of the "PLATFORMS" section. You'll see your placement options for the Messenger app here.
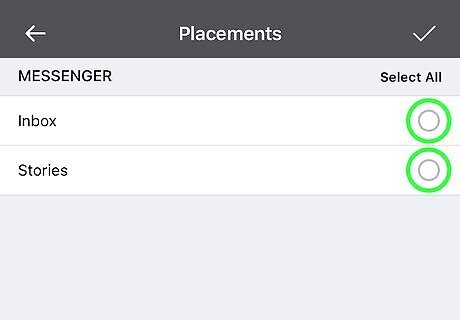
Uncheck all the options under "MESSENGER." This will remove your ad from the Messenger app. You can optionally check the Stories option, and place your ad in Messenger stories as well.
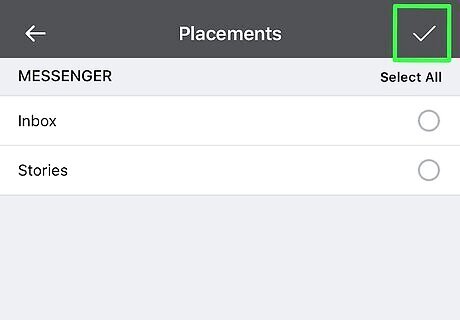
Tap the Windows Checked check icon on the top-right. This will save your placements for Messenger, and go back to the "Placements" page.
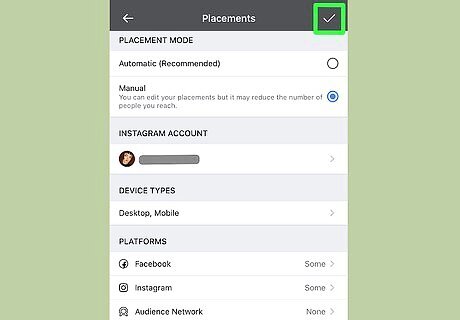
Tap the Windows Checked check icon on the "Placements" page. It's in the upper-right corner of your screen. This will confirm and save all your ad placement preferences.
Tap the white arrow on the top-right. This will take you to the "Audience" page.
Finalizing and Publishing
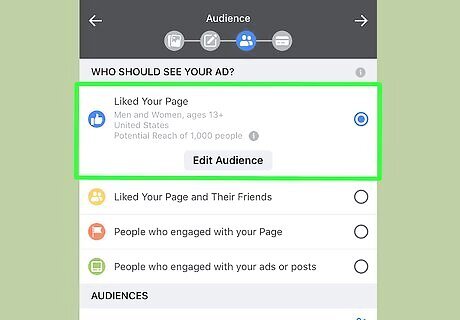
Select an audience to show your ads. You can select to show your ads to people who already Liked your Page or people who Liked Your Page and Their Friends. Tap the Show More button to see more audience options. Optionally, you can tap the Create New Audience button at the bottom, and select a customized audience based on location, demographics, interests, behavior, age, gender, and languages.
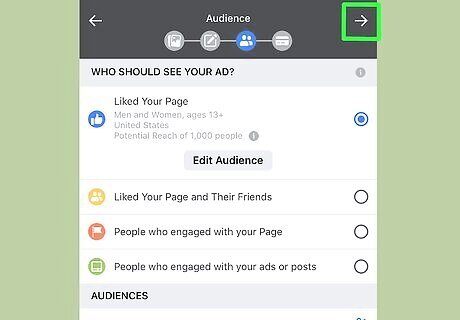
Tap the white arrow on the top-right. This will confirm your ad audience, and take you to the "Budget and Schedule" page.
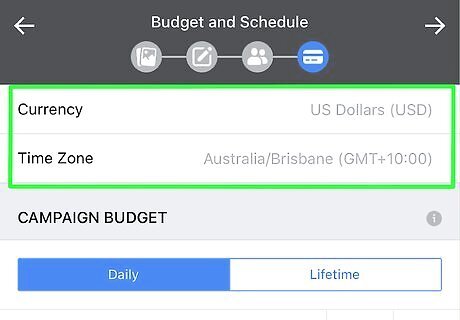
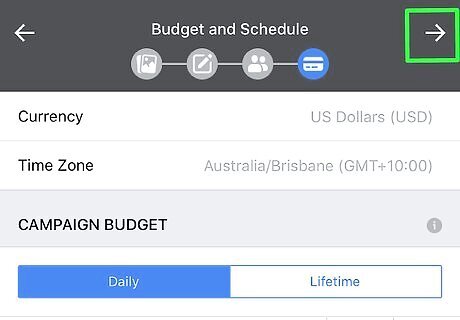
Select your Currency and Time Zone. Tap these fields at the top of the page, and select the currency and time zone you want to set your budget and schedule on.
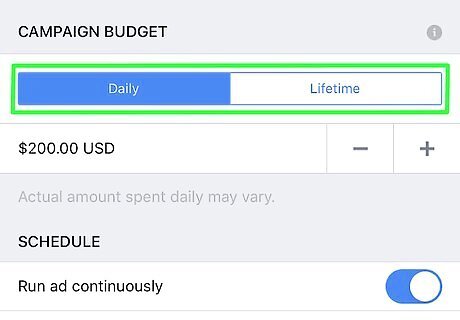
Select Daily or Lifetime under "BUDGET." You have two options to set your budget here: Daily allows you to set the average amount you want to spend each day for the duration of your ad campaign. Lifetime allows you yo set the total amount you want to spend over the course of your ad campaign's lifetime.
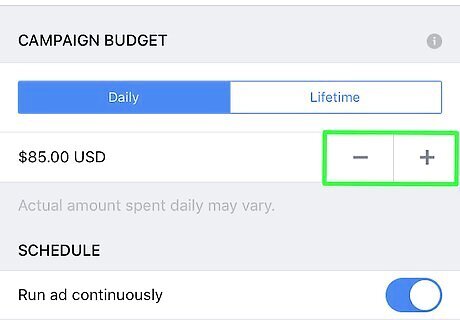
Use the + and - buttons to set your budget. You can use these buttons to increase and decrease your daily or lifetime budget.
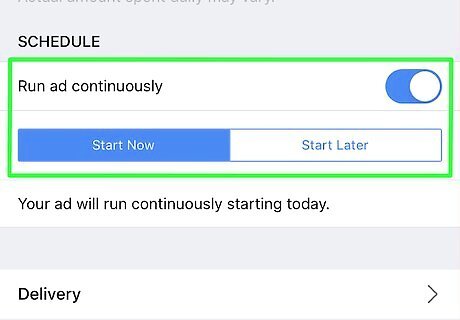
Set your ad schedule under the "SCHEDULE" heading. You can start your ad campaign right away and set a number of days, or schedule it for a later date. Select Start Now to set a total number of days to run your ad. Select Start Later to set a future start date and an end date. Alternatively, you can slide the Run ad continuously switch to the Windows Switch OnOn position here, and run your ad without a pre-indicated end date.
Tap the white arrow icon on the top-right. This will confirm your budget and schedule. You can review your order on the next page.
Tap Place Order at the bottom. This is a green button at the bottom of the page. It will charge your account's standard payment method, and place your ad order. If you have any missing information, you'll find it marked with red on the "Review Order" page. Make sure to provide all the necessary information, and fix all the errors in order to place your order.


Comments
0 comment