
views

Put together an initial graphic that you will be mapping. You can use pictures, images, whatever works for you. Here, we will use wikiHow, wikiHow forum, and iGoogle.
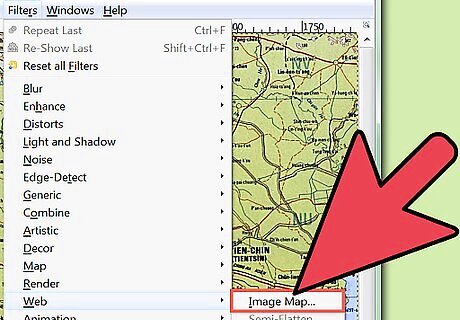
After creating the image, (or opening it), go to Filters >> Web >> ImageMap. The Gimp ImageMap dialog screen.
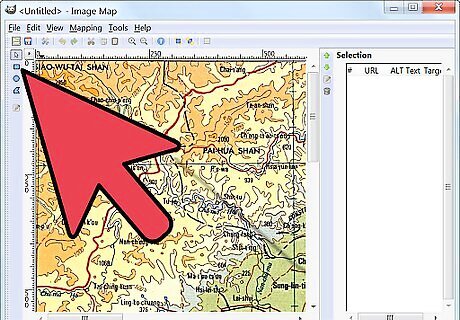
Click on the rectangle at the right of the screen, then select one of the images that you want to use. In this screenshot, wikiHow is selected. Fill in the necessary information in the dialog screen that comes up. Click on rectangle and you can see the exact location of the graphic.
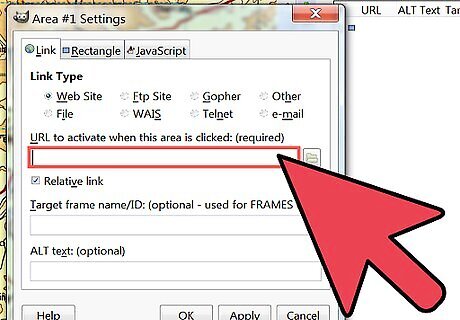
Continue this process for the rest of your map.
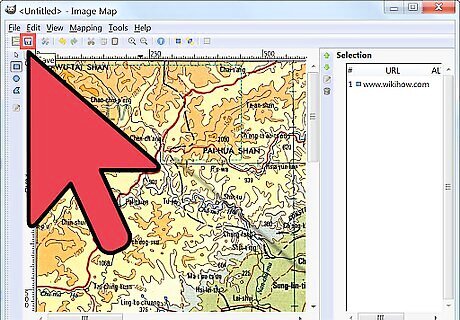
Once you have finished defining all the link areas, save your image map. GIMP will automatically offer to save this as a file with a .map extension. If you wish, you can save it as that. But this file contains the HTML code (no images) that we need to edit and copy over into our own web page, so it is recommended you save it as [filename].html and skip directly to step 7.
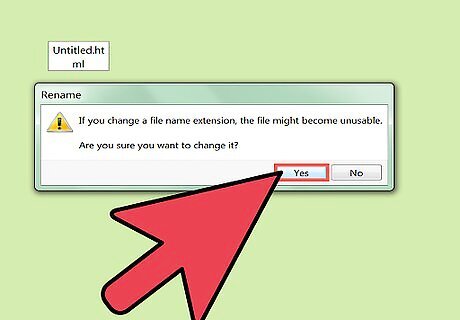
IF you haven't saved it as an HTML file, find your saved file and rename the extension to .html. You may receive a warning about changing file extensions. Click yes to continue.
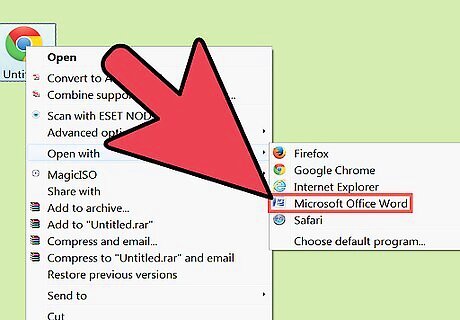
Use a text editor to open this HTML file. You will notice this file simply contains a list of coordinates and URLS. This is the code that tells a browser which URLs to assign to which part of your image.
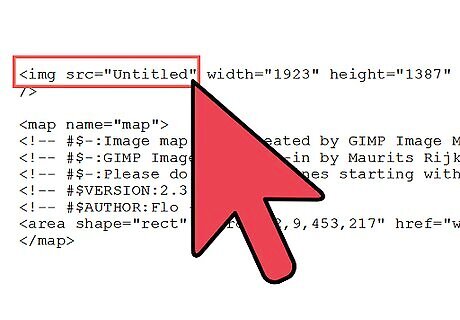
Ensure the file path defined in links to the image you want the URLs mapped onto. Failure to correctly point it to the image may lead to no image being displayed at all.
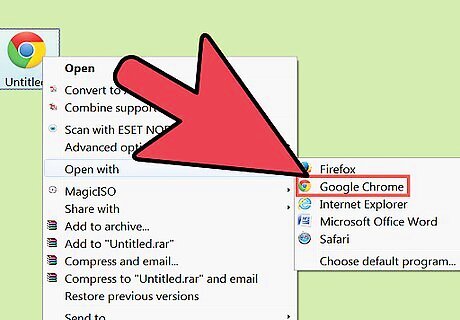
OPTIONAL: Use a browser to open your HTML file; if everything works, you should see the image with all the URLs mapped onto it according to the areas you defined.
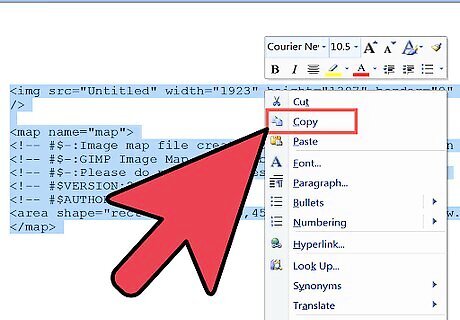
Add your image map into your web page HTML. You will need to copy ALL the lines of code you see, including the tag (which defines the path to your source image) and everything between the





Comments
0 comment