views
Making a Simple Animated GIF Using Online Tools
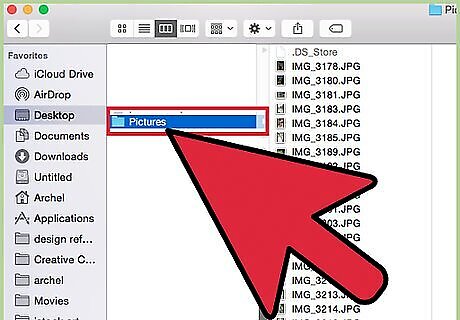
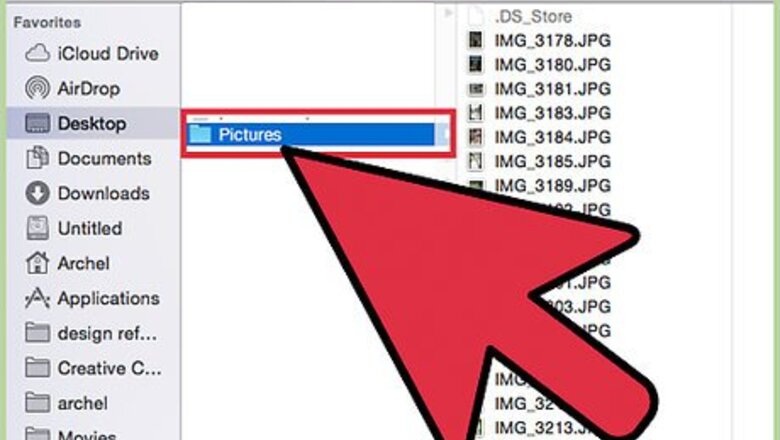
Choose a series of images or a video. Make a folder on your computer, containing the images you want to animate. Each image will be a separate frame of the animation. Alternatively, you can convert a short video into an animated GIF.
Visit an online GIF generator. There are many free online GIF generators, including imgflip, makeagif, and gifmaker. These do not have as many features as GIMP or other image-editing software, but can be used quickly and easily without any downloads or registration.
Cut out a video segment (optional). If you are making a GIF from a video file, you probably want to select a small portion of the video, instead of uploading the whole thing. You can easily do this for free by downloading VLC, then following these instructions: Open VLC, then use File → Open File... to open the video file. Find the beginning of the segment you want to turn into a GIF. Select Playback → Record in the top menu. Play the video until the segment you want to "GIF-ify" is over. Press Record again to stop the recording. The new, smaller file is now saved in the same folder as the original video.
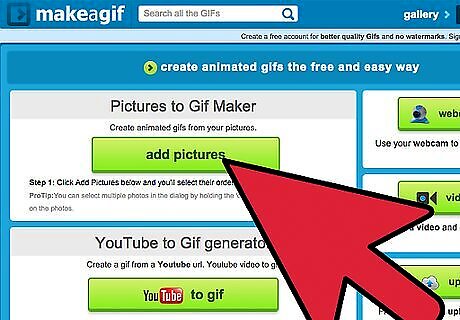
Upload the images or video. Look for an Upload Images link. If you are converting a video, look for an Upload Video link instead. Video upload may take a long time if your internet connection is slow or the video file is large. Uploading no more than a few seconds of video is recommended.
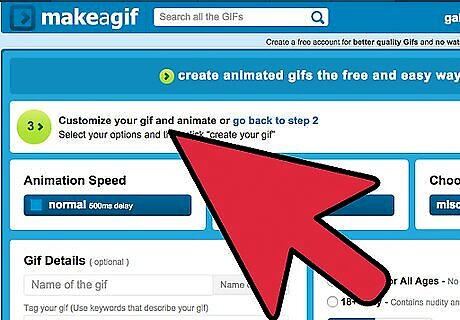
Edit the GIF. These online tools usually let you change the order of the images in the GIF, in case you uploaded them in the wrong order. You may also be able to add text, change the size of the images, and set the animation speed.
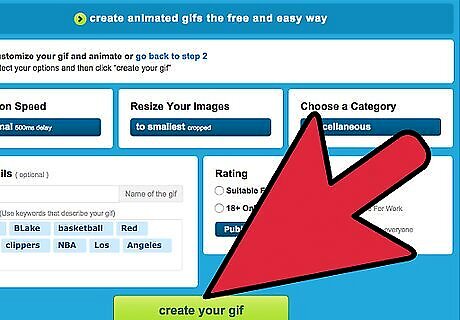
Create your GIF. Look for a Generate GIF, create your gif, pr Create Now link. Your images or video will be turned into a GIF animation. Usually, a list of available options will show up, including links to post the GIF in forums, download it, or embed it in an HTML web page.
Creating an Animated GIF in GIMP
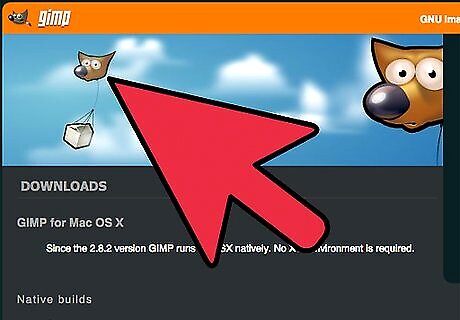
Download GIMP. GIMP stands for GNU Image Manipulation Program, an open-source image editing program. Download it for free at gimp.org/downloads. Using GIMP, you can edit each frame of your GIF, customize the speed of your GIF, and save it in an optimized format that will be quicker to load.
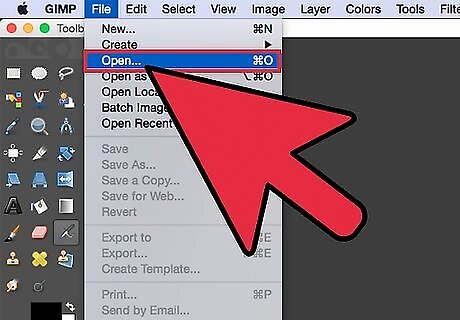
Open the image you'd like to animate. Go to File → Open in the top menu and select an image saved on your computer. If you'd like to draw your own GIF from scratch, use File → New instead. If you are using an existing GIMP file with multiple layers, use the Image → Flatten Image command to merge them all into one layer. This layer will be one frame of the animation.
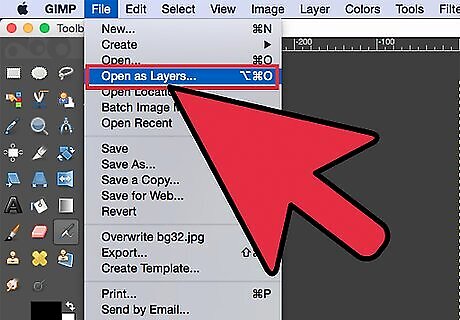
Add additional images. If you already have several images to turn into a GIF (such as a series of screenshots), open them using File → Open as Layers. If you only have one image and wish to edit the animation yourself, use the Duplicate Layers function in the "Layers" window on the right of the screen. You can do this by right-clicking the image icon and selecting Duplicate Layer, or by selecting the icon and clicking the icon that looks like two stacked photographs. Each layer will be one frame of the GIF. The image on the bottom of the list will appear first, then the images above it. Drag them around to change the order. Every image must be the same size, or the larger ones will be cropped when the GIF is saved.
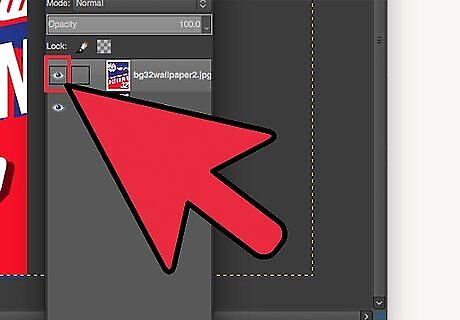
Hide layers so you can edit layers below (optional). If you plan to edit the images or add text to them, you'll need to hide all layers higher up on the list than the one you're editing, or you won't be able to see your work. There are two ways to accomplish this, both found in the "Layers" window: Click the "eye" icon next to a layer to hide it. Click the same spot again when you're ready to show it again. Or select a layer and adjust the Opacity bar near the top of the Layers window. Low Opacity makes the layer more transparent. This is helpful if you're adding text or other additions to multiple frames, so you can line them up with each other.
Edit the images (optional). You can learn about many GIMP editing features if you like, or just use these basic techniques. Select the image you wish to edit from the icon in the "Layers" window to the right, then use the following tools to adjust your GIF frames: In the "Toolbar" window to the left, select the "Scale Tool" (one small square with an arrow pointing to a large square) to resize the image. Make all your layers the same size. In the Toolbar window, select the "A" icon and click the image to add text. Type in the text and use the popup tools to adjust the size, font, and color. When finished, use the Layer → Merge Down command to combine the text with the layer beneath it.
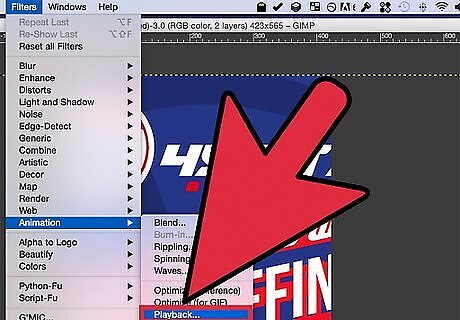
View the animation. Once you've completed your edits, select the Filters → Animation → Playback... command from the top menu. Click the play icon in the window that appears to view your animation.
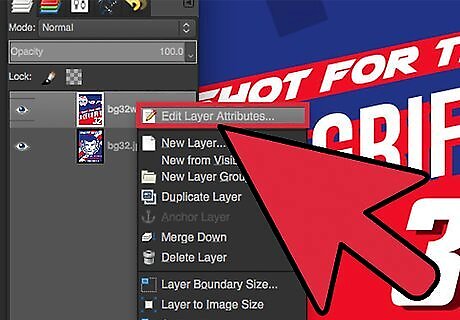
Adjust the timing. Go to the "Layers" window, and right click (or control-click on some Macs) a layer. Select Edit Layer Attributes. After the name, type (XXXXms), replacing the Xs with the number of milliseconds you want that layer displayed. Do this with each layer. Open the Playback again to view the animation with your new changes, and continue to adjust until you are satisfied. Most GIFs made from videos are close to 10 frames per second (100ms per frame). You can skip this step and select a default speed later, when you export the file.
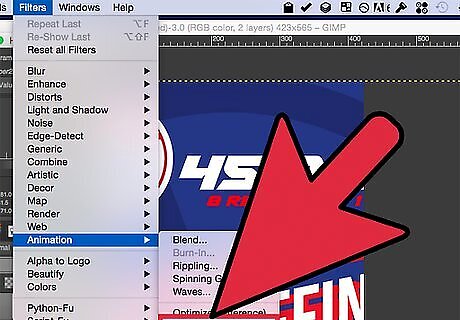
Optimize the animation to load faster. Use the top menu to select Filter → Animation → Optimize (for GIF). This will create a copy with a much smaller file size. Continue working in the copy for the remaining steps. Before optimization, each frame is loaded completely ("replaced"). After optimization, only the areas of the image that change are loaded ("combined"). You can skip this step and optimize during export in the step below.
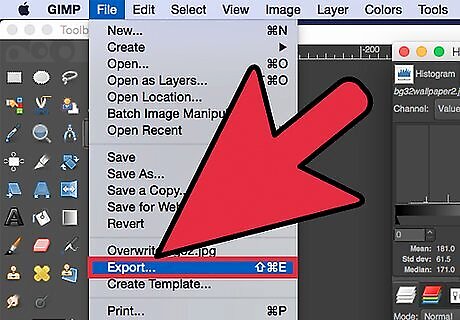
Export your file as a GIF. Select File → Export As.... Click Select File Type at the bottom of the window that appears to view more options, then scroll down to and select "GIF". Click Export and a new window will appear, described below.
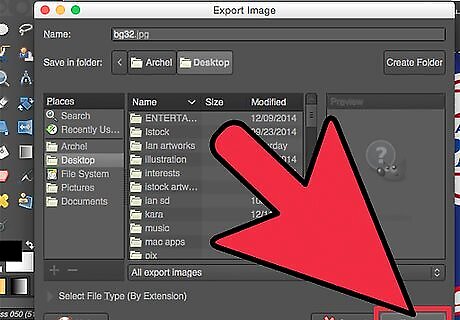
Set your options and finish the export. In the new window, titled "Export Image as GIF," check the box next to "As animation." Finish by clicking Export, or change your options first: Uncheck "Loop forever" if you only want the animation to play once. If you skipped the timing adjustment step, set the delay here. By default, this is set to 100 ms, or 10 frames per second. Reduce this number for a faster GIF, and raise it for a slower one. If you skipped the optimize step above, look for a "Frame disposal" option while exporting and select "Cumulative layers (combine)."






Comments
0 comment