views
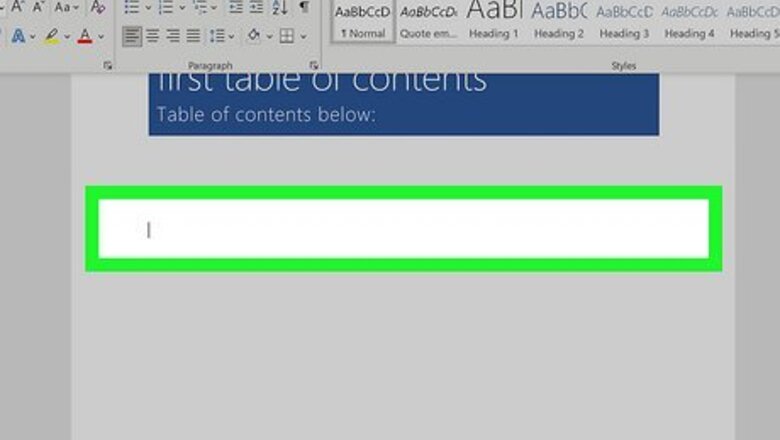
Click the desired location in your document.
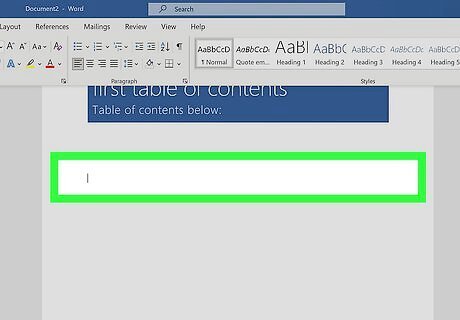
Choose where you'd like to place your ToC. You'll usually want to add a table of contents to the top of the document, but it can be anywhere you'd like.
Click the "References" tab.
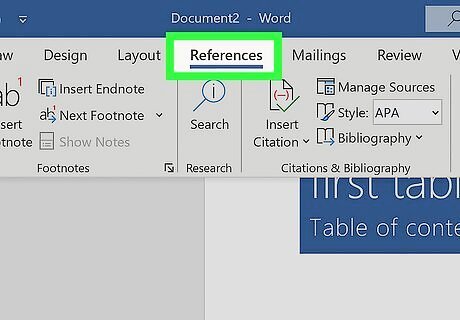
You'll see the References tab at the top of Word. New options will appear on the toolbar.
Click the "Table of Contents" icon.
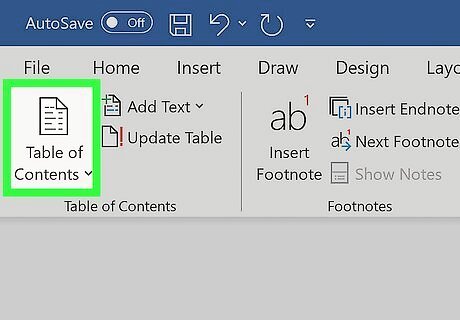
You'll see Table of Contents at the top-left corner in the toolbar. A list of table options will expand.
Select a style.
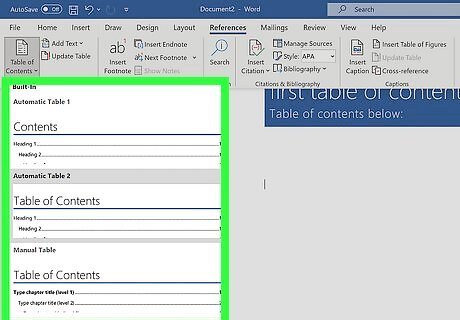
Click one of the automatic styles for your table. This adds the table of contents to your document.
Add styles to your document.
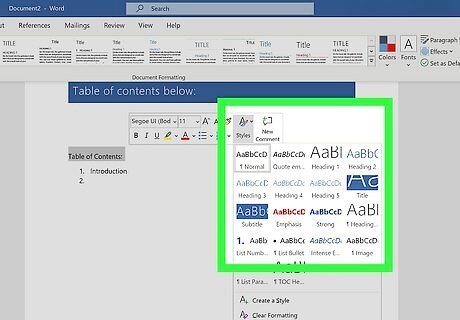
The Table of Contents is built automatically based on your heading styles. To make sure a page or section is added to your table of contents, you'll need to assign its heading a style. Highlight a page heading. A context menu will expand automatically. Click Styles on the context menu. Select Heading 1. Repeat for all major pages in your document. For minor pages and sections, select those headings and assign them Heading 2. Heading 2 entries will appear as sub-sections of Heading 1 entries in your ToC. You can also assign additional minor sections as Heading 3, which will appear as subsections to Heading 2s in the ToC.
Update the table of contents.
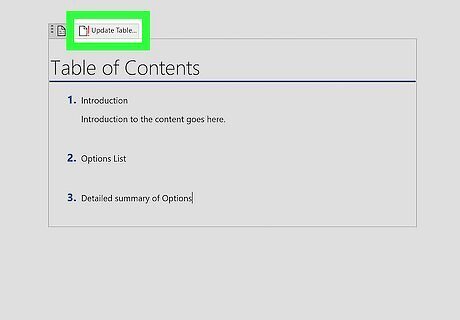
Once you've assigned styles to your headings, right-click the table and choose Update Field. The table of contents will update instantly to display the page numbers for each section.


Comments
0 comment