views
Using iTunes
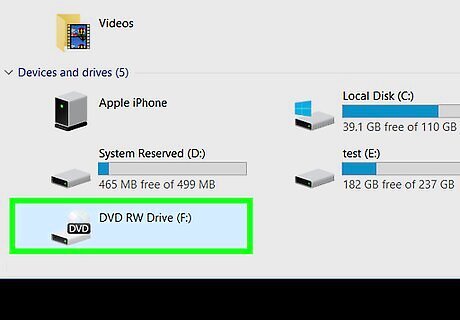
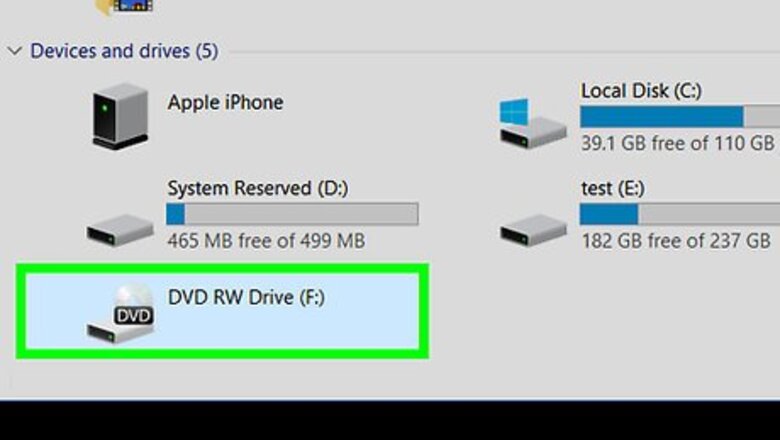
Insert the audio CD that you want to convert into your computer. The CD must go logo-up into the CD tray. If you're on a Mac, you'll need to plug a USB CD drive into your computer.
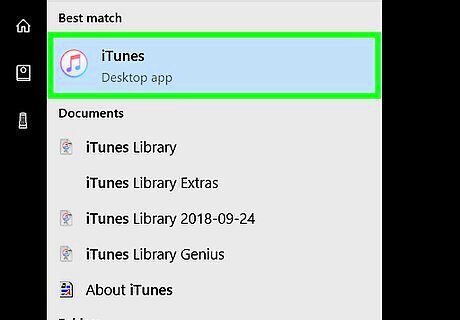
Open iTunes. It's the multicolored musical note on a white background. If iTunes opens automatically, skip this step.
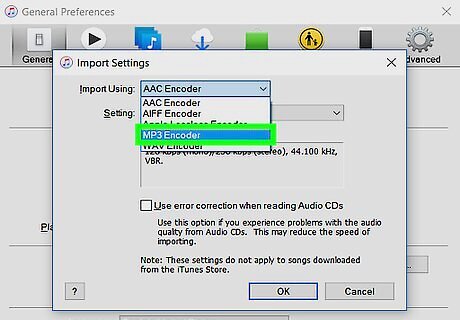
Enable MP3 conversions. iTunes can turn your CD's songs into MP3 files, but you'll first need to enable the MP3 encoder for it to do so: Click Edit (Windows) or iTunes (Mac) Click Preferences... Click Import Settings... Click the Import Using drop-down box Click MP3 Encoder Click OK Click OK to return to the page.
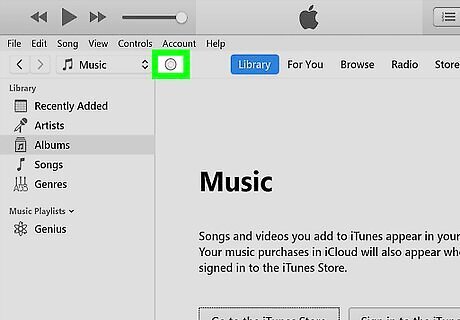
Click the CD icon. This round, disc-shaped icon is in the upper-left side of the window. Doing so opens the CD's page in iTunes. If you haven't yet imported the CD into iTunes, the CD will begin importing automatically.
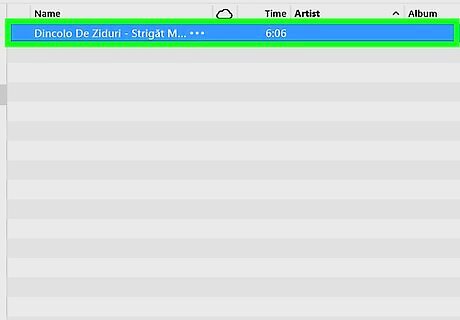
Select the CD's songs. Click any song in the CD list, then press either Ctrl+A (Windows) or ⌘ Command+A (Mac). This will select every single song on the CD.
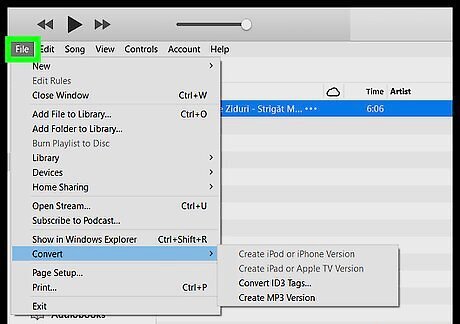
Click File. It's either in the top-left corner of the window (Windows) or on the far-left side of the menu bar (Mac). A drop-down menu will open.
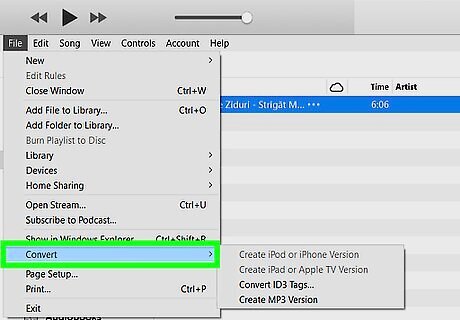
Select Convert. This option is near the bottom of the File drop-down menu. Selecting it prompts a pop-out window to appear.
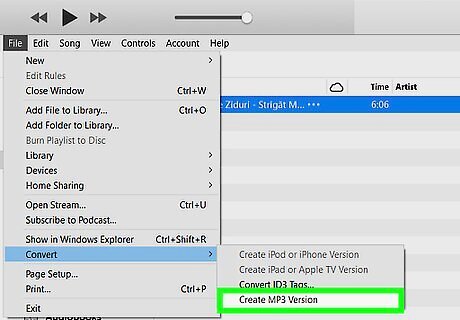
Click Create MP3 Version. It's at the bottom of the pop-out window. Your CD's files will begin converting into MP3 files.
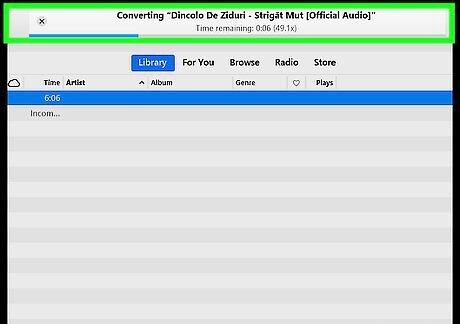
Allow the CD to convert. This can take up to a minute per song.
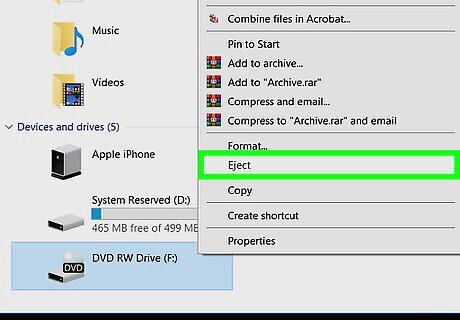
Eject the CD. Once your CD finishes converting, you can eject it. At this point, you'll be able to view the MP3 files by clicking the Recently Added tab in the upper-left corner of the page and then clicking the CD's album.
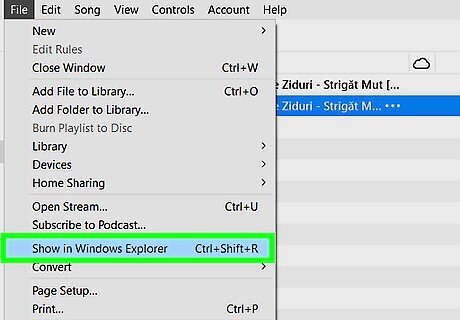
View the files on your computer. All of the CD's MP3 files will be stored in a folder on your computer. You can open this folder by doing the following: Click one of the song titles to select the song. Click File in the upper-left side of iTunes. Click Show in Windows Explorer (Windows) or Show in Finder (Mac) to open the songs' folder.
Using Windows Media Player
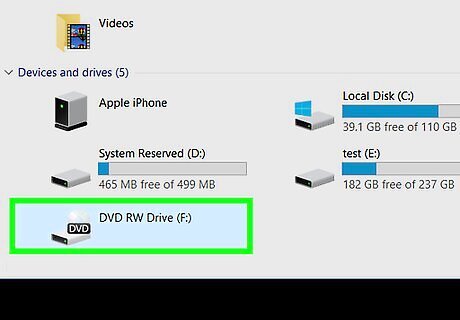
Insert the audio CD that you want to convert into your computer. The CD must go logo-up into the CD tray. If you're on a Mac, you'll need to plug a USB CD drive into your computer.

Open Start Windows Start. Click the Windows logo in the bottom-left corner of the screen. Windows Media Player is exclusive to Windows computers.
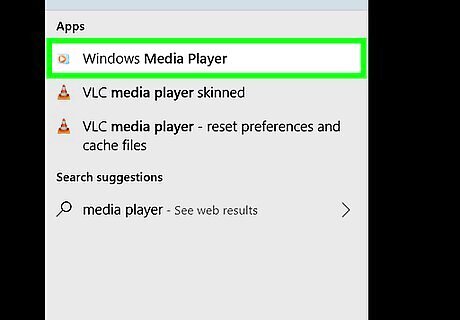
Open Windows Media Player. Type windows media player into Start, then click Windows Media Player at the top of the Start window when it appears. If your computer doesn't have Windows Media Player, it won't show up in Start. You can instead download and use iTunes.
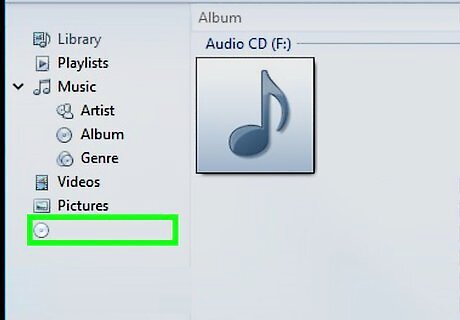
Select your CD. Click your CD's name on the left side of the Windows Media Player window. If your CD's information isn't retrievable by Windows Media Player, you'll click Untitled album or similar here.
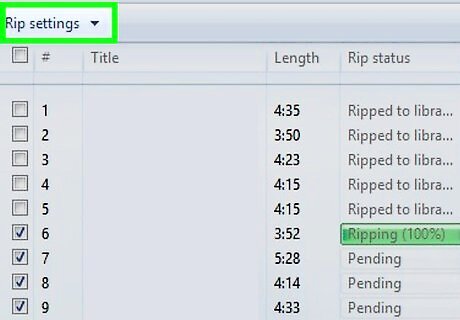
Click Rip settings. It's a tab at the top of the Windows Media Player window. Doing so prompts a drop-down menu.
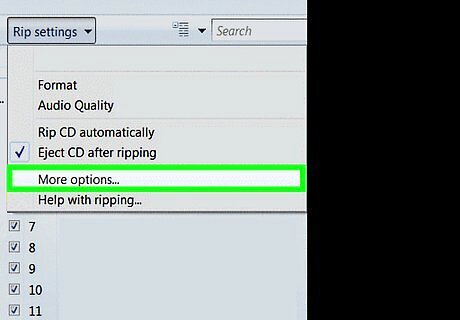
Click More options…. You'll find this in the drop-down menu. A pop-up window will appear.
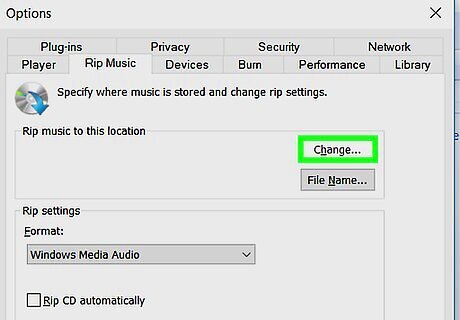
Change the save location. To change the location in which your CD's MP3 files are saved, do the following: Click Change… on the right side of the window. Select a folder. Click OK Click Apply, then click OK.
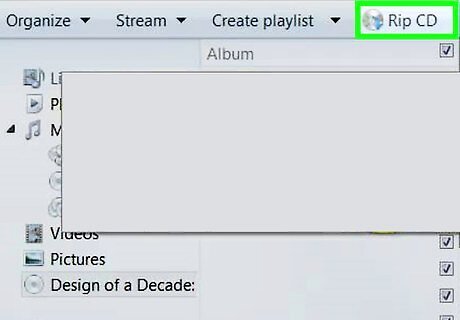
Click Rip CD. It's a tab at the top of the Windows Media Player page. Windows Media Player will begin ripping your CD's files.

Allow the CD to convert. This can take up to a minute per song.
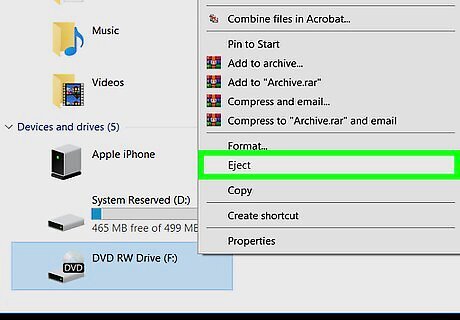
Eject the CD. Once your CD is done ripping, you can eject it and close Windows Media Player.
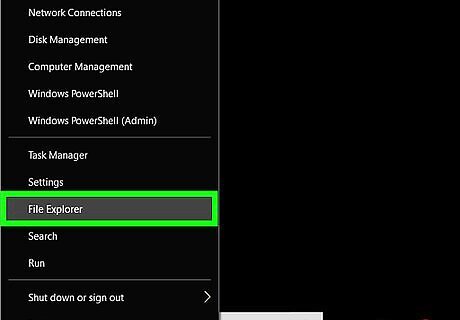
View your CD's MP3 files. Your CD's MP3 files will be in your specified location inside of a folder with the CD's album, which will be inside a folder with the CD's artist's name. For example, if you ripped Poems, Prayers & Promises by John Denver to your desktop, you would open the MP3 files' folder by going to the desktop, double-clicking the "John Denver" folder, and double-clicking the "Poems, Prayers & Promises" folder.





Comments
0 comment