views
Removing Corrosion from a Car Battery Terminal
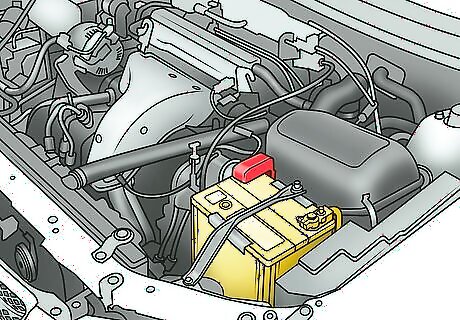
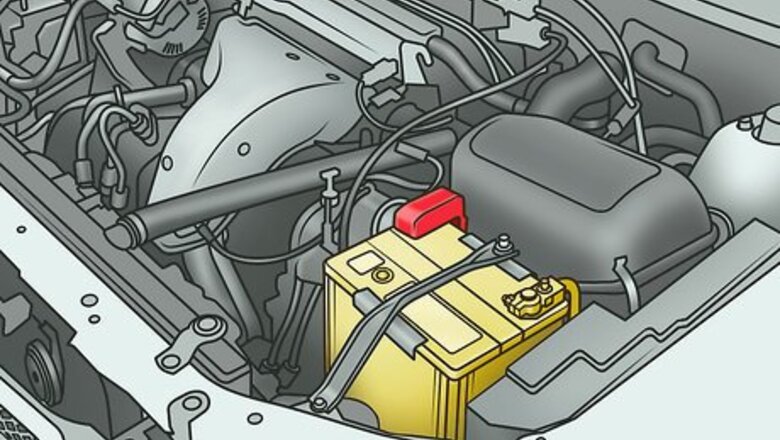
Lift the hood of your car and assess the condition of the battery. You do not need to remove the battery from the vehicle to assess it or to clean it. To simply access the battery, pop open the car hood and locate the battery. It’s typically on the front-left side of the engine block. Visually inspect the general condition of your car battery. If the battery is not cracked or leaking battery acid, you can go ahead and start cleaning. If your battery case has cracks, you should replace the entire battery. Visit a local auto-parts store and purchase a battery there.
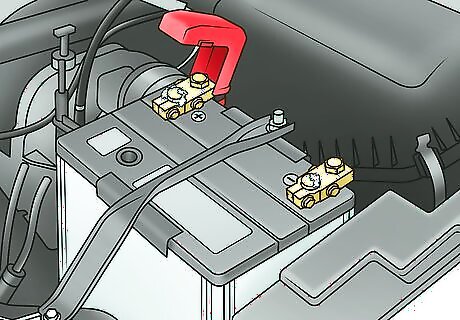
Assess the degree of corrosion on the battery and cables. Lift up and to the sides the plastic covers on top of the battery. This will reveal the terminal/clamp interface. Examine the battery cables and clamps for excess wear or corrosion. Corrosion appears as a white, ashy deposit around one or both battery posts. If the cables and clamps are lightly corroded or have just a little buildup, follow the instructions below on how to clean them. If the damage is extensive, you may want to completely replace the cables and clamps to avoid future problems.
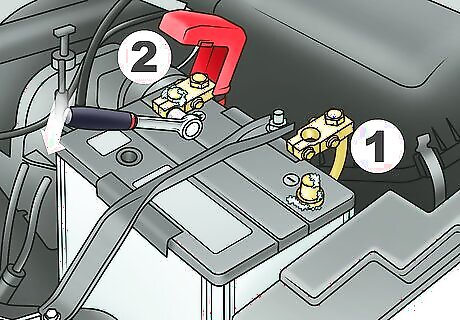
Disconnect the negative and positive clamps on your car battery. Before cleaning the battery, you’ll need to disconnect the battery. To do this, loosen the nuts on the clamps using a wrench. Once loosened, remove the negative clamp, marked with a “-” first. Only after the negative clamp is removed, remove the positive clamp, marked with a “+”. The clamps may prove difficult to remove, especially if there is a lot of corrosion. You may need to use pliers to remove them. If you do need to use pliers be careful not to touch the tool to the car frame (or anything else metal) and the battery while working. Doing so will short out the battery.
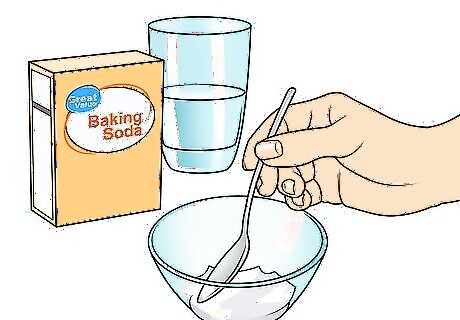
Make a cleaning agent out of baking soda and water. Combine 2–3 tablespoons (30–44 mL) of baking soda with 1 tablespoon (15 mL) of distilled water in a small bowl. Stir the ingredients together with a spoon to make a thick paste. Keep stirring until all of the bits of baking soda are fully dissolved in the water. Baking soda is alkaline, which means that it’s capable of neutralizing corrosion from battery acid. Although baking soda is a great cleaning agent, commercial products tend to be better, since they also have leak indicators in them.
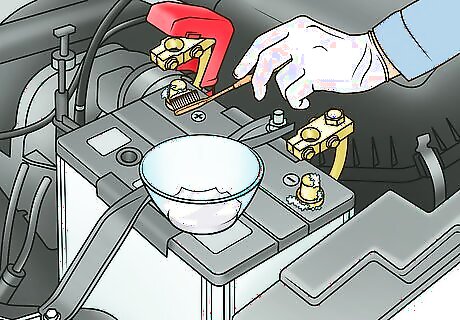
Apply the baking soda paste to the battery connections. Dip an old toothbrush or a lightly dampened rag into the baking soda paste. Rub the paste onto the corroded or dirty parts of your car’s battery. Once the baking soda is applied, you will see it bubble and foam, as it reacts with the corrosion. Give the baking soda mix at least 5–10 minutes to soak in and loosen the corrosion. Be careful while you’re applying the paste. Although baking soda is generally safe, you should take care not to get it on other car components.
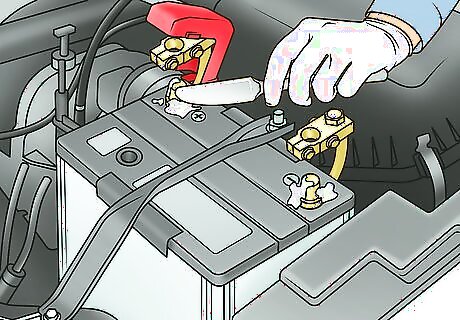
Scrape off corrosion deposits with an old butter knife. If your battery terminals have heavy deposits, use the sharper edge of a used butter knife to scrape them off. Hold the knife’s blade at a 45-degree angle and press it downward along the surface of the battery to chip off bits of corrosion. After you have removed the major deposits, use a wire brush or steel wool to remove any remaining deposits. Wear vinyl dishwashing gloves while cleaning the terminals, especially if you’re scrubbing off corrosion with steel wool. Your hands will be coming in direct contact with potentially caustic agents, and vinyl gloves are the best protection. There are special “battery post” and “battery clamp” brushes available at most auto parts stores, but these are not necessary in most cases. A general steel brush works fine.
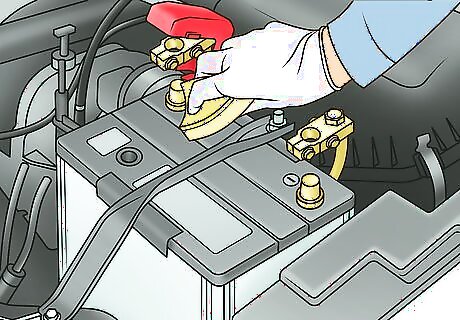
Rinse the battery with water once you’ve brushed it clean. When the baking soda mixture stops foaming and there are no major deposits left to be scraped off, you can go ahead and rinse all of the corrosion dust and drying baking soda off of the battery. Pour about 2 cups (470 mL) of distilled water over the battery and the positive and negative terminals. Be careful not to rinse the baking soda paste into the battery vents, as the baking soda can neutralize the battery’s acid and shorten the battery’s life. The vents are located on the sides of the battery and are connected to long vent tubes that direct harmful gasses away from the vehicle’s cabin.
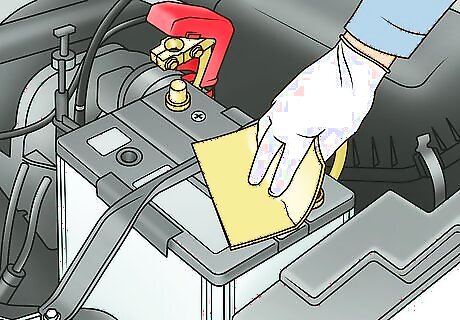
Wipe the terminals clean with a clean, dry rag. Dry the entire battery thoroughly before reconnecting it to your vehicle. Make sure that the terminals are completely dry by rubbing the dry rag over them 2-3 times. Be sure to use a rag that doesn’t have any grease or oil on it! Don’t use paper towels for this step. The paper will shred, leaving you with bits of paper towel stuck to your battery terminals.
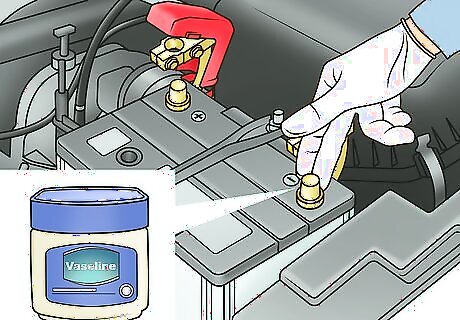
Smear petroleum jelly onto the clean terminals to prevent corrosion. Dip 2 fingers into a jar of petroleum jelly and smear a thin layer across both the positive and negative terminals. Make sure your vinyl gloves are still on while you do this. Applying hydrophobic petroleum jelly to the now cleaned terminals will prevent corrosion from occurring again in the future. If you don’t already have petroleum jelly at your home, purchase some at a drugstore or pharmacy.
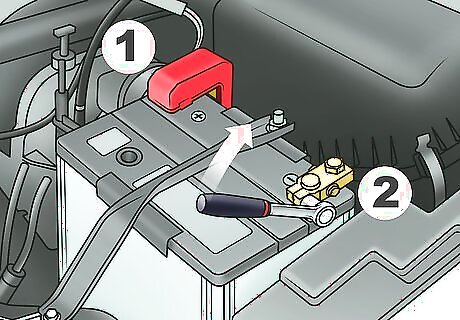
Reattach the 2 clamps back on to the battery. To complete the cleaning, you need to reattach the clamps that you removed earlier to secure the battery in place and restore the electrical connection. Reattach the positive clamp to the battery first by tightening it with a wrench. Once it’s firmly in place, then you can attach the negative clamp to the negative terminal on the battery. Use a wrench to tighten that clamp in place as well. Once the clamps are on, replace the rubber or plastic shields covering the clamp/terminal junction.
Cleaning a Household Battery Terminal
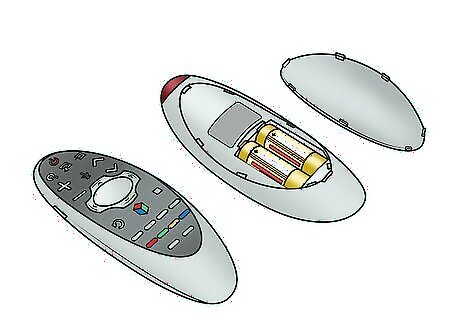
Examine the battery cradle’s terminals and the battery for corrosion. Open the device’s cover to access the battery cradle. Remove the battery cover to inspect the degree of corrosion. Assess these old batteries for cracks and leakage. Mild corrosion will appear as black spots, more severe corrosion appears as a white, ashy deposit around one or both battery posts or terminals. If you find a battery that’s leaking acid (and not merely corroded), throw it away immediately. Any leakage is likely potassium hydroxide, a strong base. Be sure to wear skin and eye protection when cleaning out the battery cradle, as potassium hydroxide is caustic. If a device is powered by more than 1 battery, it’s possible for 1 battery to be corroded and another to be in fine shape. Pull out any non-corroded batteries and set them aside. You’ll reinsert them later once you’ve cleaned off corroded batteries and the cradle. The following baking soda cleaning method is just for any corrosion around the terminals, not for a leaking battery.
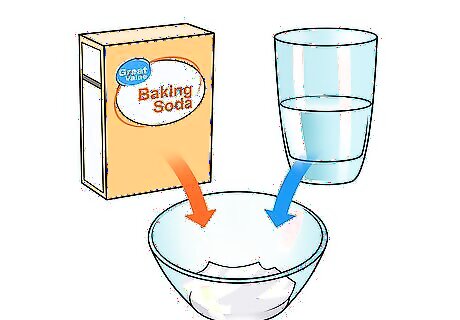
Mix together baking soda and water to make a cleaning paste. Make your cleaning agent by combining 2–3 tablespoons (30–44 mL) of baking soda with 1 tablespoon (15 mL) of water. Stir the components with a spoon to make a thick paste. Take care not to get baking soda on other electronic components—e.g., whatever electrical device the batteries that you are cleaning were housed in.
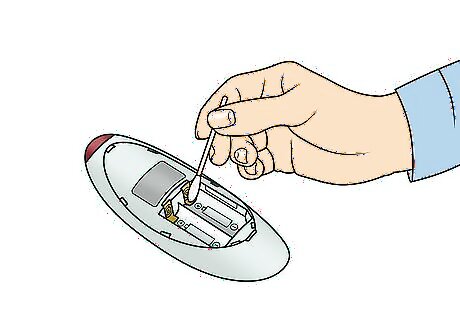
Rub any corrosion off of the battery terminals with a cotton swab. Dip a cotton swab into the baking soda mixture. Smear the baking soda paste onto the battery connections and the 2 terminals at the end of each battery using the cotton swab. Once the baking soda is applied, you may see it bubble and foam, as it reacts with the corrosion. Let it soak in for about 5 minutes. Wear vinyl dishwashing gloves while cleaning any battery corrosion. Take care not to touch with bare skin the white crusty buildup, as it is caustic and could burn your skin. Be careful not to get any water on your electronics when cleaning.
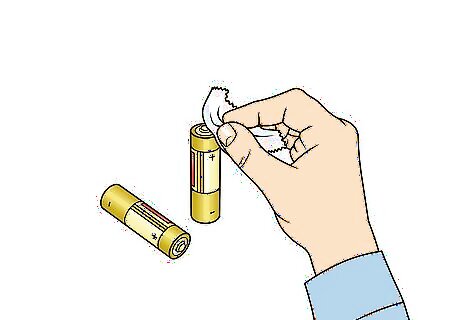
Wipe the battery and cradle off with distilled water and a cotton swab. When the foaming stops and there are no major deposits left to be scraped out, you’re ready to rinse off the inside of the cradle. Dip 1 clean cotton swab into a cup of distilled water. Then dab the cotton swab back and forth along the inside of the battery cradle. This will clear out any lingering baking soda and clean the connections so they’re ready to receive electrical current. Be careful not to get any water any electrical components, or you could damage the electrical equipment. Wait 15–20 minutes for the battery and cradle to dry out.
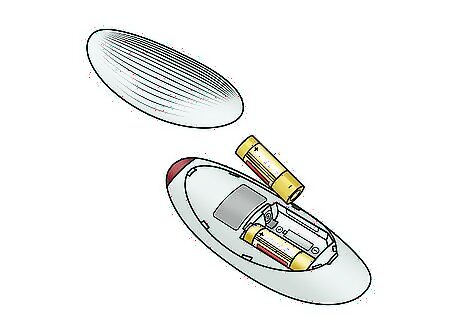
Install the cleaned batteries and close the cradle. Put the cleaned batteries into the now clean battery cradle. If you set aside un-corroded batteries earlier, fetch them and put them inside the battery cradle as well. Then, close up the case or put back on the cover. Put some pressure on the plastic cover to make sure that it’s firmly in place. You’re now ready to resume using your electronics!


Comments
0 comment