

- You can easily change the font size, face, and weight in Notepad on any version of Windows.
- In Notepad for Windows 10 and earlier, click the "Format" menu and select "Font" to find your font options.
- For Windows 11, click the "Format" menu and select "Font."

Open Notepad. There will be different ways to find and launch Notepad depending on which Windows version you have. Windows Vista and XP: Click the "Start" buttons in the bottom left-hand corner on your task bar. Mouseover "Programs", then "Accessories", and click "Notepad" to open. Windows 7: Click the "Start" button in the bottom left-hand corner on your task bar. In the search box, type "Notepad", and in the list of results, click "Notepad". Windows 8: Go to your Start Screen and simply start typing "Notepad". A pop-up should appear on the left-hand side of the screen. Click "Notepad" to open it.
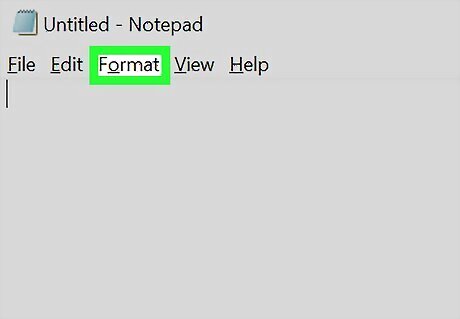
Click "Format". This is located on the menu bar and displays a drop down menu with two options.

Select "Font" from the menu. This will open a separate window that displays font options, font styles, and size.
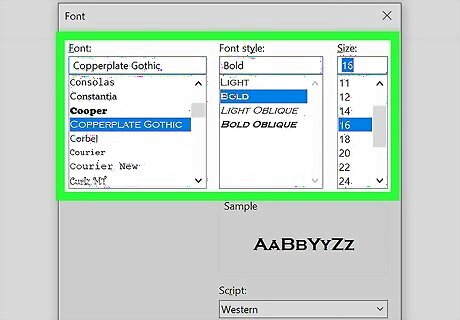
Select the font, style and size you want to use. This will change the font of the entire file. So any bolding or italicizing will be applied to the entire document. Notepad does not have the option of changing fonts of specific sections of text.
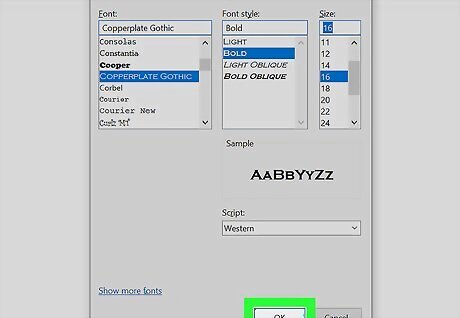
Press "OK" to save your settings. Now, when you type in Notepad, you will be using your chosen font.


Comments
0 comment